The All-in-One WP Migration WordPress plugin allows you to export your current WordPress website as a backup saved in a single file with the .wpress extension, which you can then import into any other WordPress website.
In addition, the All-in-One WP Migration plugin is a solution that allows you to create regular backups of your website, transfer a WordPress website between hosting services from different providers, and even migrate a WordPress site from a local or public domain to a different domain.
In this guide, we’ll explain how to migrate a WordPress website to a different hosting service while keeping the same domain.
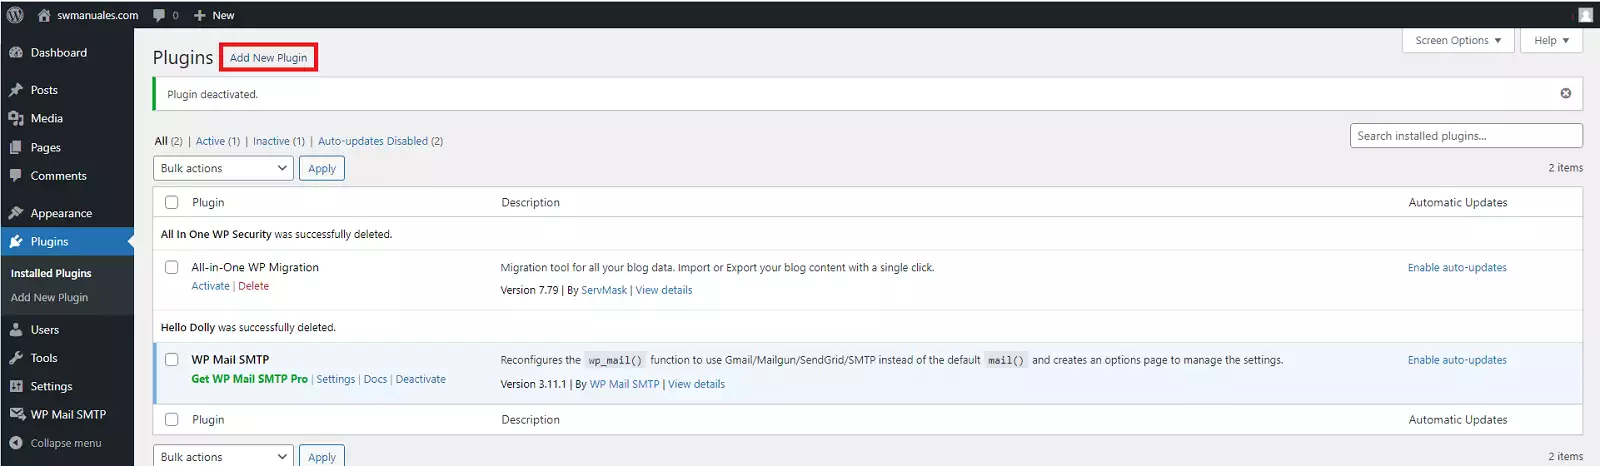
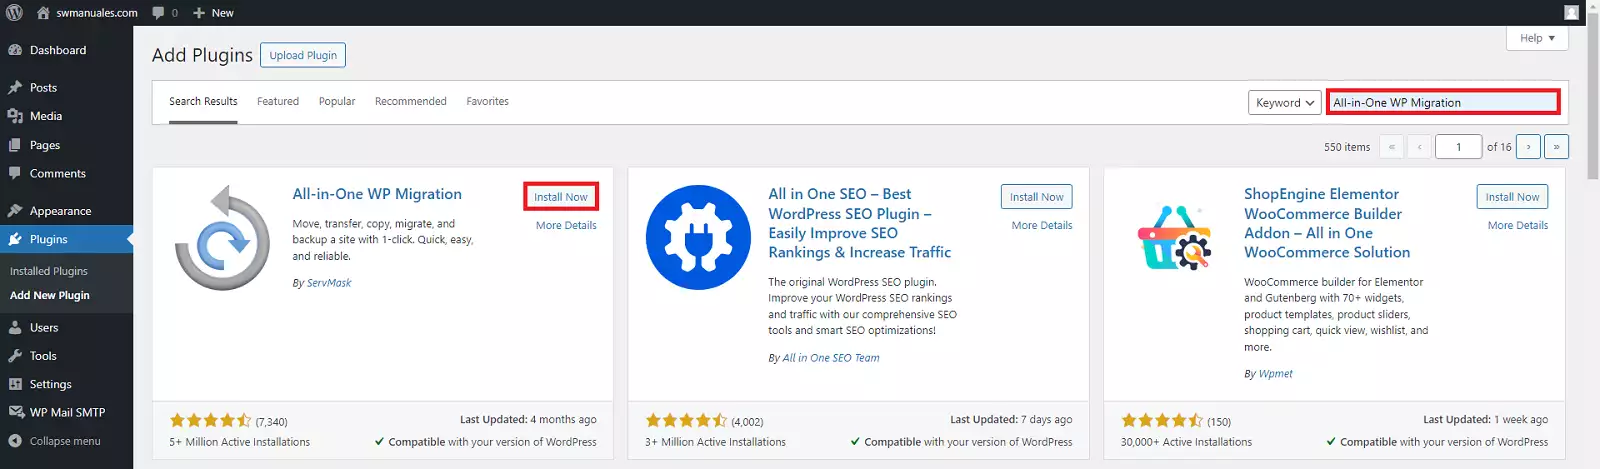
To begin migrating your site, you’ll need to install and activate the All-in-One WP Migration plugin in your WordPress dashboard. Go to Plugins → “Add New”, search for the plugin, and click “Install Now”:
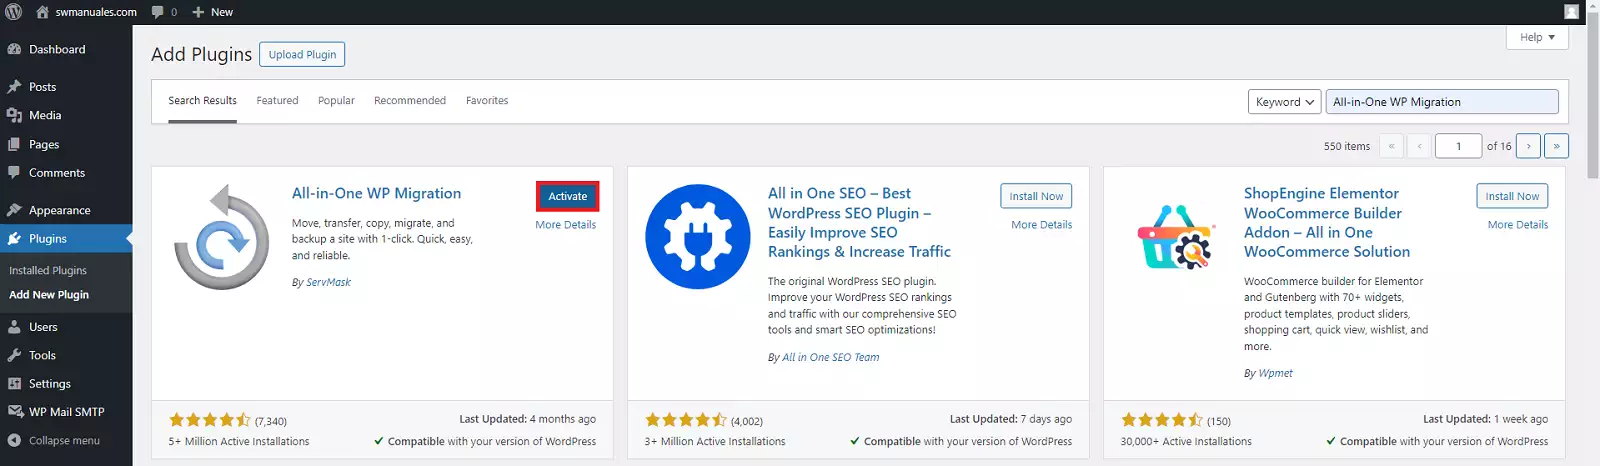
After a few seconds, you’ll be able to select “Activate”.
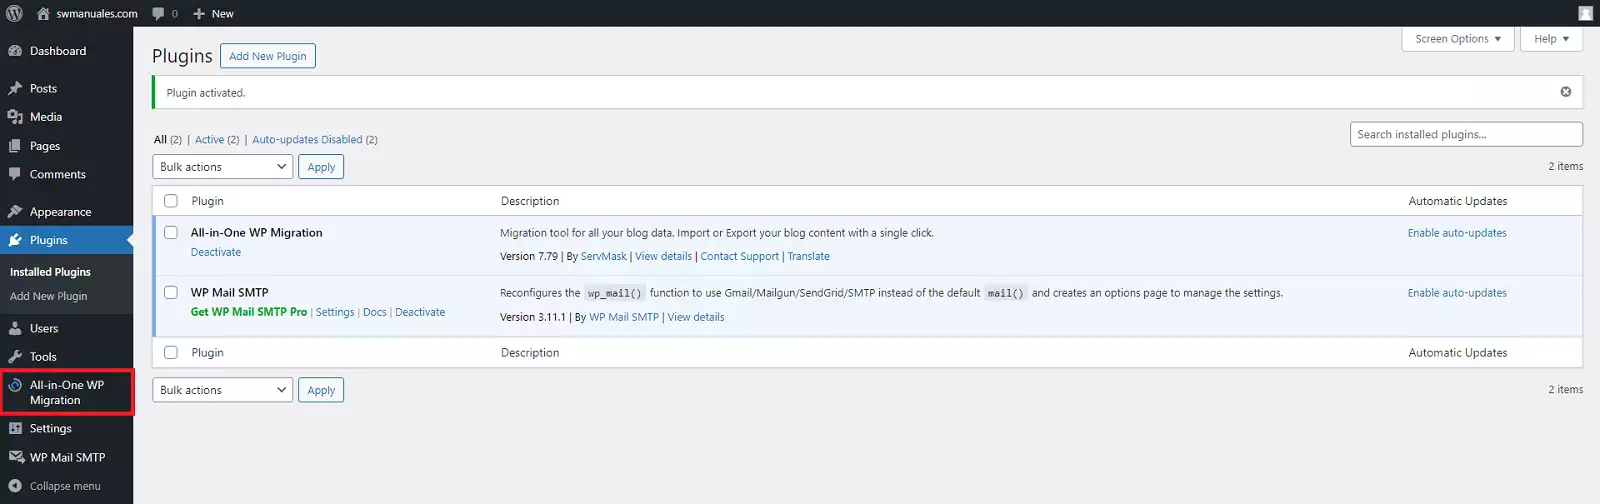
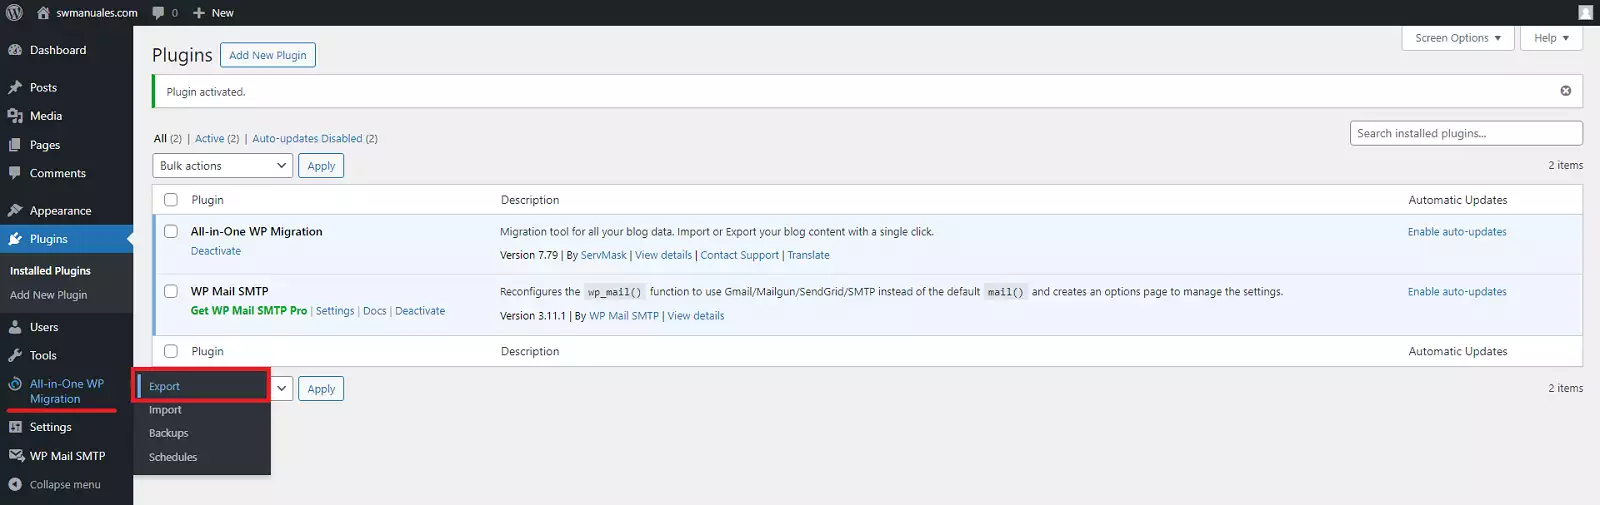
If the installation was successful, a link to the All-In-One WP Migration plugin will appear in the sidebar of your WordPress dashboard.
All you need to do is go to All-in-One WP Migration in your WordPress dashboard. Then, click on Export:
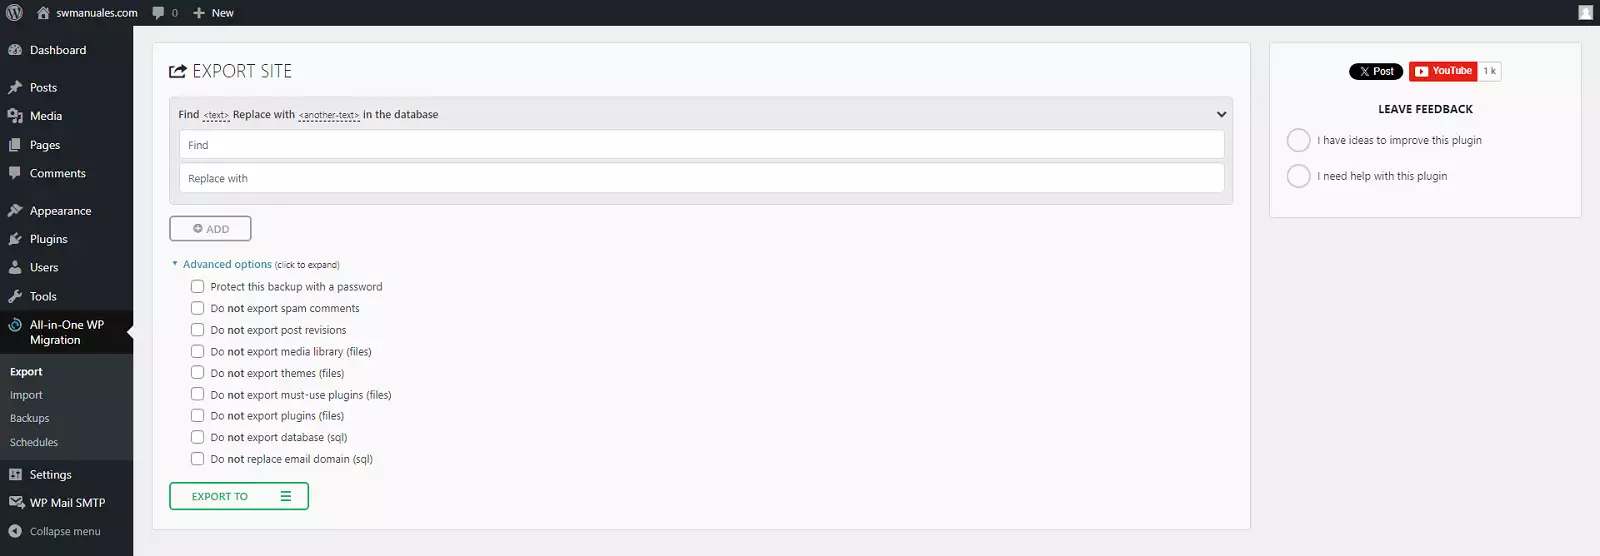
Next, a new screen will open where you can configure the settings for creating the migration file.
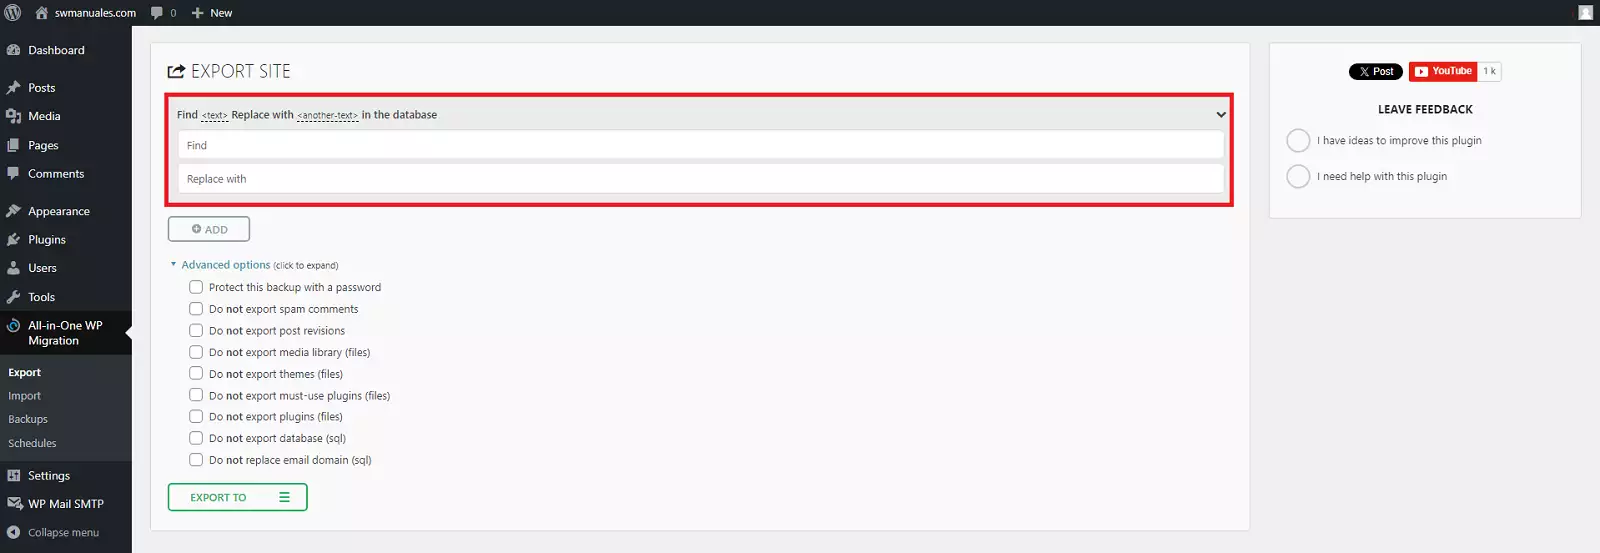
It is not necessary to use this feature for our export. However, it can be useful if you want to replace certain information during the migration process, such as changing the original domain of our WordPress so that all URLs in the database are updated from the domain “https://www.webantigua.com/” to “https://www.webnueva.com/”. This way, the exported database will be ready so that when imported into the new hosting service, WordPress loads its content correctly with the new domain name.
For example: the URLs to enter in the “Find and Replace with” option to change your WordPress domain would be:
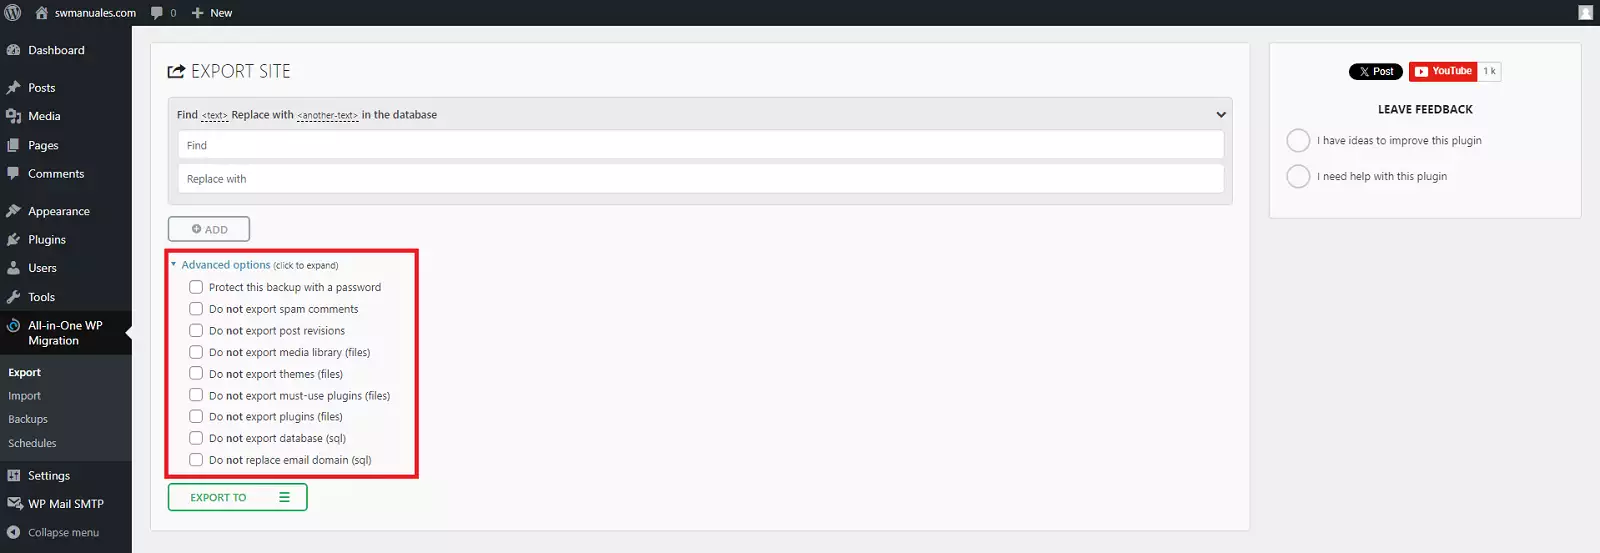
Although it’s not necessary to configure these advanced options for our export, you have the option to exclude certain elements from the final export file. You can exclude plugin files, theme files, media files, spam comments, and more:
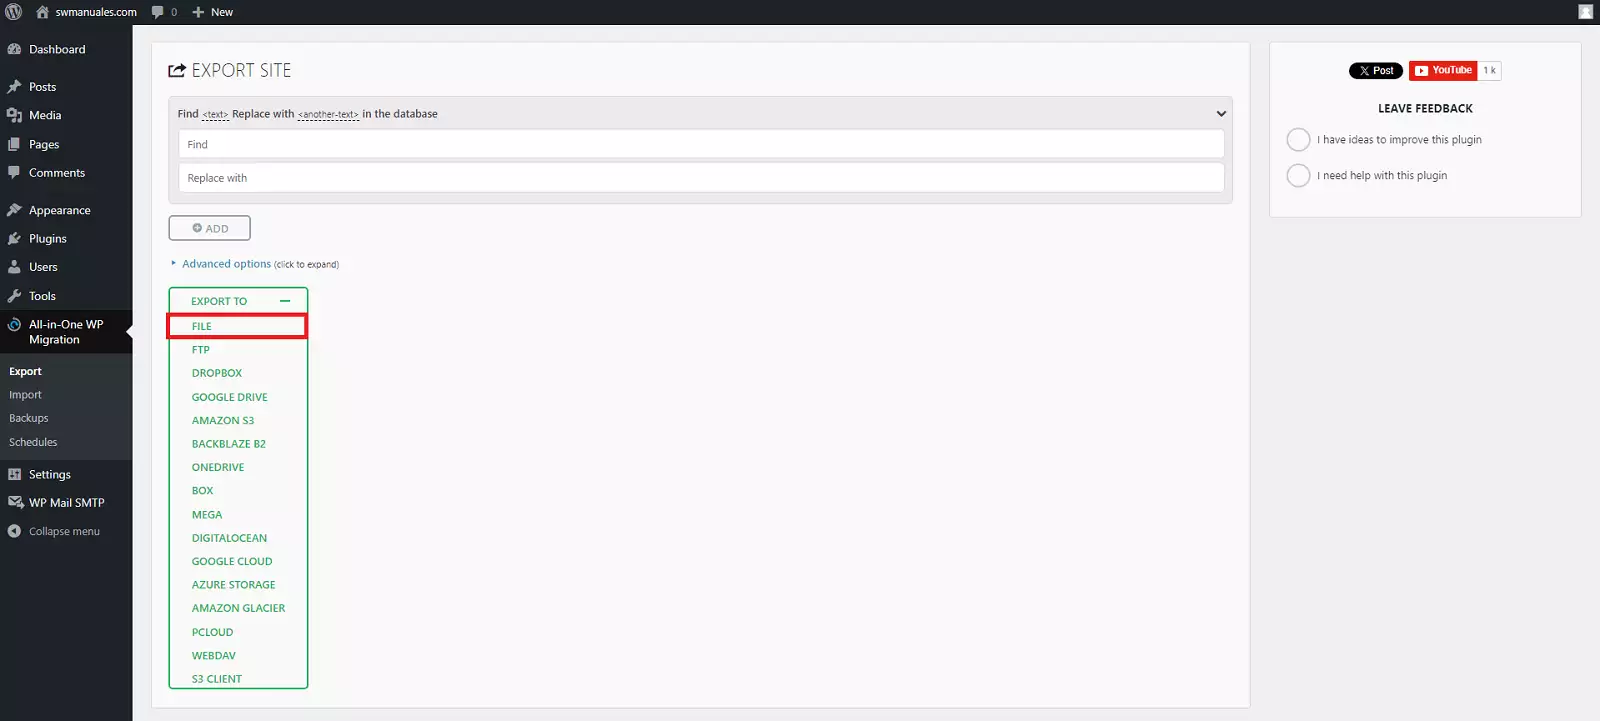
Select “Export To” and you’ll see a new set of options. For example, you can export your website to Dropbox, Google Drive, or Google Cloud. Or you can simply download your website as a file to your PC—which is the option we’ll use in this guide:
The export process will begin. Normally, this only takes a few seconds. However, if you have a particularly large website with a lot of data (such as an e-commerce store), this process may take a little longer.
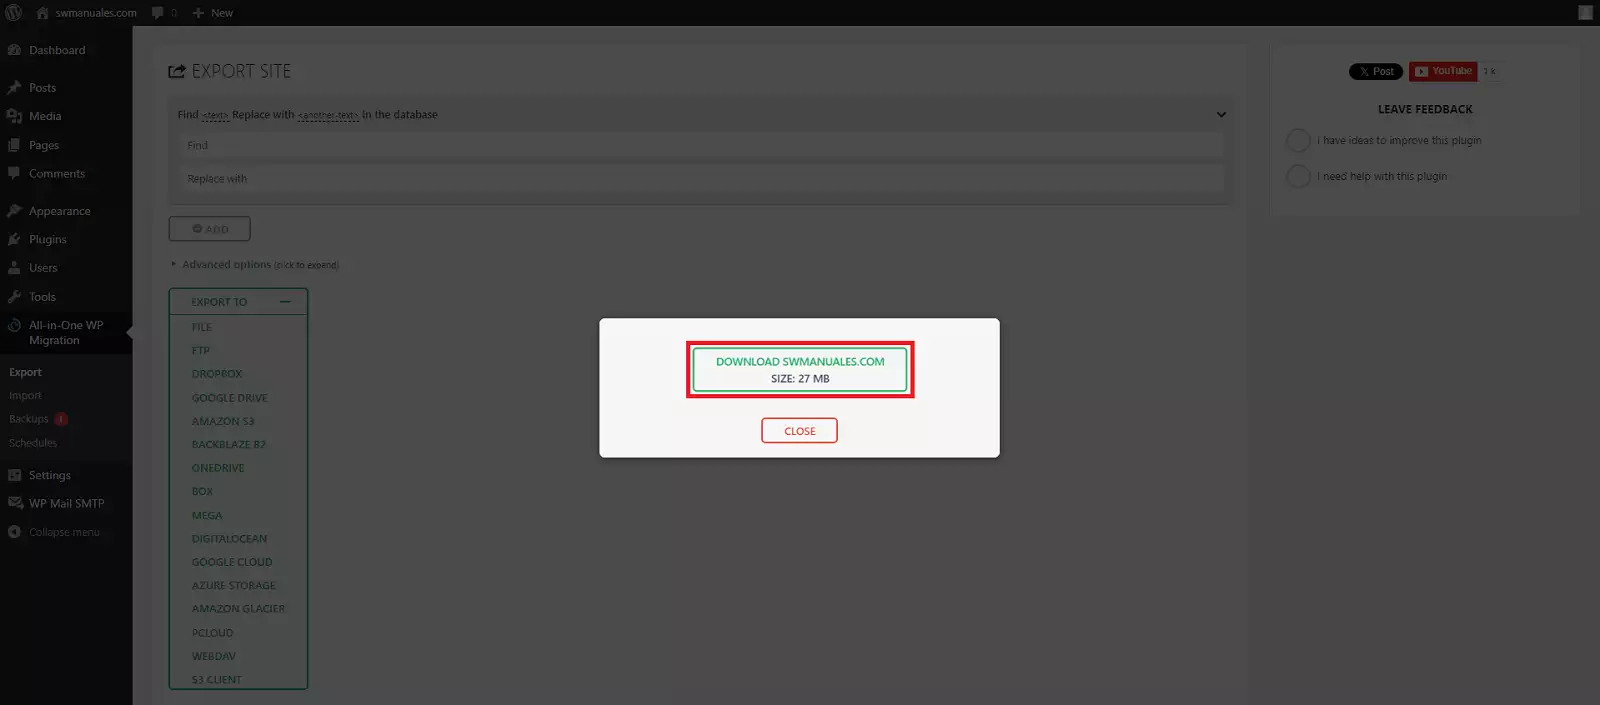
You can then download your website as a single file with the .wpress extension by clicking the download link in the pop-up window:
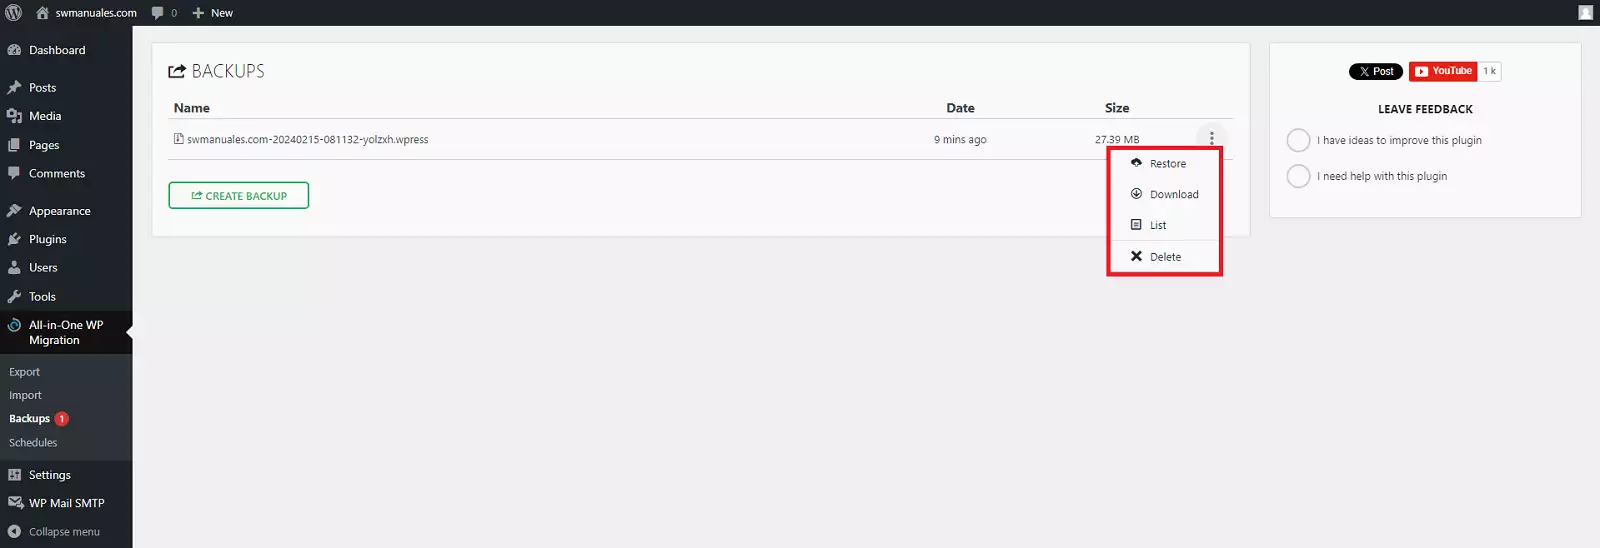
You will also have a copy of the same previously downloaded .wpress file in the “Backups” section of the All-in-One WP Migrator plugin, so you can use it as a backup in case you want to restore your WordPress to your current hosting or also re-download the .wpress file to your PC, delete it from your WordPress...
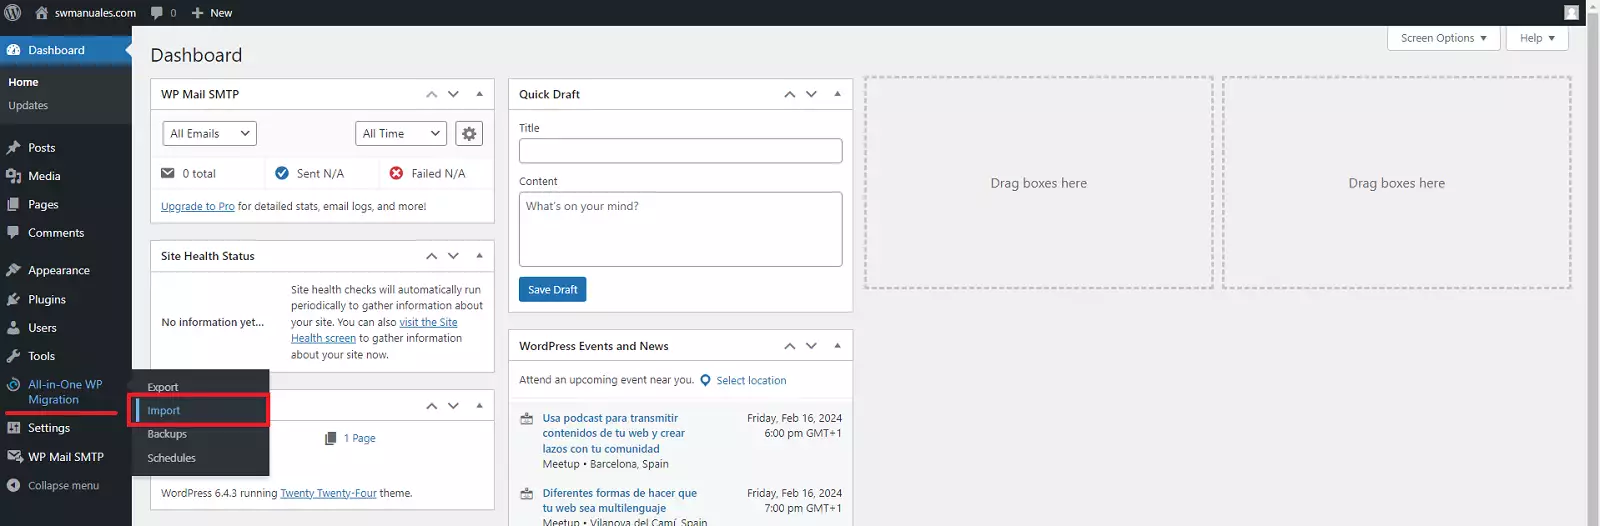
To start the import process, you should have a WordPress installation with the All-in-One WP Migration plugin installed on this new site, so follow these steps to import the site:
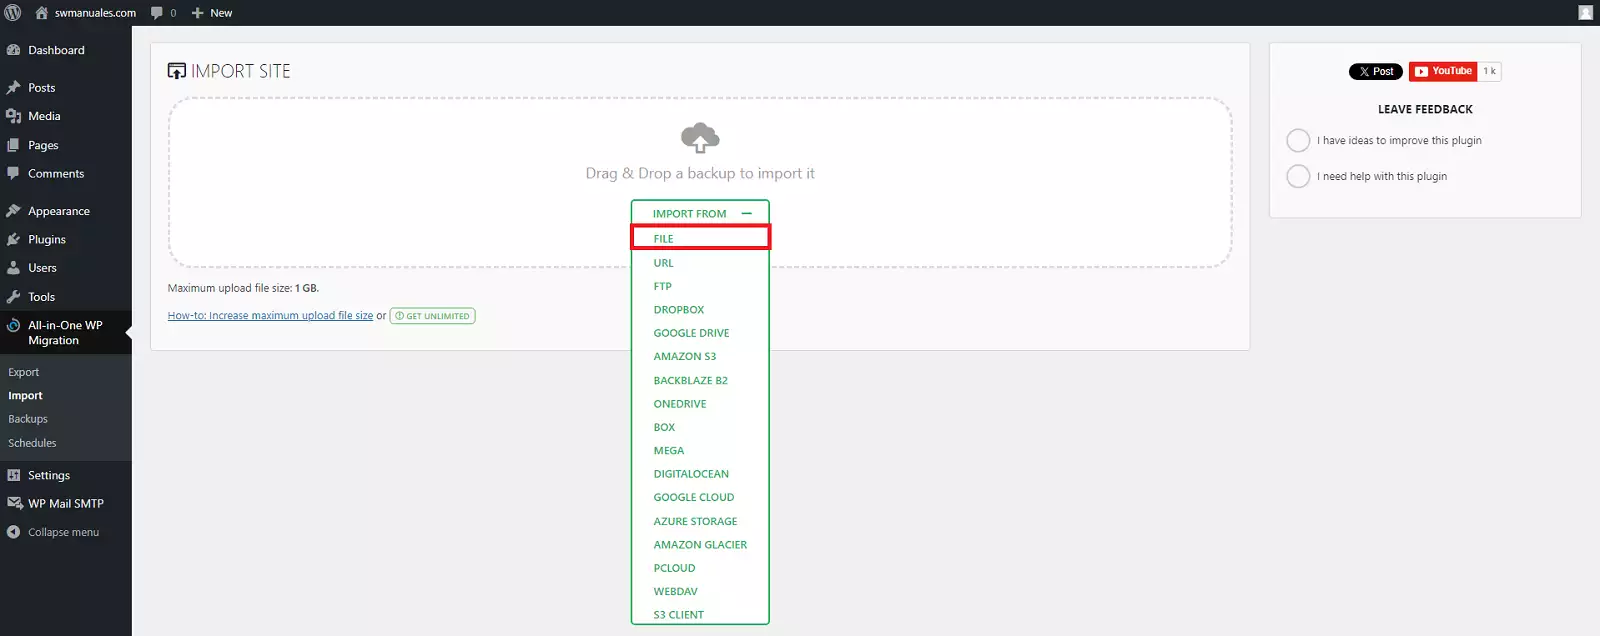
Locate and upload the .wpress export file you created in the previous step of this tutorial from your PC.
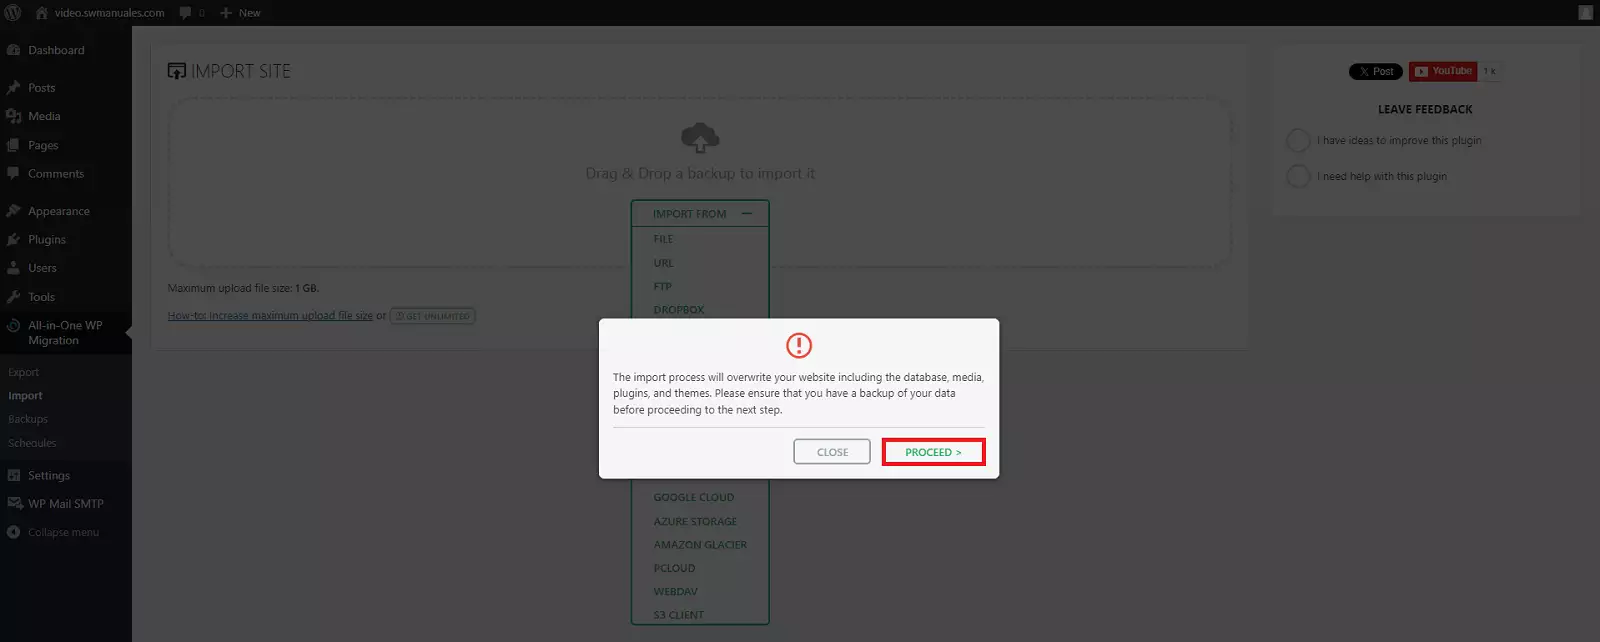
The plugin will warn you that this process will overwrite your current WordPress database, media, plugins, and themes. Click the “Proceed” button:
At this point, the import process will begin. The time this takes will depend on your new server and the size of the migration file.
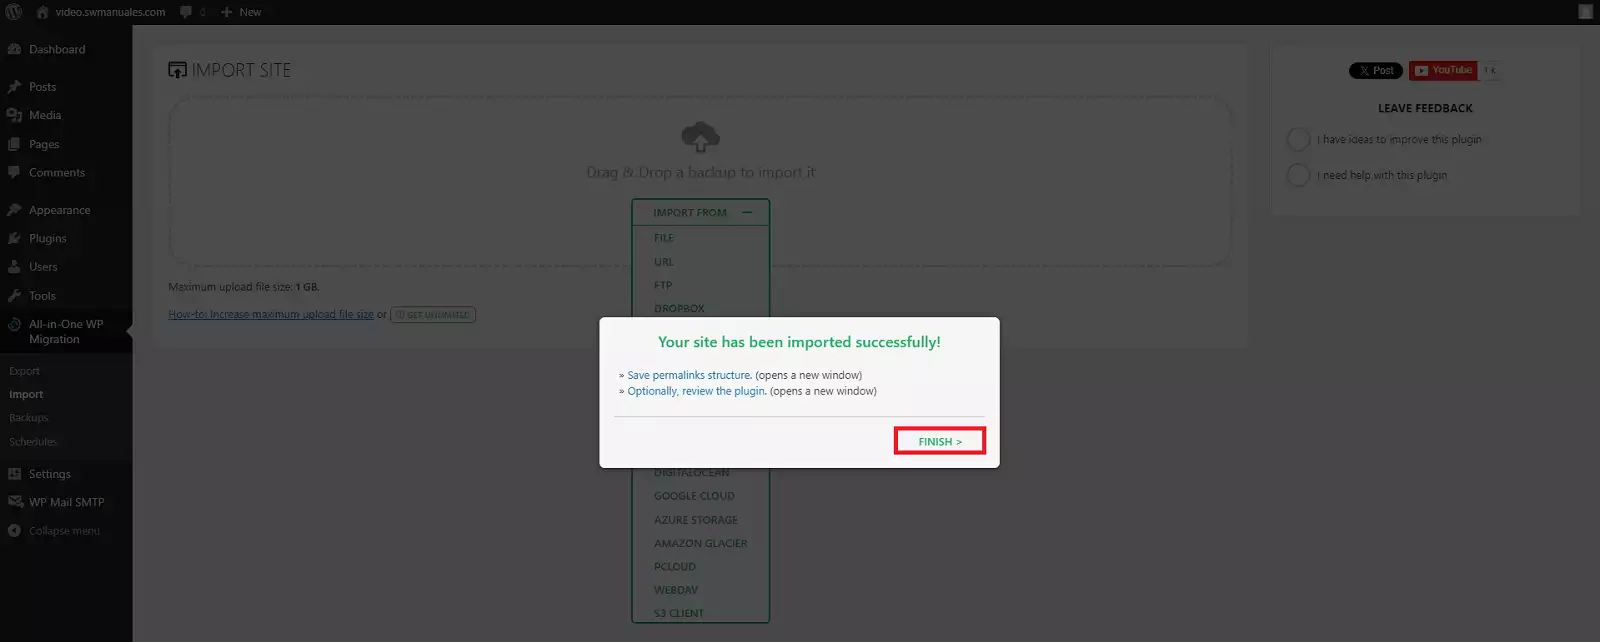
You will receive a confirmation message stating that “Your site has been successfully imported!” and also advising you to “Save the permalink structure”.
To complete the import process, click the “Finish” button
danger Warning! The username and password you set up during the installation for your new WordPress are no longer valid because you have migrated all the information from your old WordPress, including its usernames and passwords, to your new WordPress.
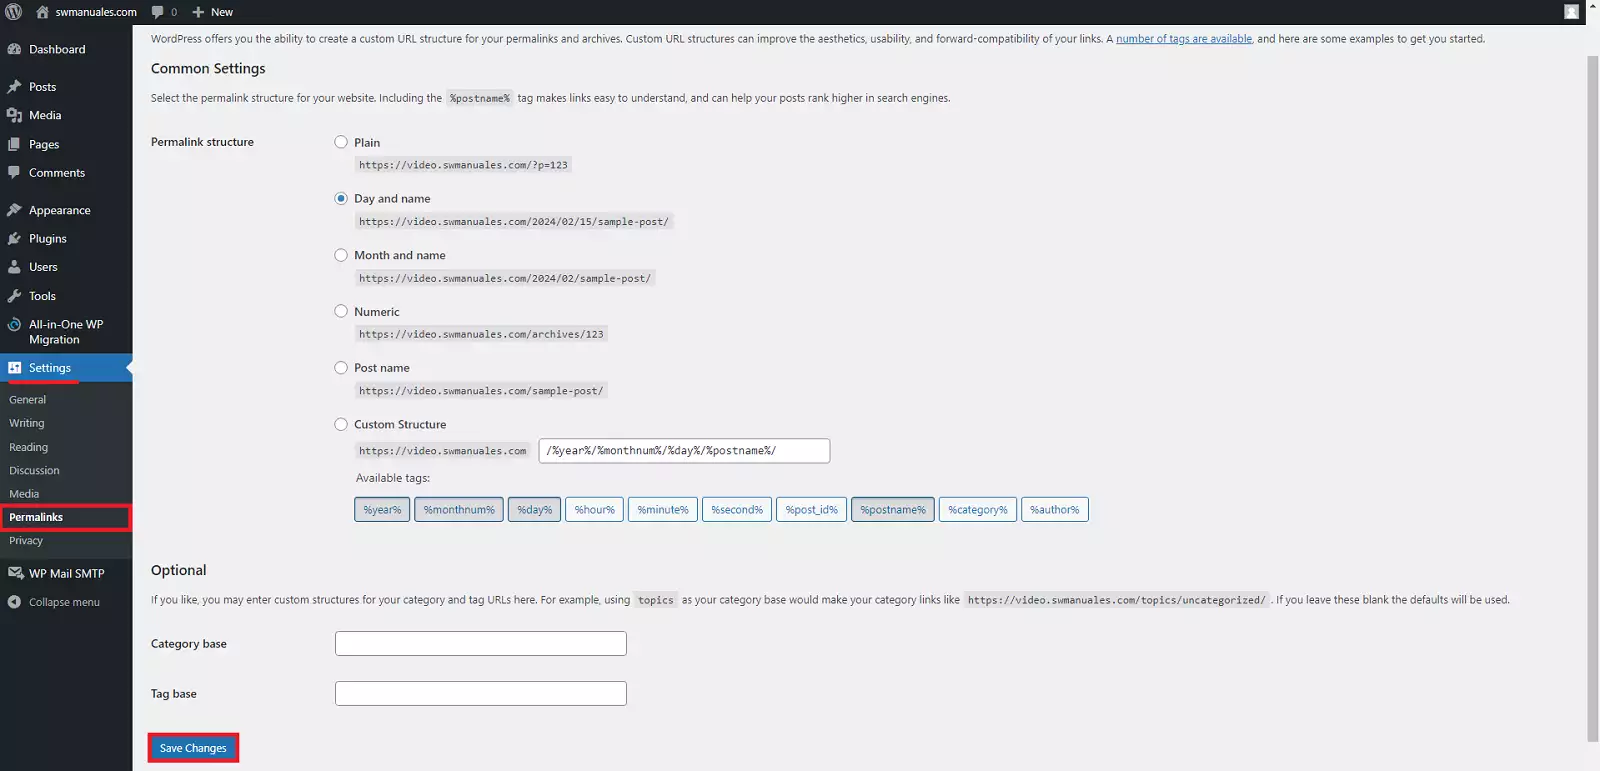
The migration of your WordPress is almost complete at this point. All you need to do now is reset the permalink settings for the newly migrated WordPress.
In the dashboard of your new WordPress, go to “Settings” > ‘Permalinks’ and click the “Save Changes” button
success Congratulations! You have successfully migrated and configured your WordPress