Un gestor de contenido o CMS (Content Management System) es una herramienta para servidores web que permite crear, administrar y publicar contenido en un sitio web sin necesidad de conocimientos avanzados de programación. A través de su interfaz, el usuario puede controlar, mantener y actualizar el contenido de manera sencilla. Como indica su nombre, se trata de un sistema diseñado específicamente para gestionar contenidos de forma eficiente.
La elección de un gestor de contenidos dependerá de nuestras necesidades específicas. Algunos de los más populares son:
Desde SWPanel existen varias formas de desplegar gestores de contenido:
A continuación, te explicamos cómo desplegar un gestor de contenidos utilizando ambas opciones.
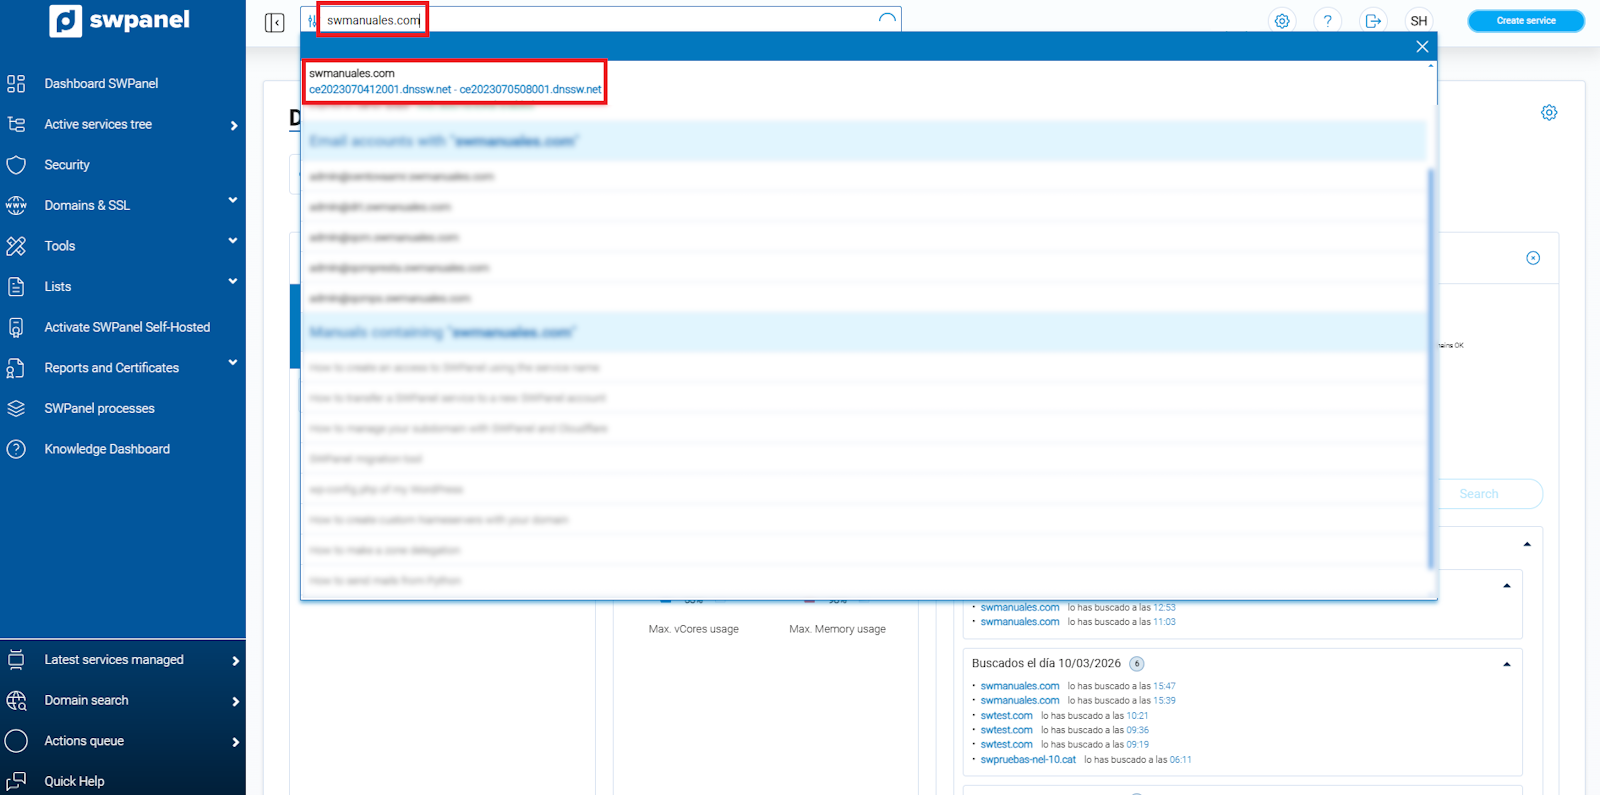
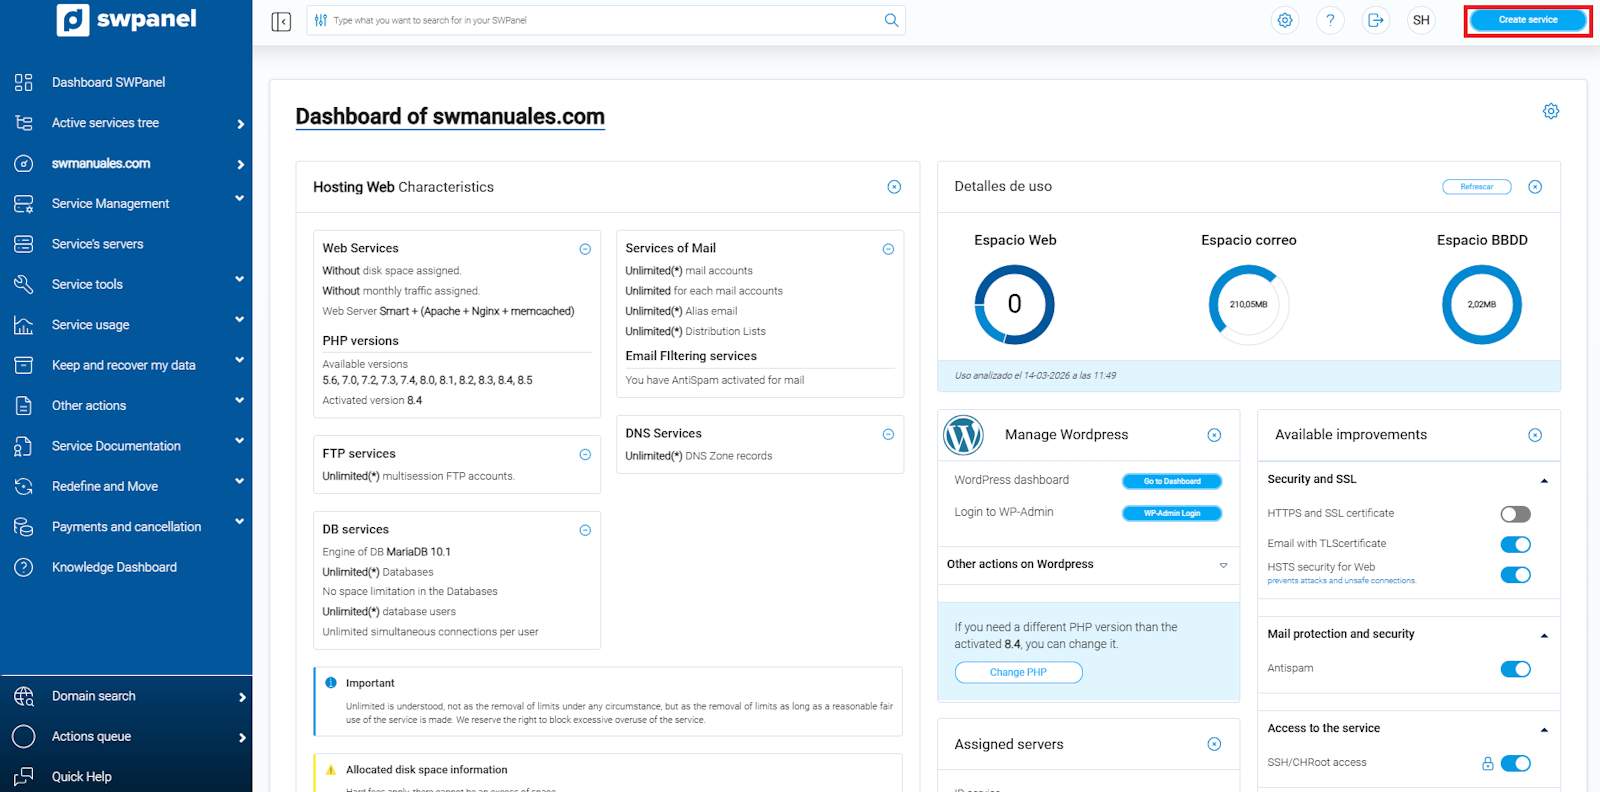
Accede a SWPanel y dirígete al Dashboard del servicio Hosting donde deseas instalar el CMS.
info_capture ℹ️ Nota: La captura es orientativa, tomada sobre la versión 2026.000.0030 con fecha 14/03/2026. Puede diferir de la versión actual de SWPanel.
💡 Tip: Usa el buscador en la parte superior para localizar tu servicio de manera rápida y sencilla.
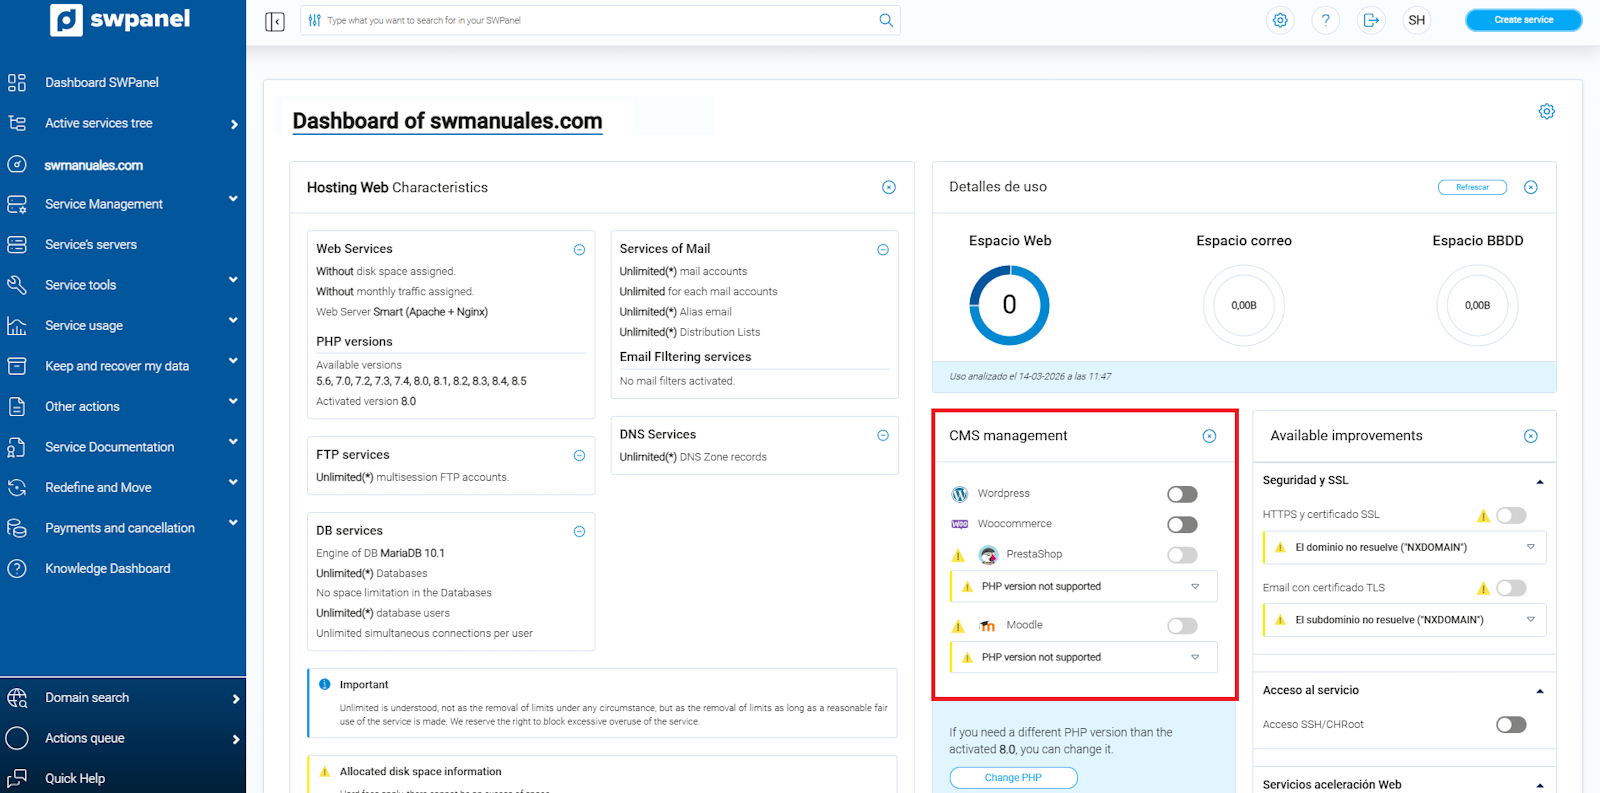
En la sección Gestión de aplicaciones CMS, podrás seleccionar e instalar el gestor de contenidos que mejor se adapte a tus necesidades.
info_capture ℹ️ Nota: La captura es orientativa, tomada sobre la versión 2026.000.0030 con fecha 14/03/2026. Puede diferir de la versión actual de SWPanel.
⚠️ Importante: Solo se puede tener una aplicación CMS activa a la vez en el mismo servicio.
La instalación de tu gestor de contenidos se completará en cuestión de minutos.
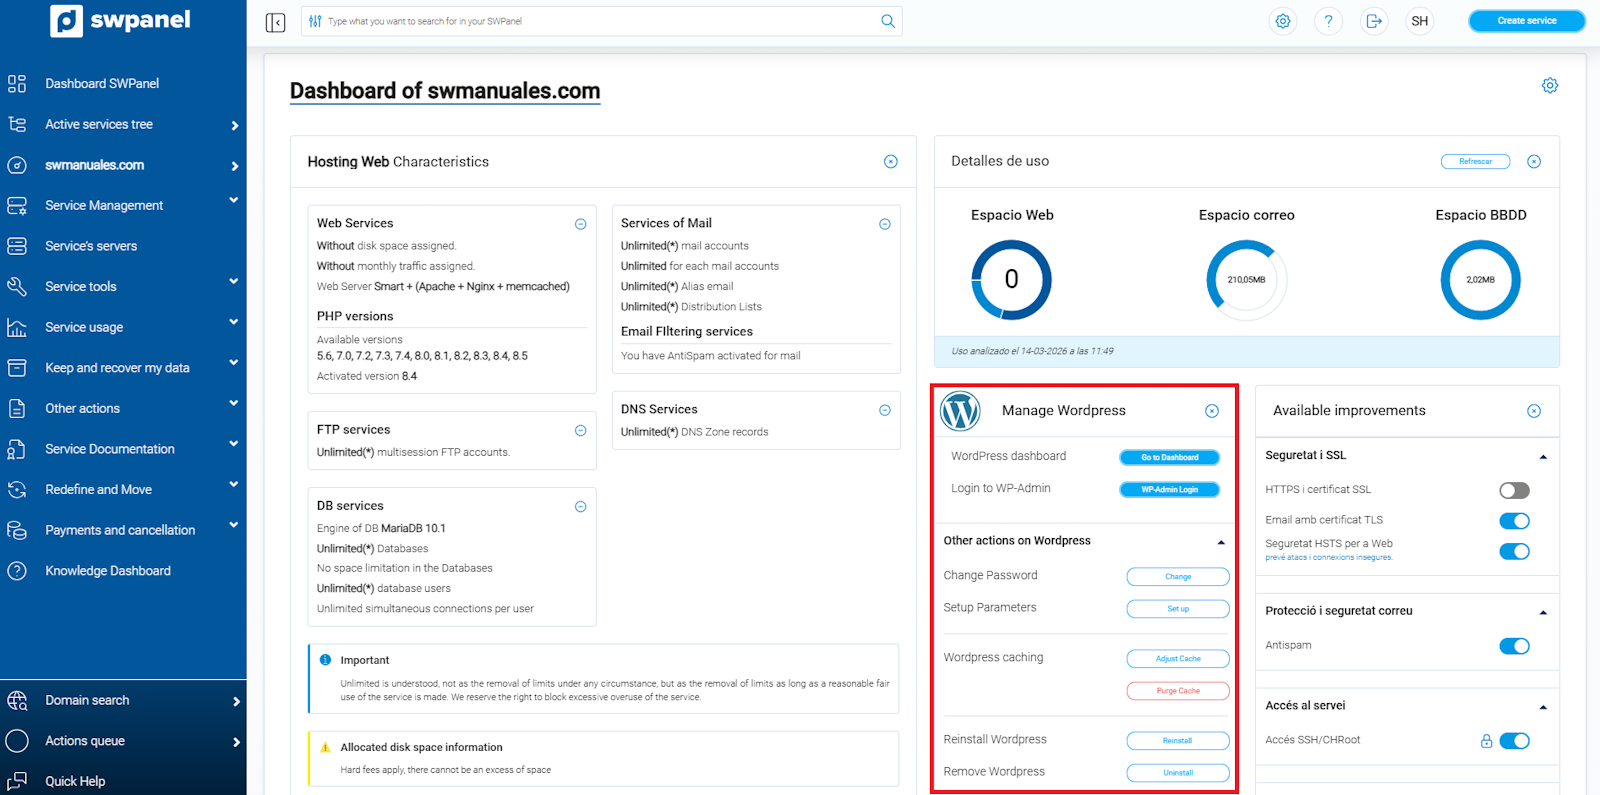
Además, desde esta misma sección podrás desinstalar la aplicación CMS siempre que lo necesites.
info_capture ℹ️ Nota: La captura es orientativa, tomada sobre la versión 2026.000.0030 con fecha 14/03/2026. Puede diferir de la versión actual de SWPanel.
El siguiente paso es realizar la configuración inicial del CMS que hayas seleccionado. A continuación, te explicamos cómo hacerlo.
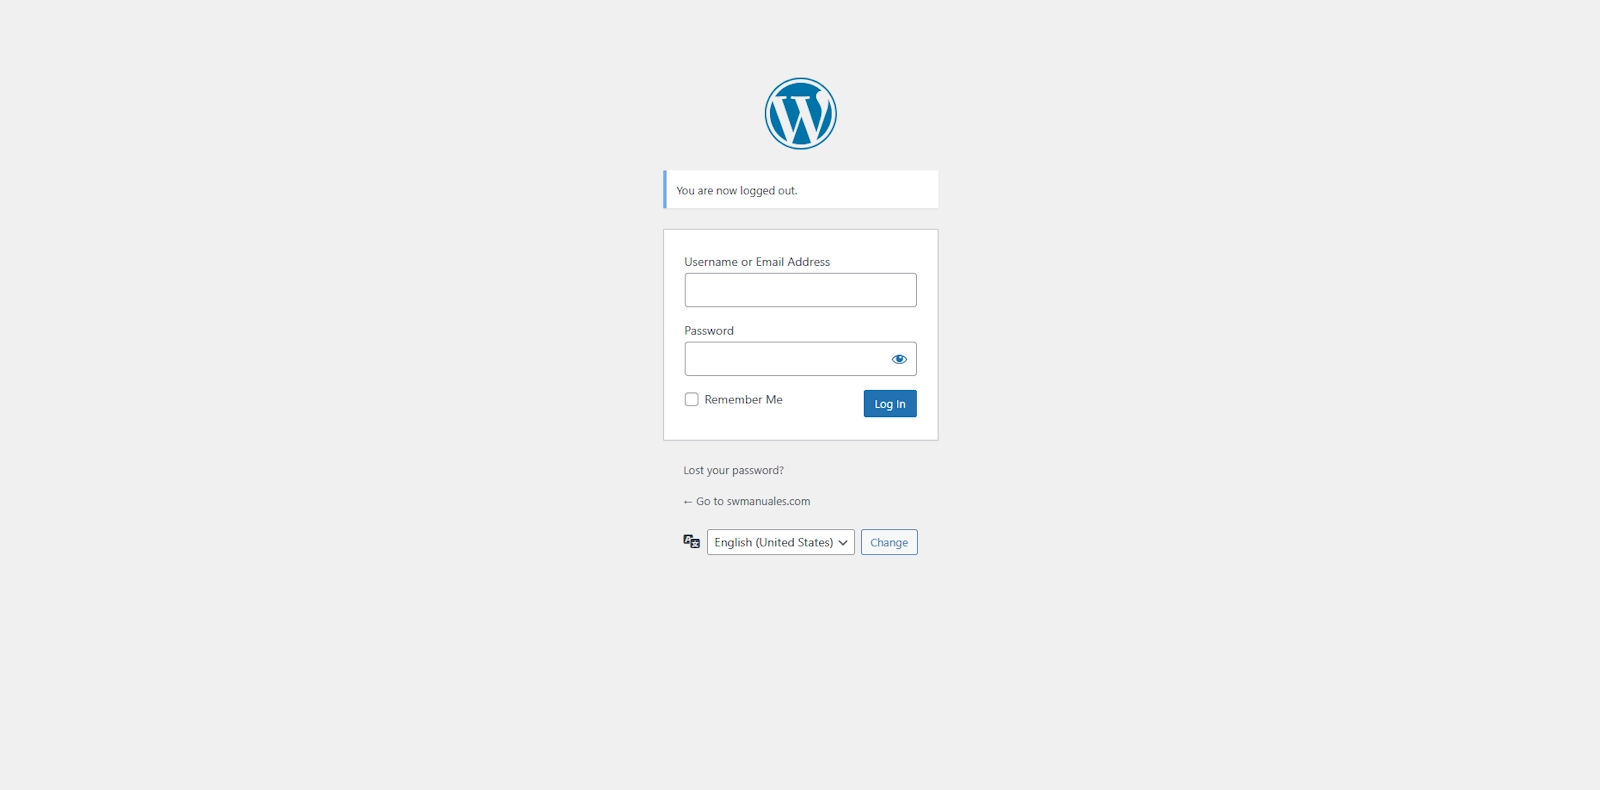
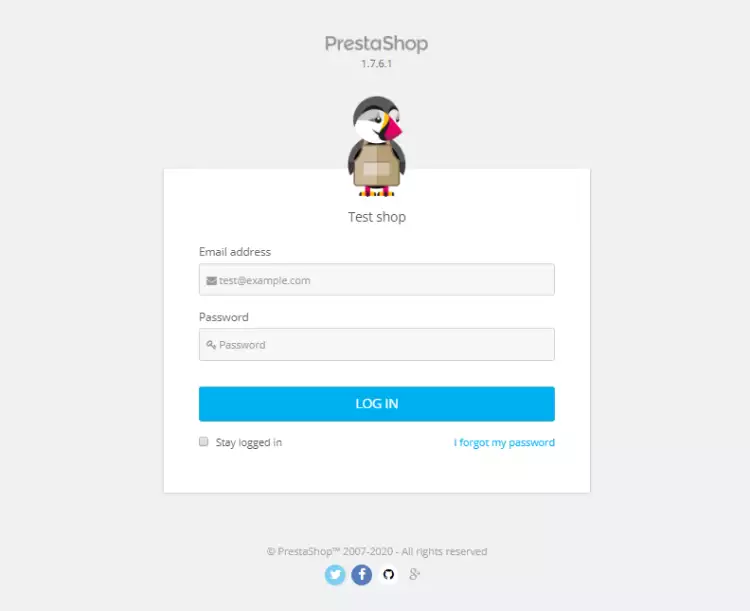
Una vez que hagas clic en Instalar, recibirás un correo electrónico en la cuenta que tengas registrada con las credenciales de acceso a tu WordPress.
En pocos minutos, tu WordPress estará completamente instalado y listo para usar.
Para acceder al panel de administración de WordPress, añade /wp-admin/ al final de tu dirección web. Por ejemplo:
http://tudominio.com/wp-admin/
https://tudominio.com/wp-admin/
Luego, introduce el usuario y la contraseña que recibiste por correo electrónico al momento de la instalación.
⚠️ Aviso: Si necesitas soporte técnico adicional sobre WordPress, consulta su documentación oficial o el servicio de soporte de WordPress. Por motivos de calidad, no ofrecemos asistencia sobre software externo.
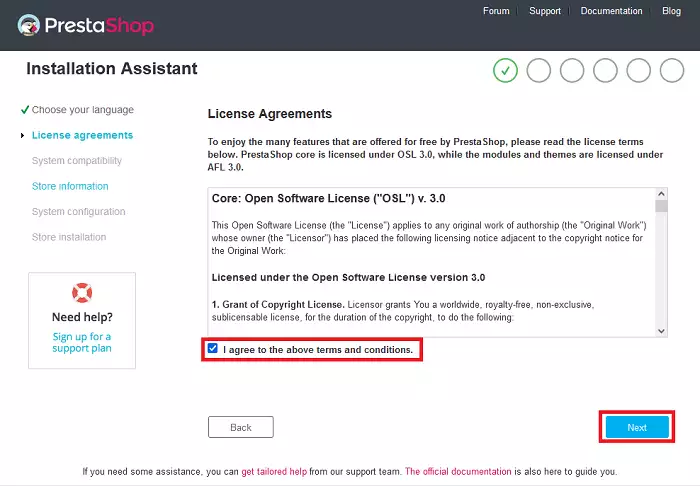
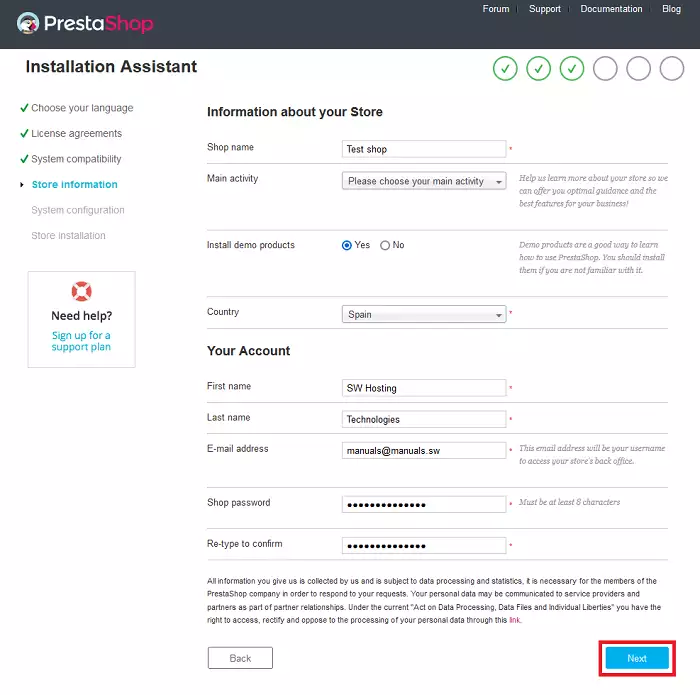
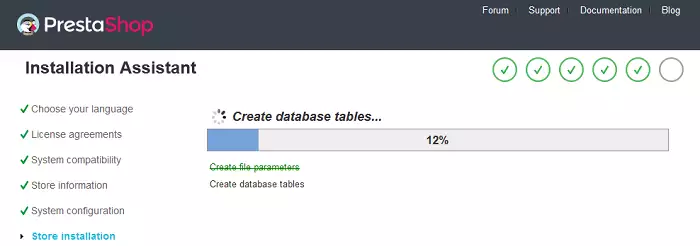
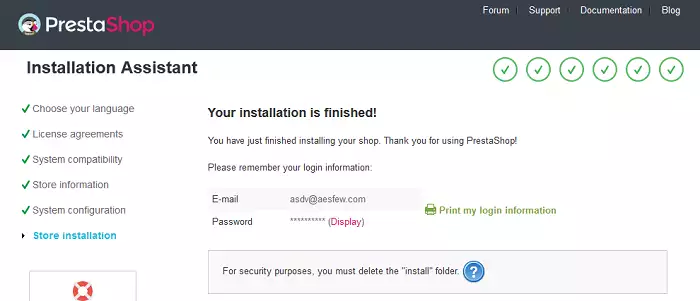
La configuración de PrestaShop debe completarse manualmente. Para hacerlo, sigue estos pasos:
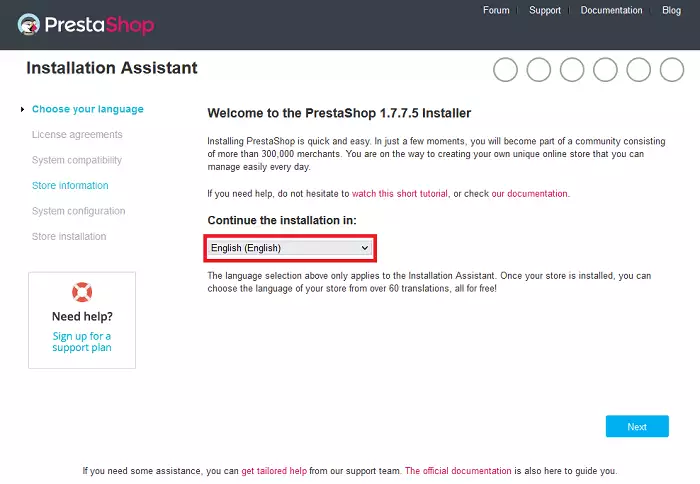
En esta pantalla, selecciona el idioma de la instalación y haz clic en “Next” para continuar.
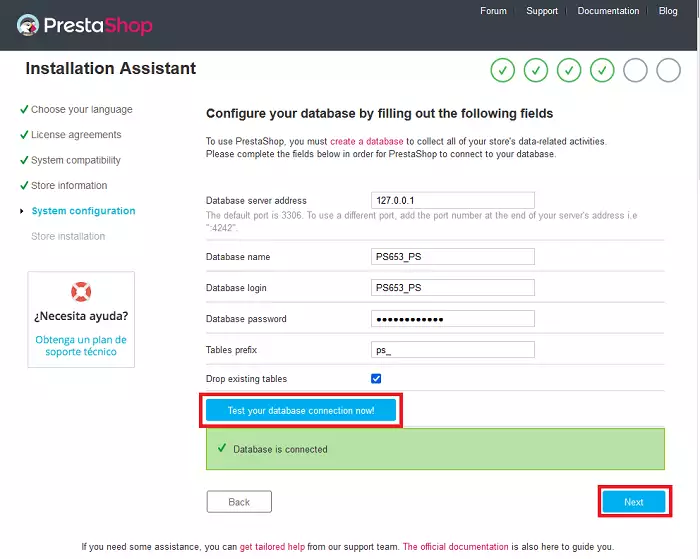
Haz clic en “¡Comprobar la conexión con tu base de datos!”. Deberías ver el siguiente mensaje:
La base de datos está conectada
Si el mensaje no aparece, revisa los datos de conexión que hayas introducido y corrígelos según sea necesario.
install.admin con un nombre de tu elección.
admin123, deberás acceder al panel de administración de PrestaShop a través de:
http://tudominio.com/admin123
https://tudominio.com/admin123Esto mejora la seguridad de tu tienda y completa la configuración inicial.
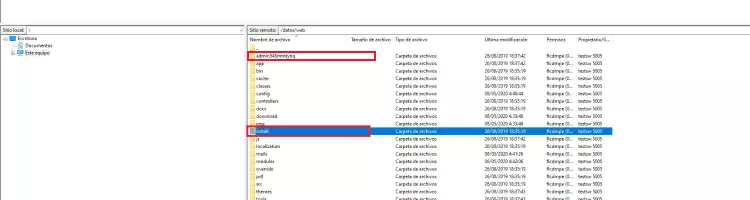
💡 Tip: Si no sabes cómo acceder a tu servicio web mediante FTP, consulta el apartado “Acceder al servidor FTP” en nuestro manual ? How to create an FTP account.
⚠️ Aviso: Si necesitas soporte técnico adicional sobre PrestaShop, consulta su documentación oficial o el servicio de soporte de PrestaShop. Por motivos de calidad, no ofrecemos asistencia sobre software externo.
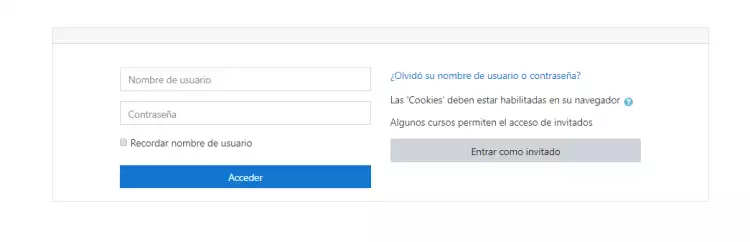
El CMS Moodle no requiere configuración manual tras la instalación.
Para acceder al panel de administración, utiliza la siguiente URL:
http://tudominio.com/admin/
https://tudominio.com/admin/
Introduce el usuario y la contraseña que recibiste por correo electrónico al momento de la instalación.
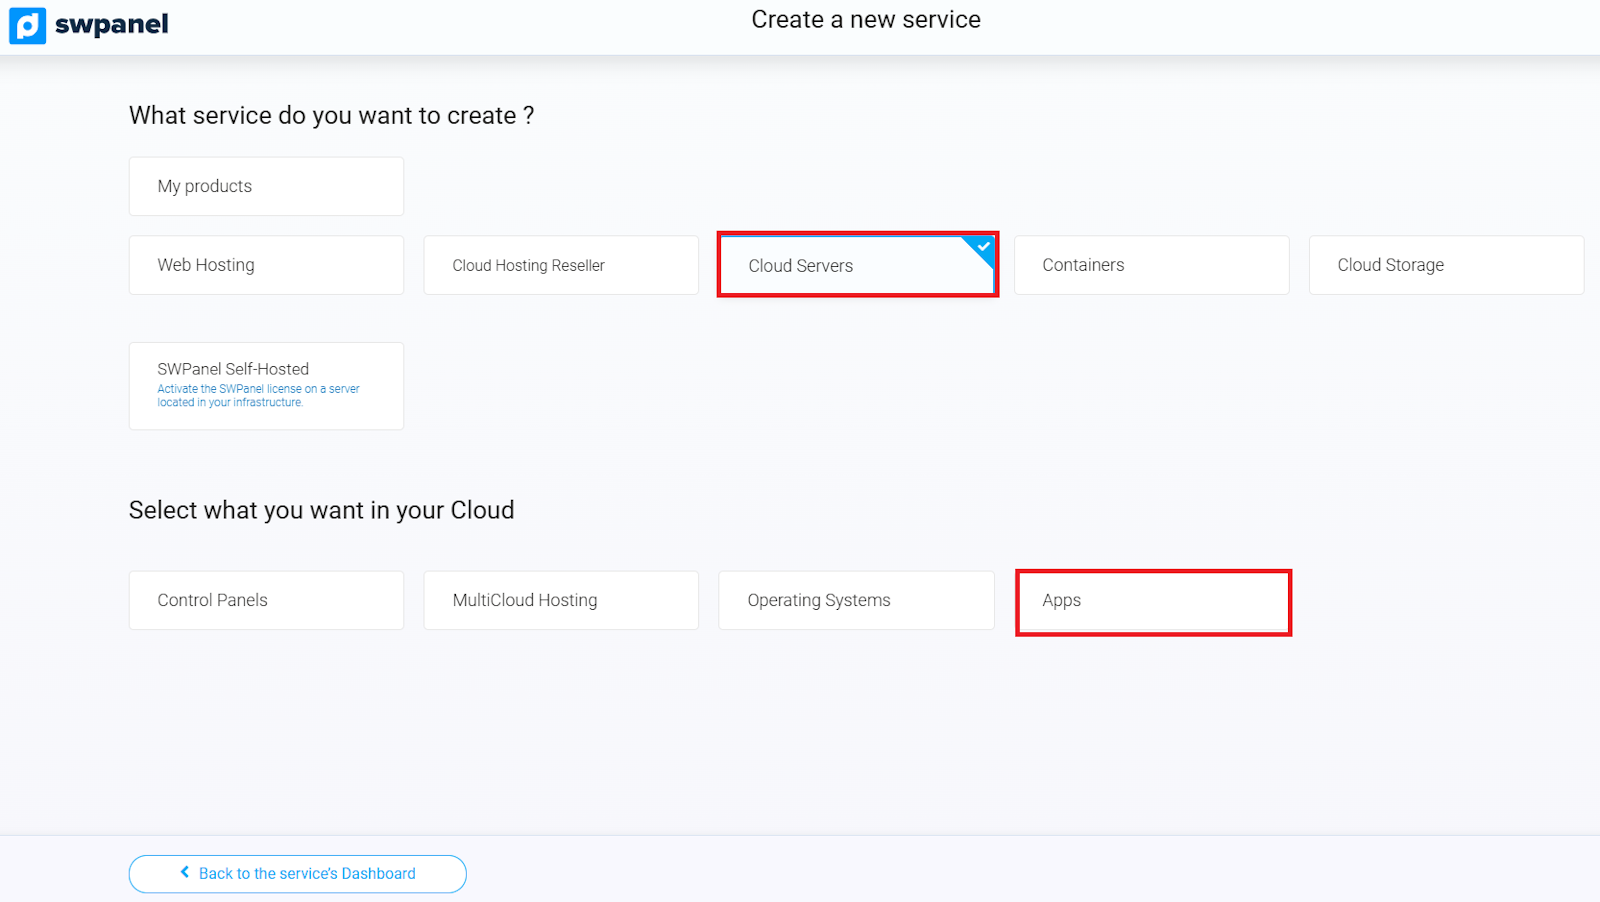
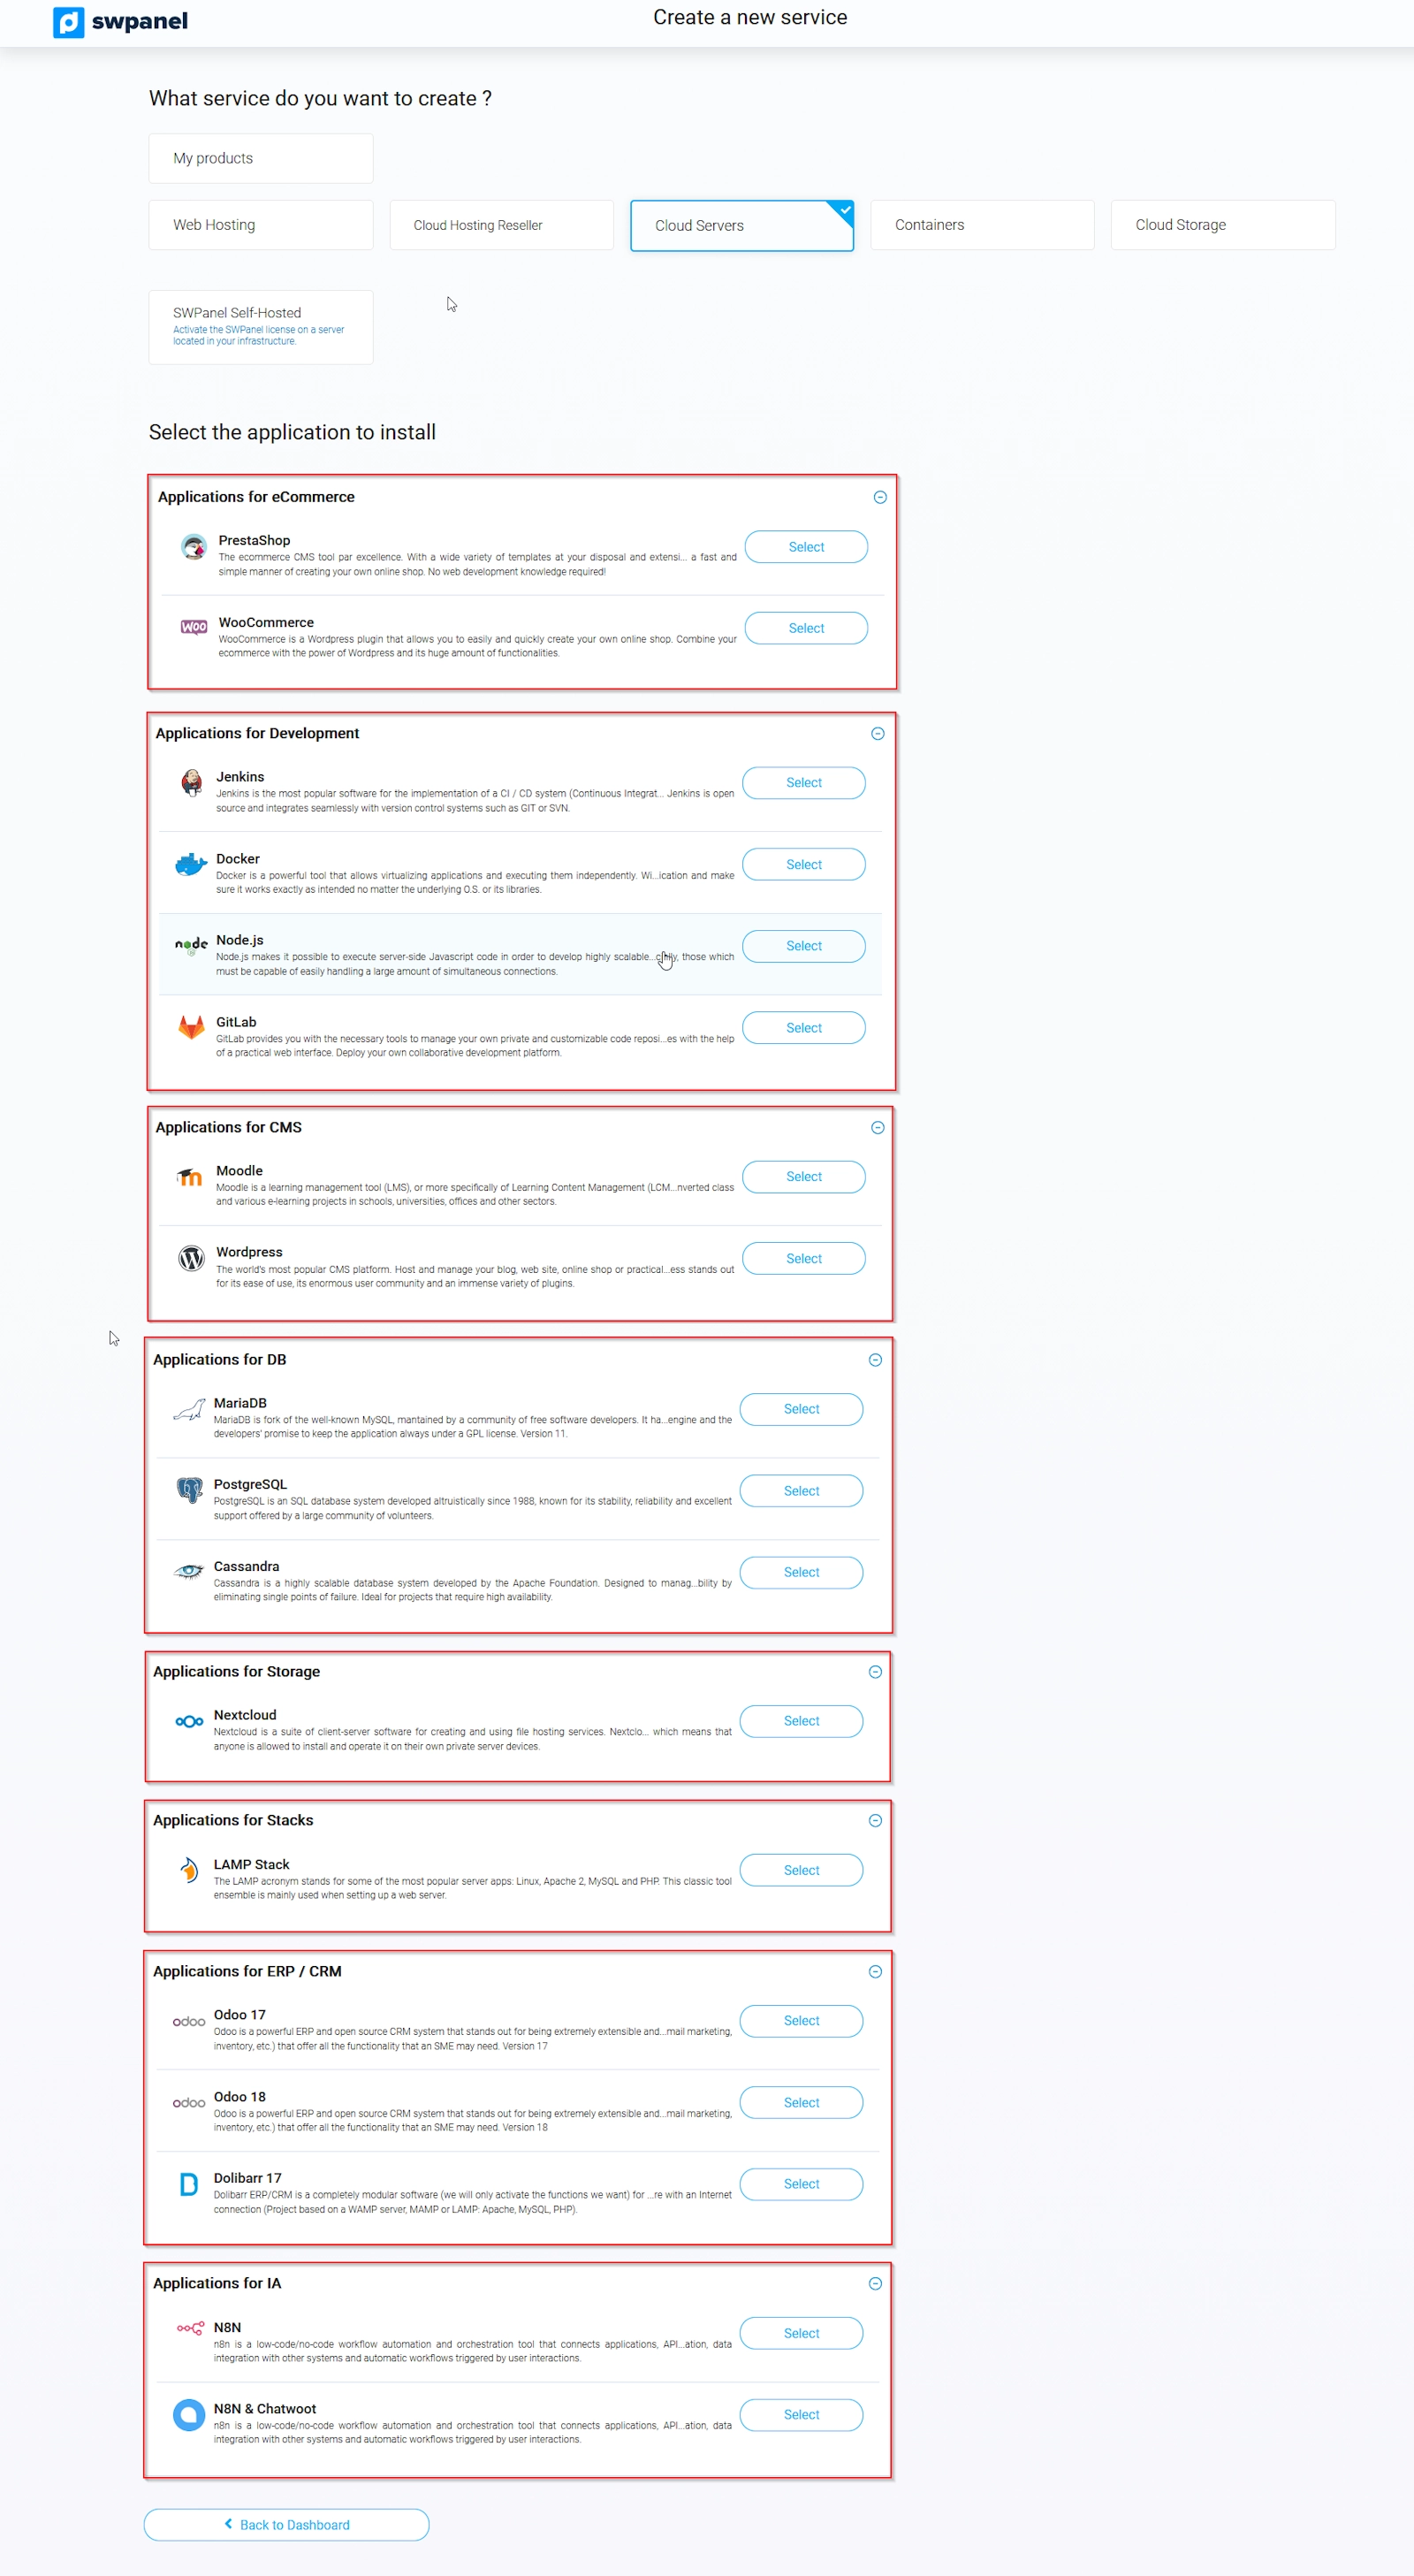
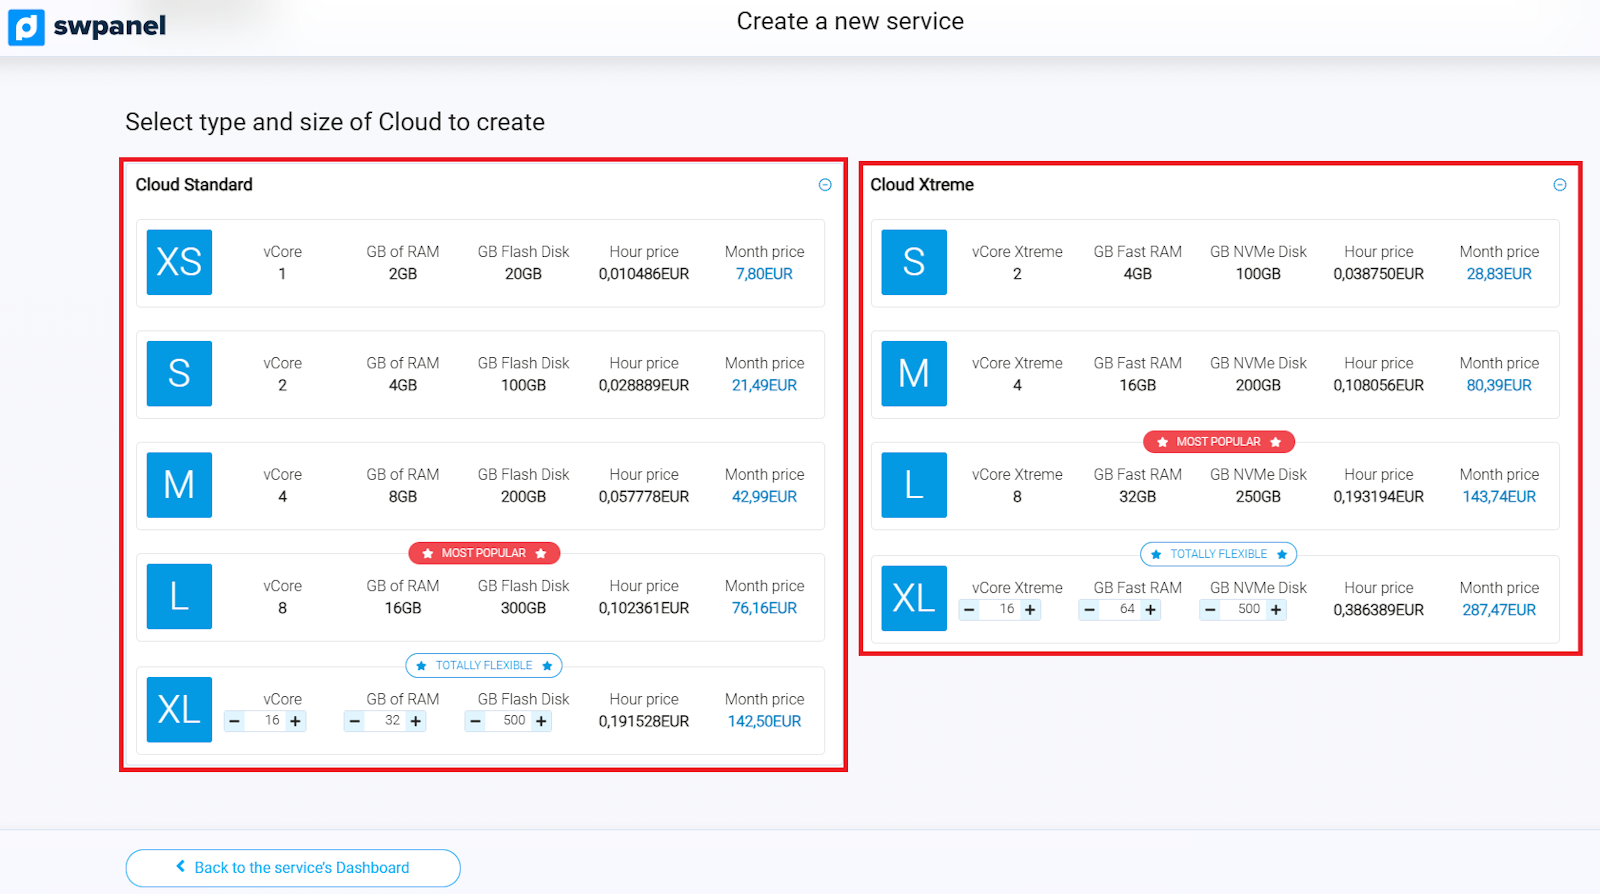
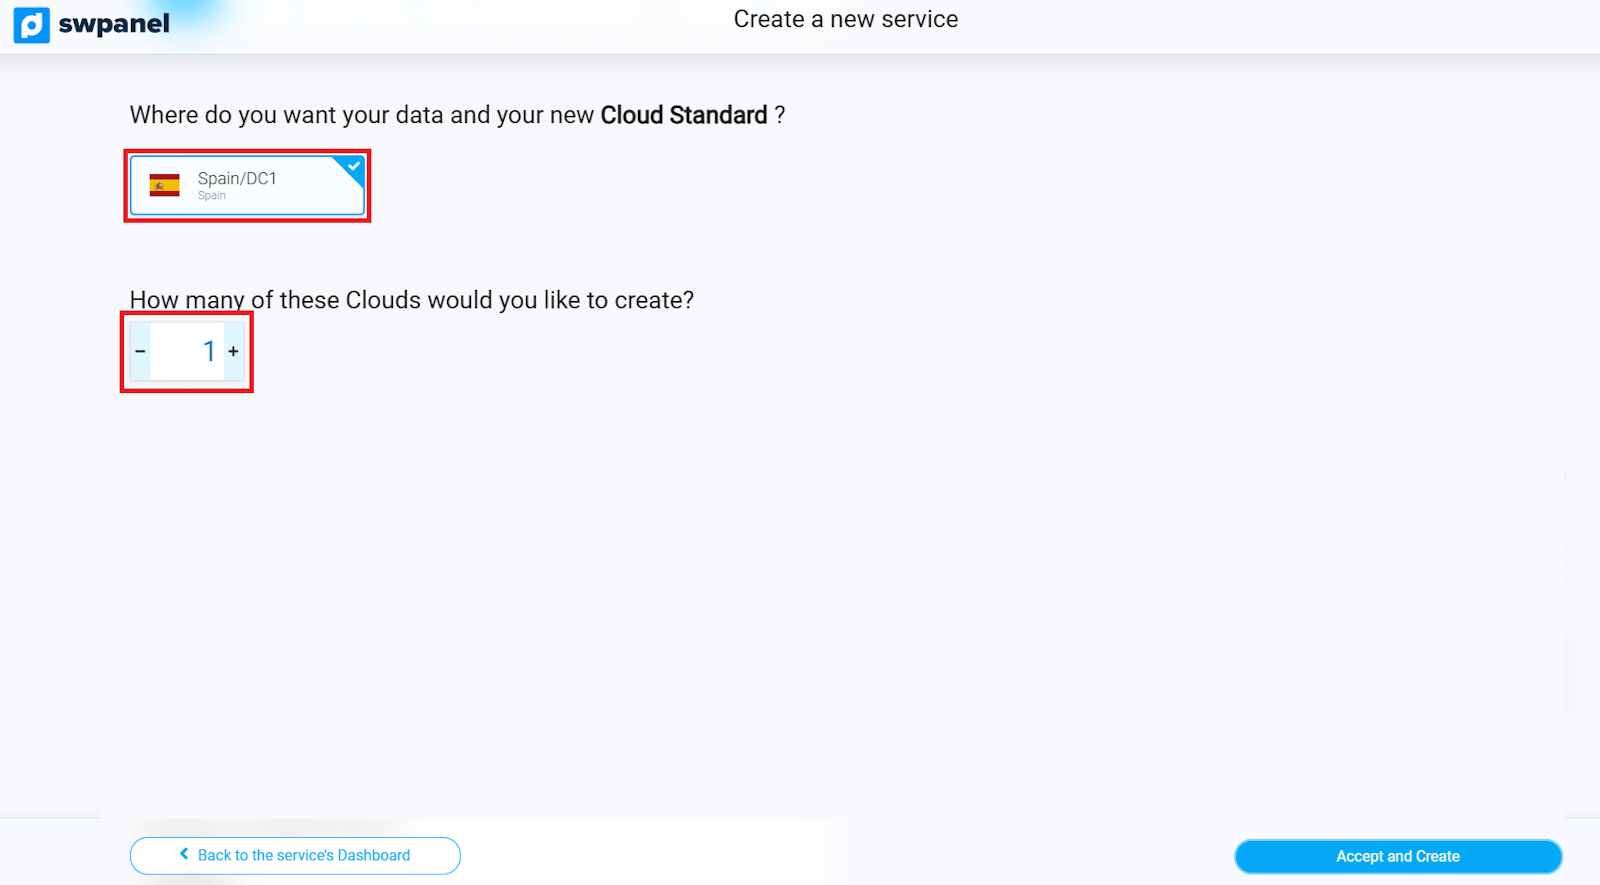
Para crear un nuevo Cloud con tu gestor de contenidos preinstalado:
info_capture ℹ️ Nota: La captura es orientativa, tomada sobre la versión 2026.000.0030 con fecha 14/03/2026. Puede diferir de la versión actual de SWPanel.
info_capture ℹ️ Nota: La captura es orientativa, tomada sobre la versión 2026.000.0030 con fecha 14/03/2026. Puede diferir de la versión actual de SWPanel.
info_capture ℹ️ Nota: La captura es orientativa, tomada sobre la versión 2026.000.0030 con fecha 14/03/2026. Puede diferir de la versión actual de SWPanel.
El Cloud se creará automáticamente con la aplicación elegida ya preinstalada. Recuerda que también puedes acceder directamente al Cloud e instalar manualmente cualquier otra aplicación que prefieras.
info_capture ℹ️ Nota: La captura es orientativa, tomada sobre la versión 2026.000.0030 con fecha 14/03/2026. Puede diferir de la versión actual de SWPanel.
info_capture ℹ️ Nota: La captura es orientativa, tomada sobre la versión 2026.000.0030 con fecha 14/03/2026. Puede diferir de la versión actual de SWPanel.
Por último, se mostrará un resumen con los datos de la contratación. Revisa cuidadosamente toda la información y, cuando estés seguro, pulsa “Aceptar y crear” para finalizar la creación del Cloud.
💡 Tip: Pulsa “Descargar presupuesto” para obtener un documento con todas las características detalladas de tu nuevo Cloud.
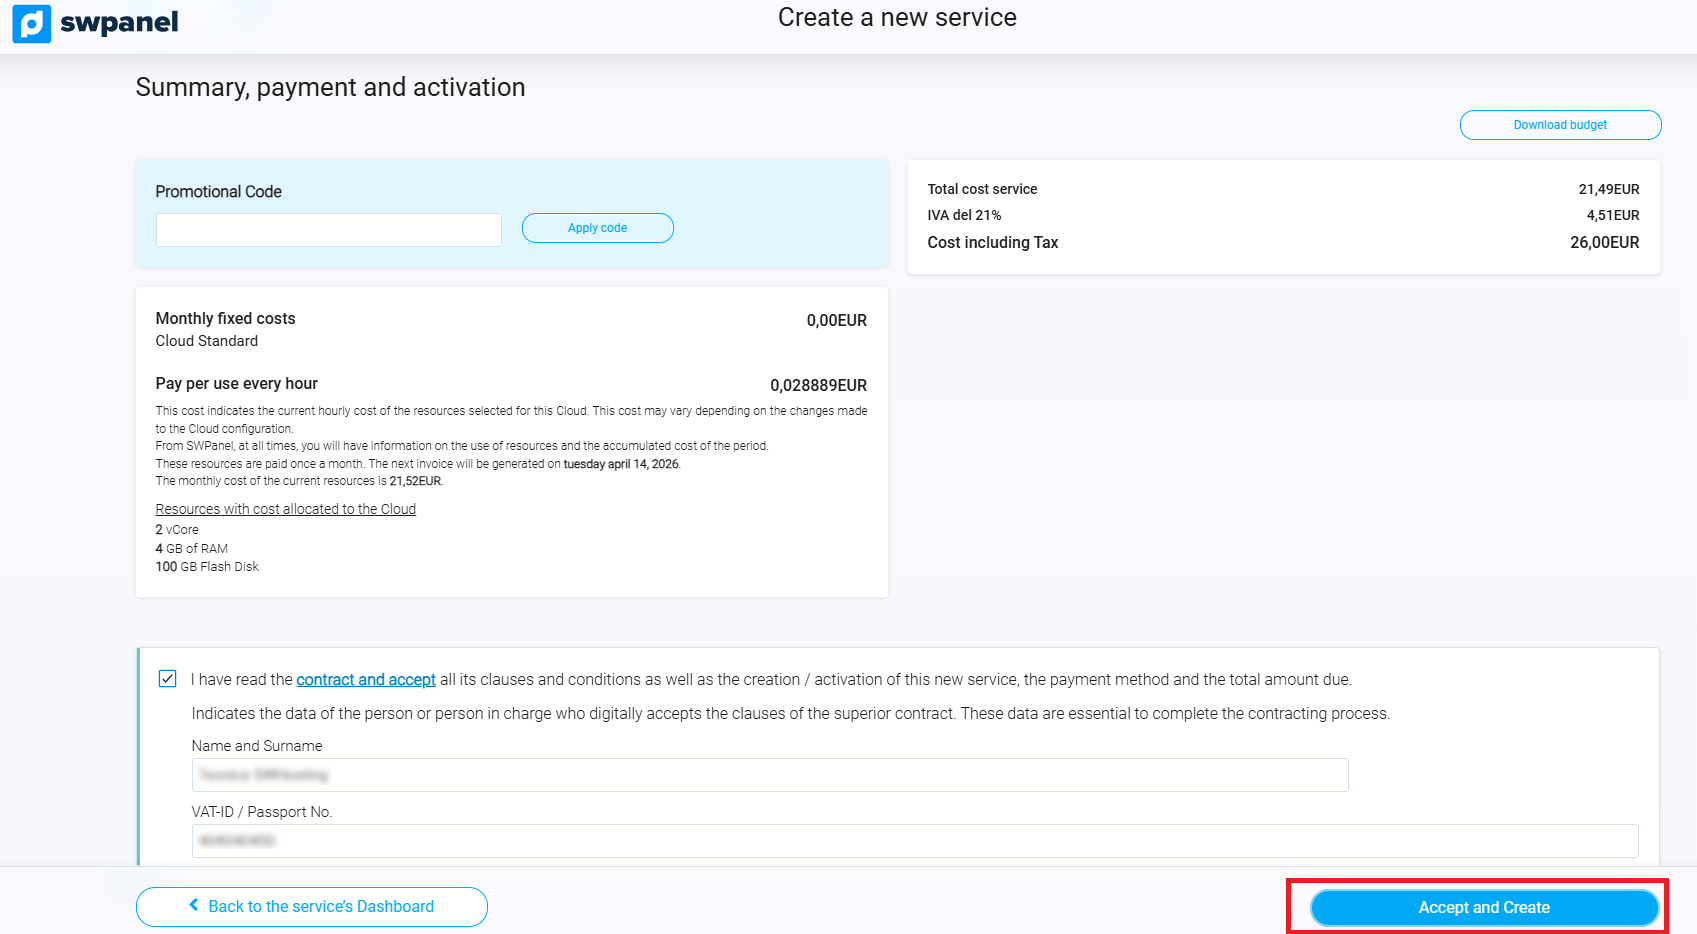
info_capture ℹ️ Nota: La captura es orientativa, tomada sobre la versión 2026.000.0030 con fecha 14/03/2026. Puede diferir de la versión actual de SWPanel.
¡Listo! Tu nuevo Cloud con la aplicación seleccionada estará operativo en cuestión de minutos y listo para usar.