All our services save by default, in your web space, log data. These are important, not only to have a record of what or who connects to the service or performs the different possible actions, but also to be able to see possible errors and correct them. Also, for compliance with ISO 27001, the LOPD and the RGPD, it is possible that at some point it will be necessary to resort to these logs.
These logs, however, take up storage space, so we must be very cautious when saving them. Saving very old logs can be very useful if you later need to track any element in your service, but it can also take up a lot of space and end up being a nuisance in the performance of your website.
If you have your own Cloud, you can activate the ? Custody of logs, a service we offer to save logs externally so that your server does not fill up with logs and you can store them without worrying about space. However, in a Shared Hosting, this option is not available.
What we do have available for all services, regardless of whether they are hosted in a Cloud or Shared Hosting, is log management. Log management consists of the log saving definition, i.e. you can choose for how many days the log records are kept. Once a log becomes older than defined, it is self-deleted to make room for the next logs and without taking up unnecessary space. This automated process avoids having to manually delete logs, which could cause the space to fill up and the website to stop working.
By default, log management is set to 365 days, i.e. a whole year.
To manage the service logs, you must follow these steps:
Inside your SWPanel, use the search engine to find your service. Once you find it, select it.
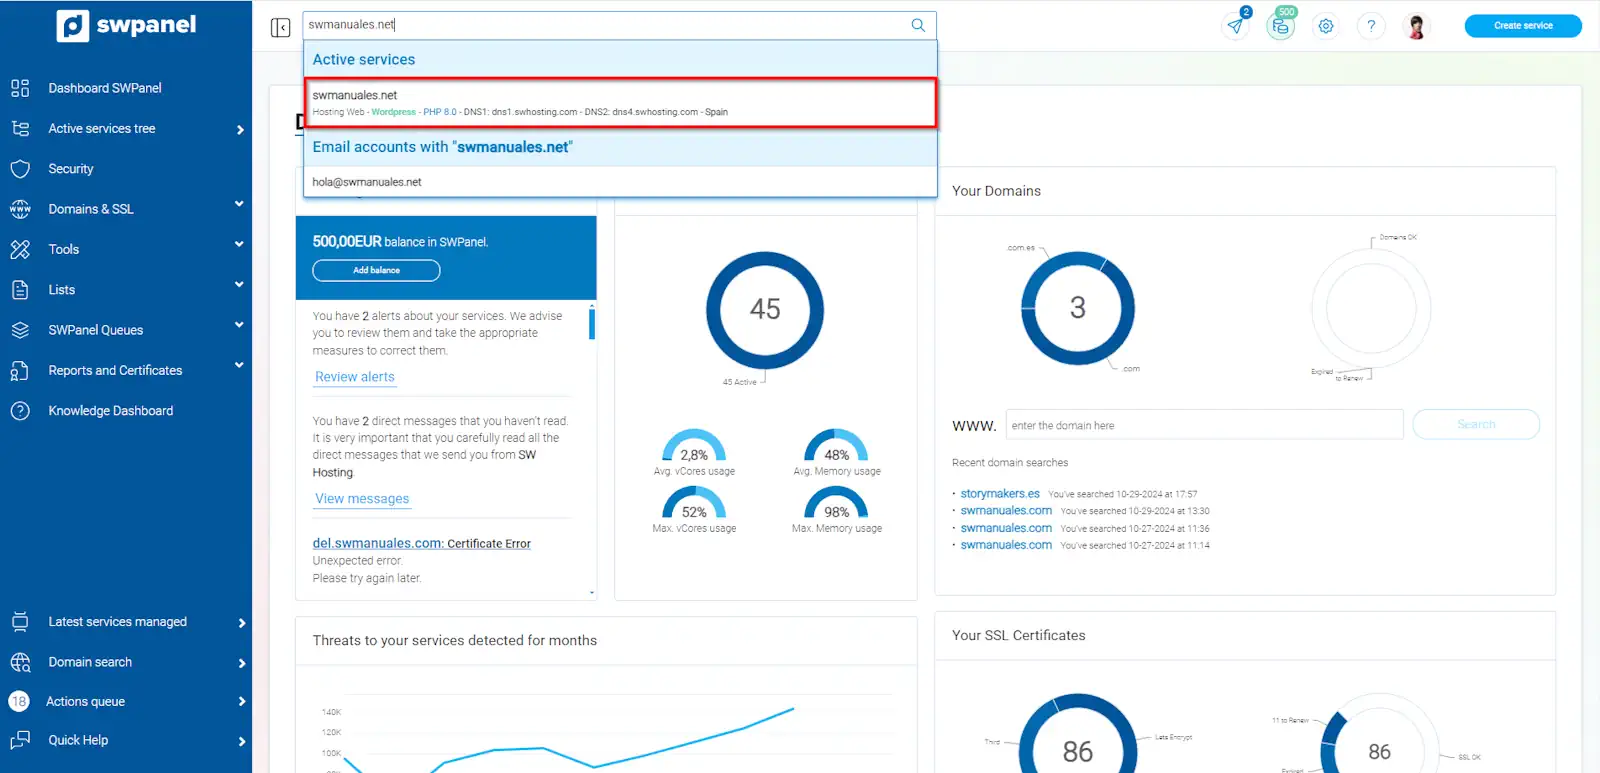
info_capture The screenshot is for guidance only. It was taken on version 2024.07.0134 with date 30/10/2024. It may differ from what the current version of SWPanel displays.
At the end of the Dashboard, by scrolling down, we will find a section called Manage service logs:
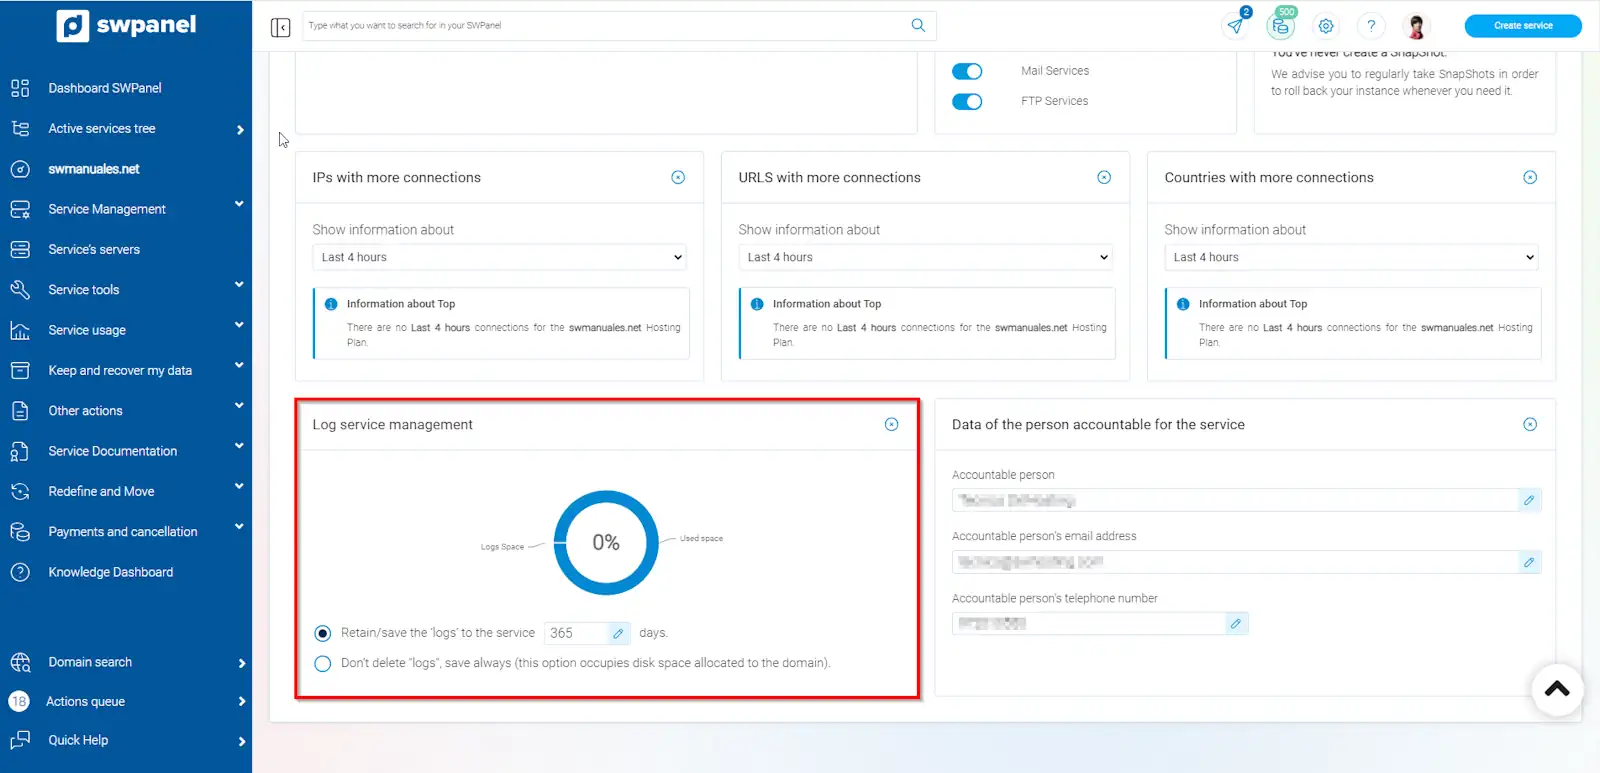
info_capture The screenshot is for guidance only. It was taken on version 2024.07.0134 with date 30/10/2024. It may differ from what the current version of SWPanel displays.
Click on the small box corresponding to the number of days we want to retain/save the logs in the service, on the pencil icon.
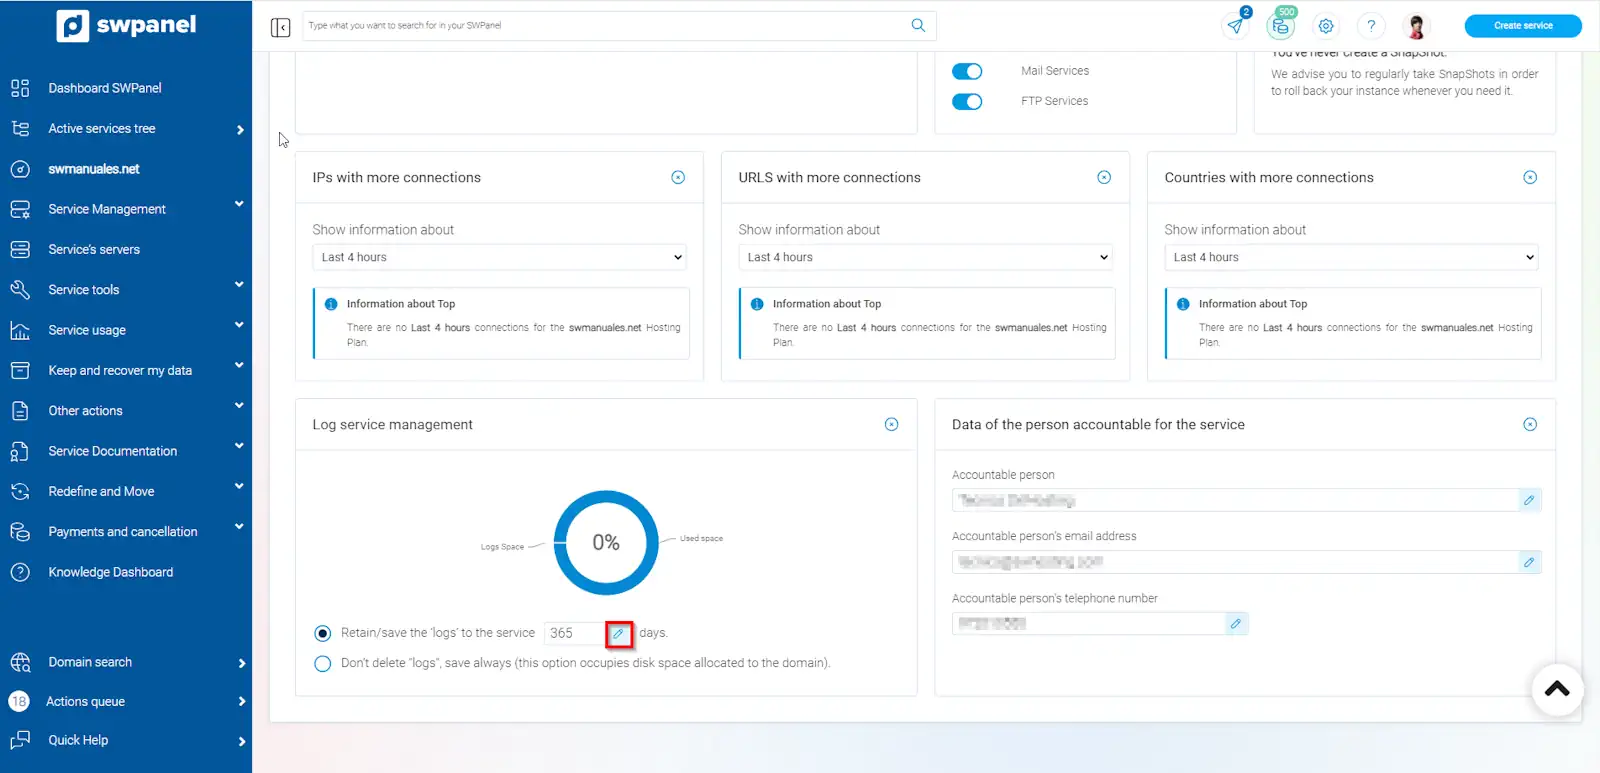
info_capture The screenshot is for guidance only. It was taken on version 2024.07.0134 with date 30/10/2024. It may differ from what the current version of SWPanel displays.
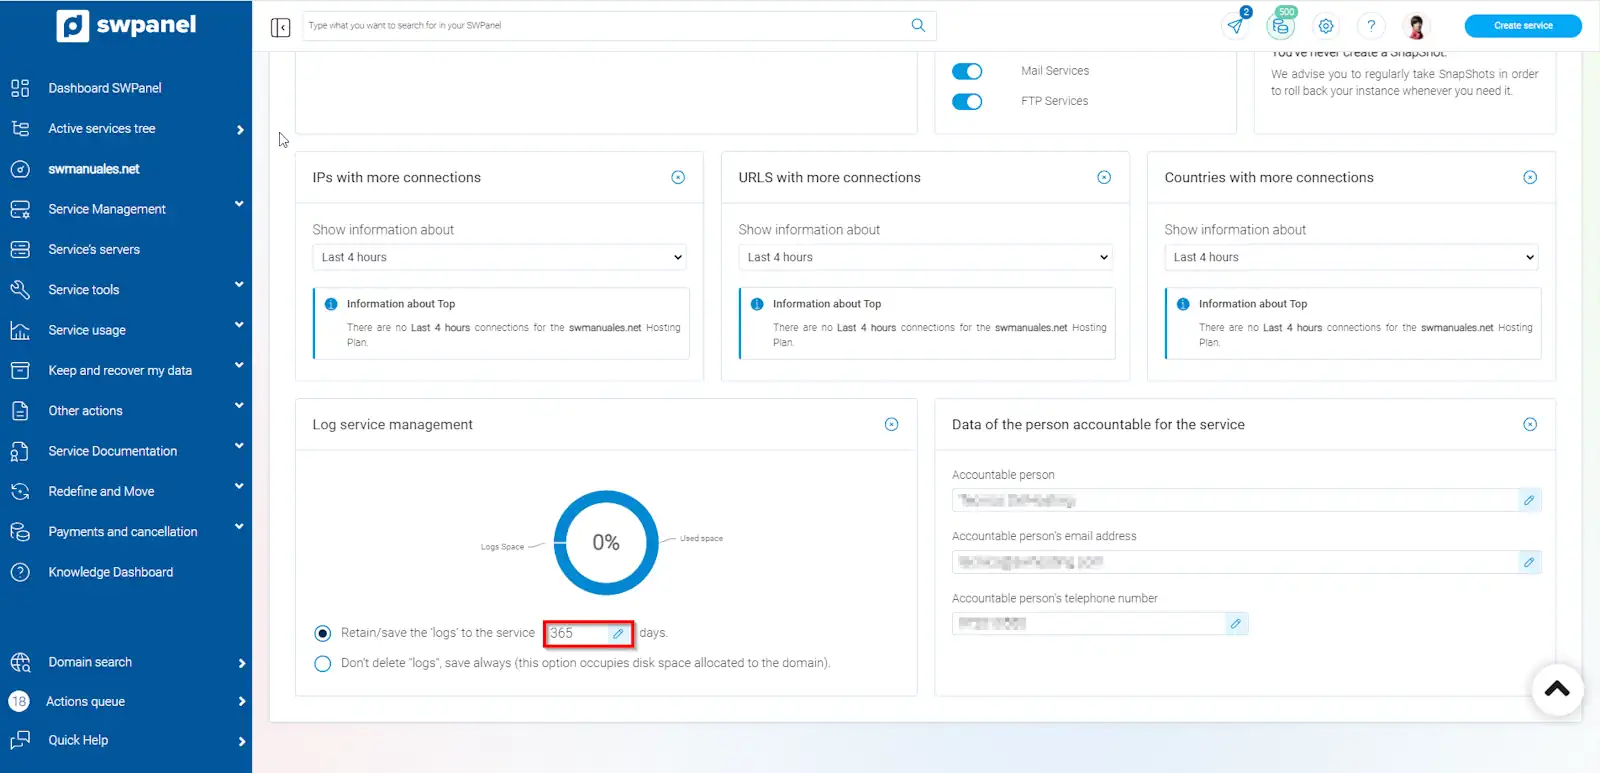
info_capture The screenshot is for guidance only. It was taken on version 2024.07.0134 with date 30/10/2024. It may differ from what the current version of SWPanel displays.