With SWPanel you can use the phpMyAdmin tool to access the management of your databases, such as exporting or importing them.
Also, you can use any kind of MySQL/MariaDB database management application, such as HeidiSQL, which allows a much more powerful database management than phpMyAdmin.
In this manual we are going to learn how to import a SQL file using HeidiSQL. To do this, you must have the database previously downloaded. If you have never downloaded a database before, we recommend you to follow our manual on how to import and export databases with phpMyAdmin: ? How to import and export databases with phpMyAdmin
If you want to install the HeidiSQL database manager on your private Cloud server with Windows 10 Pro operating system, you can have it at your disposal with a single click at SWHosting.
Download
From SW Hosting we never recommend downloading applications from untrusted sites. The best option is to download the program directly from the HeidiSQL official website.
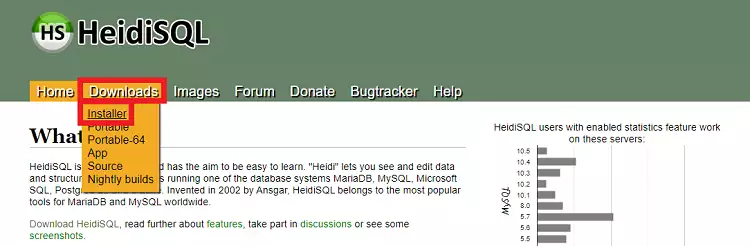
Once you are on the official site, go to Downloads > Installer:
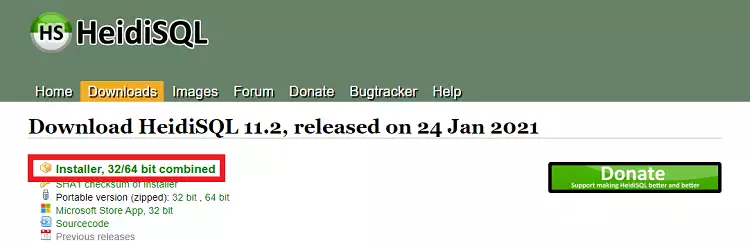
When you click on "Installer", go to the download page. The program may download automatically. If it does not download automatically, click on "Installer, 32/64 bit combined ":
Open and run the downloaded file to access the program setup and installation wizard.
Installation
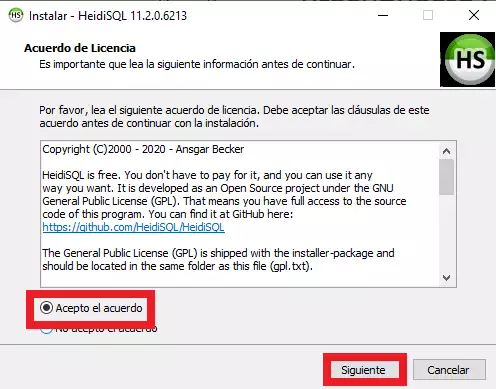
Click on "I accept the agreement" > Next:
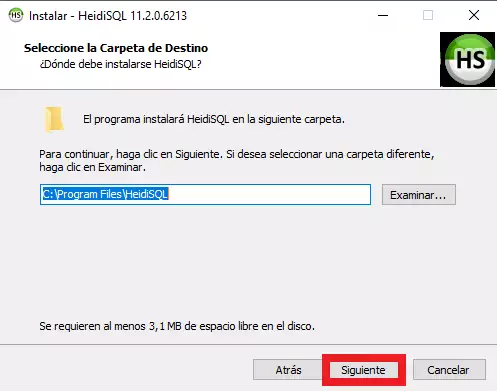
By default, the program will be installed in Windows Program Files, like everyone else. *If you want it to be installed elsewhere, select the folder using the "Browse..." button. Click on "Next":
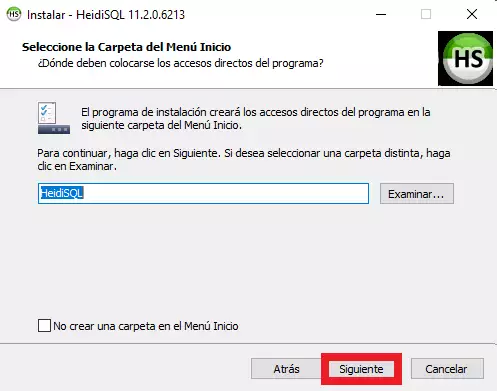
This option creates a folder in the start menu for easy access to the program. Click on "Next":
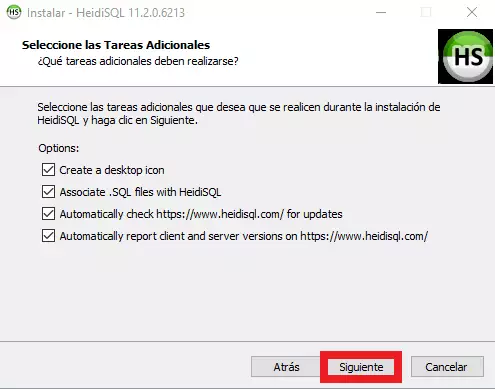
Here you can customize options and check or uncheck them as desired. In order: create a desktop icon (recommended), associate SQL files with HeidiSQL (recommended, does not affect the files and allows easier file selection), check for updates automatically and report program failures automatically. Click on "Next":
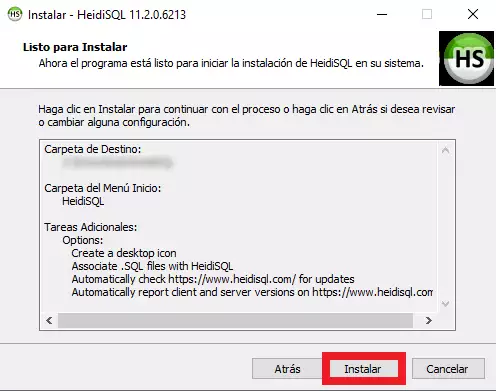
The installation is now ready. Click on "Install" to finish the process:
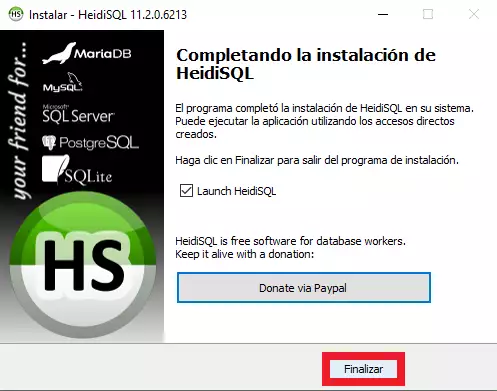
Once the process is finished, click on "Finish". If you do not indicate otherwise, the program will open automatically:
For this step, you need to have the database already created in your SWPanel. From SW Hosting we have a manual on creating a MySQL or MariaDB database: ? How to create a MySQL or MariaDB database
⚠️In case of importing the database from an external provider or from another SWPanel service or account, it is very important that the name, user and password of the Database you have created to import the SQL file are identical to the ones corresponding to the old service provider. ⚠️
Open Heidi SQL. In the program you will need to place the following information:
You must not modify the port, 3306, since it is the one that makes the connection with the database.
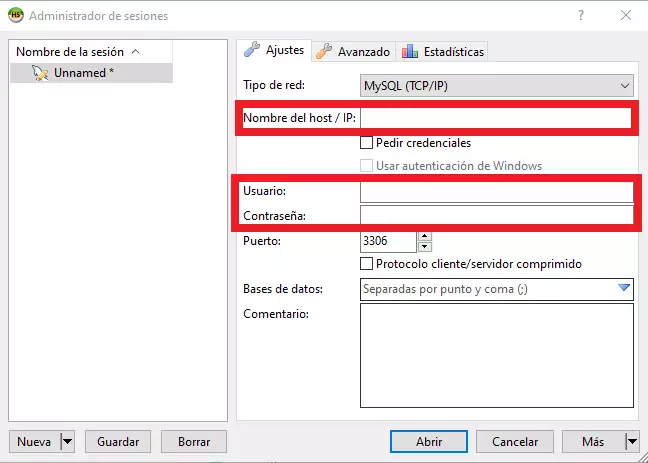
To know what is the name of the Host/IP of your database you must:
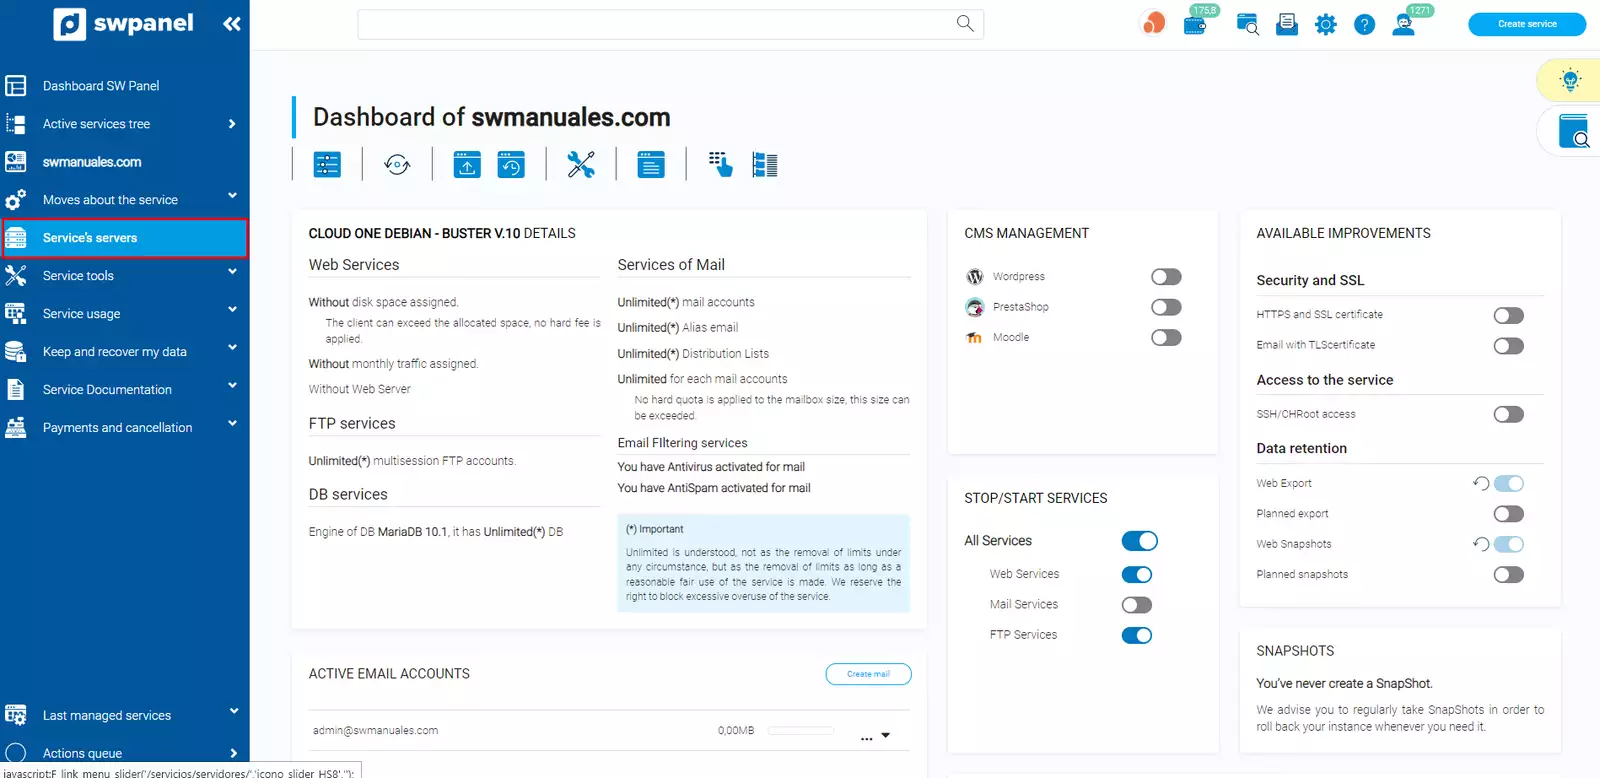
Type in the SWPanel search engine the name of the service in which you want to modify the basic parameters and click on it:

Click on "Service Servers", located in the blue side menu:
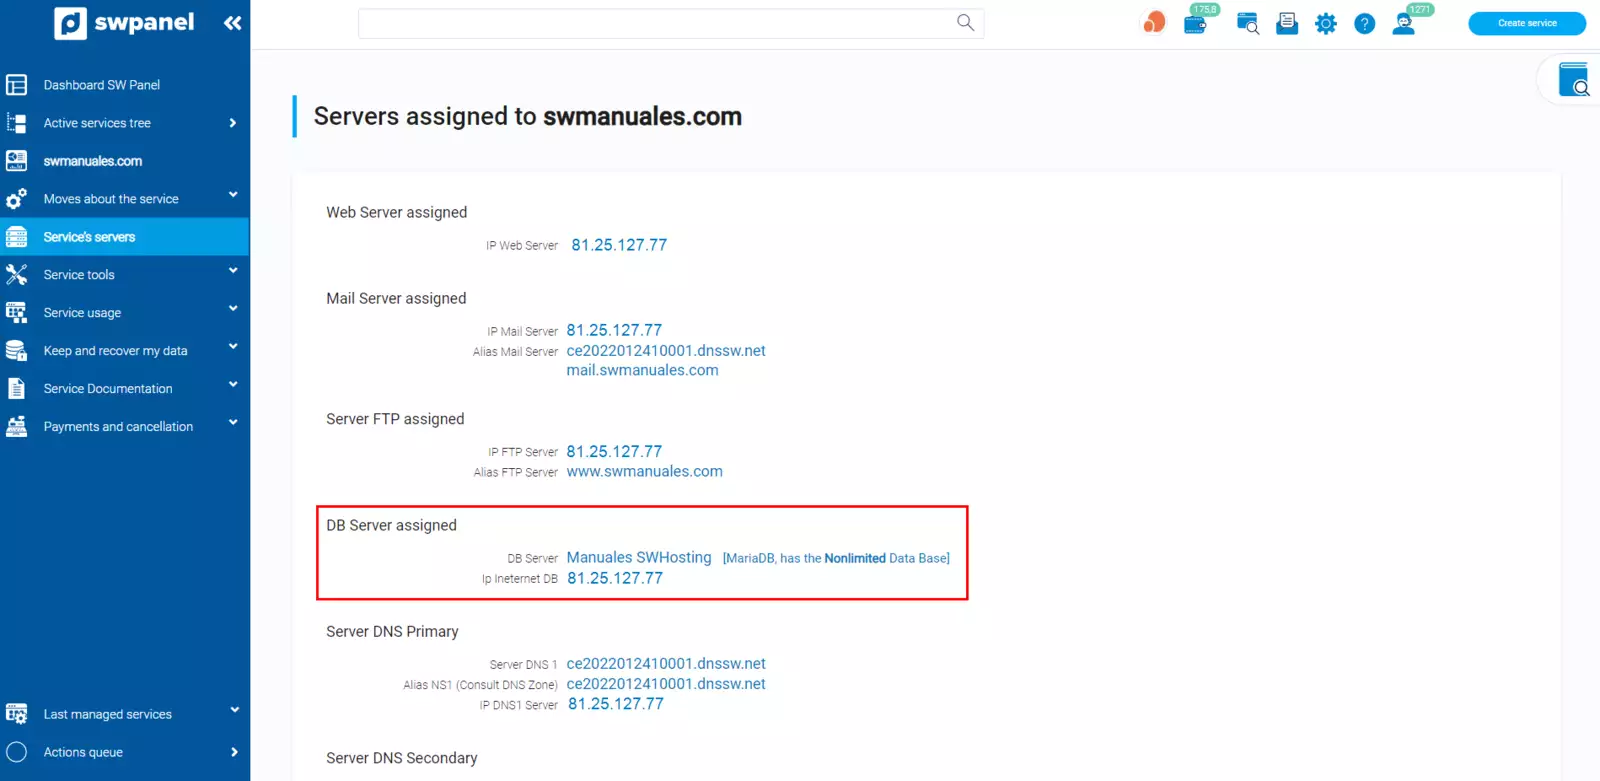
The IP found in "Assigned DB Server" is the one you must use as "Host Name/IP" to access HeidiSQL:
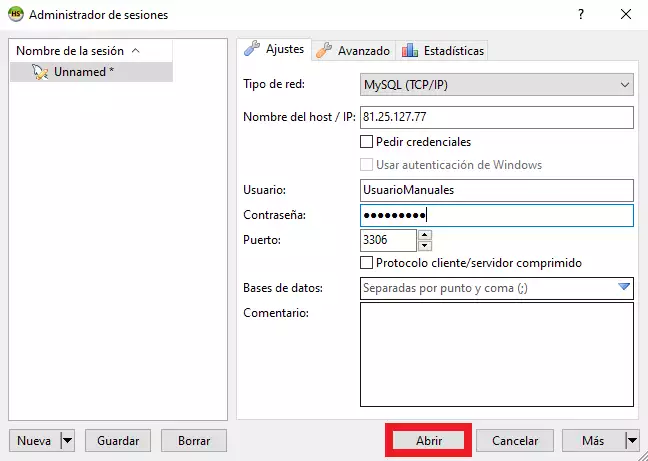
Once you have entered the data in HeidiSQL, click on "Open":
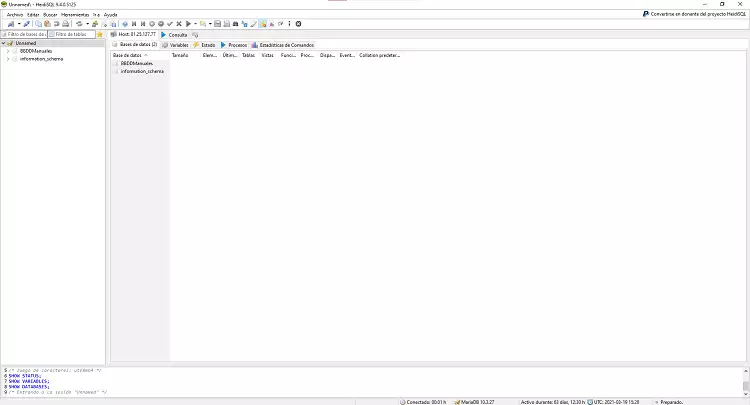
Access the Database management:
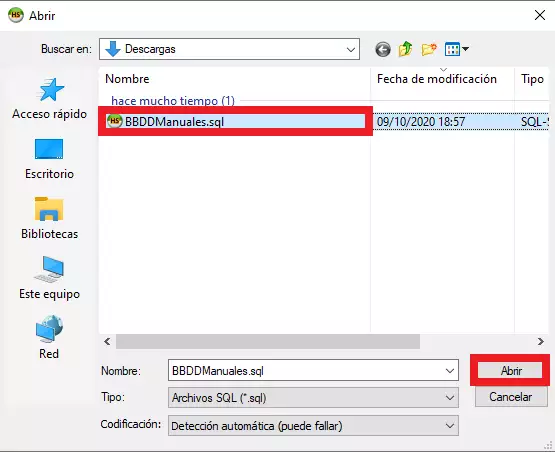
Finally, upload the previously downloaded file.
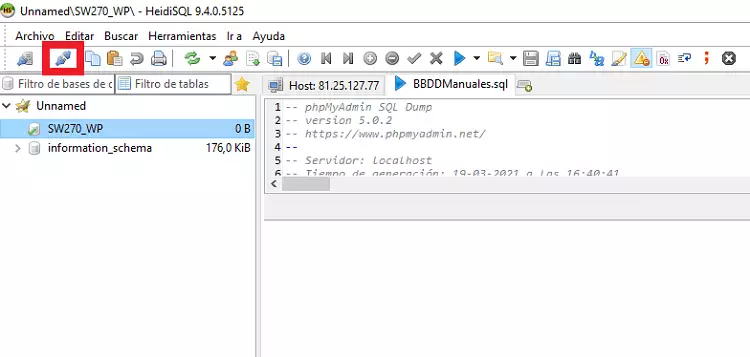
Inside HeidiSQL, connected to the Database, go to "File" > "Upload SQL file ":

Find the previously downloaded database in the wizard, select it and click on "Open ":
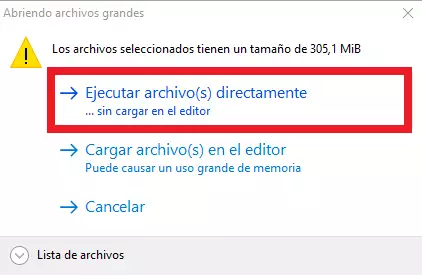
It will indicate the size of the file and give you the choice between Execute the files directly or Load them in the editor. Click on "Run file directly ":
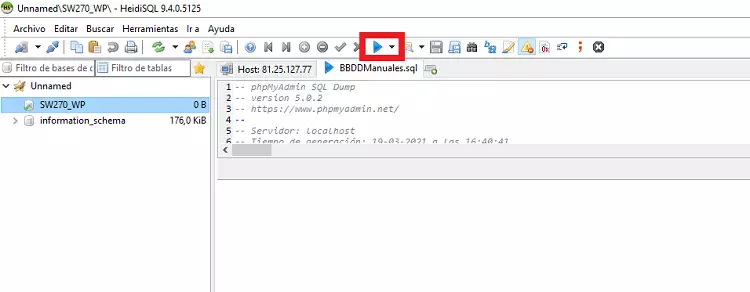
It is possible that the file is so small that the alert message does not appear, and it loads directly, or that you want to press the option "Load them in editor" instead of executing directly. If this is the case, once loaded, you must press the "play" button, so that the import of the SQL file to the database is executed:
Once the file is uploaded, you can check that it has been uploaded properly, either by disconnecting and connecting to the database in Heidi or by closing in Heidi SQL and accessing the Database via phpMyAdmin from SWPanel. ? How to access phpMyAdmin from SWPanel
To do this, press the disconnect button:
Remember that you can install the HeidiSQL database manager on your own private Cloud server with Windows 10 Pro and located in the SWHosting data center.