First of all, you must have a Cloud server, for example a Cloud One A1. The Cloud contract can be done from our web or in case you are already a SW Hosting customer, from your SWPanel account.
At the time of registering the server, both from the web and from the SWPanel, you will be sent an email to your email account with the SSH access credentials (IP and port) to your Cloud server for the administrator user (Root). With these credentials you will be able to access your server and start the Laravel installation process.
At SW Hosting, we recommend creating a user with elevated permissions and not using the Root user for these purposes. To create a user you can do it using the following commands.
apt install sudo
adduser swtest
usermod -aG sudo swtest
su - swtest
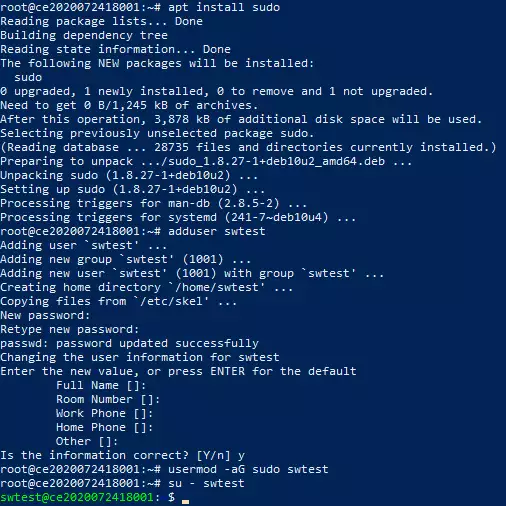
We now have a system user with sudo privileges and should no longer use Root directly.
We start by adding the PHP 7.4 repositories:
sudo wget -O /etc/apt/trusted.gpg.d/php.gpg https://packages.sury.org/php/apt.gpg

echo "deb https://packages.sury.org/php/ $(lsb_release -sc) main" | sudo tee /etc/apt/sources.list.d/php.list

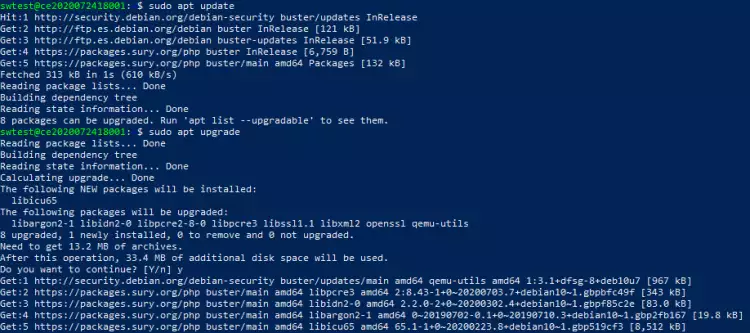
Once the repository is added, we will proceed to update the package listing and the Cloud.
sudo apt update
sudo apt upgrade
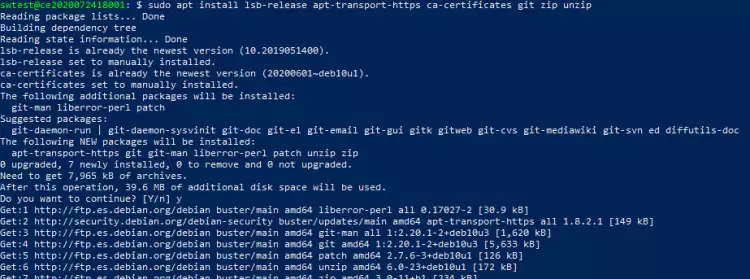
Once updated, we install the following essential packages:
sudo apt install lsb-release apt-transport-https ca-certificates git zip unzip
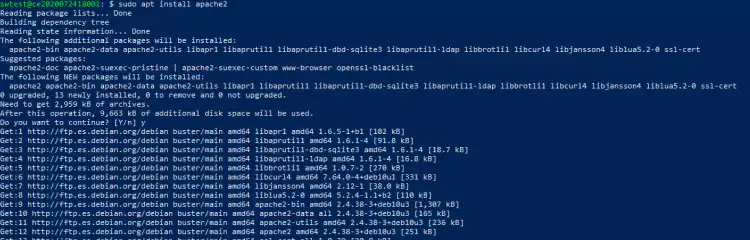
To begin, we install the Apache service:
sudo apt install apache2
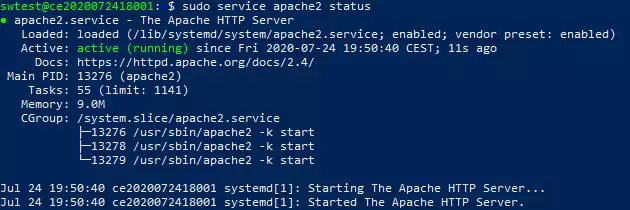
To verify the correct operation of the service you can do it with the following command:
sudo service apache2 status
You can also perform the check with the browser, using the IP of your Cloud.

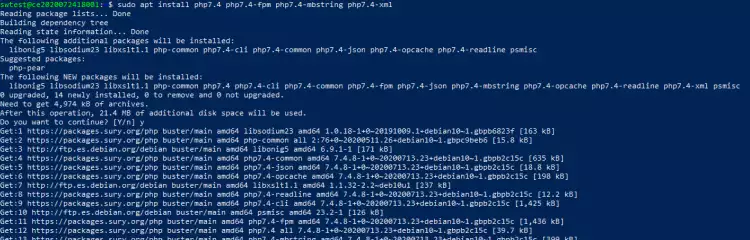
Once verified the correct operation, we install the PHP 7.4 service and the mbstring and xml modules:
sudo apt install php7.4 php7.4-fpm php7.4-mbstring php7.4-xml libapache2-mod-php7.4
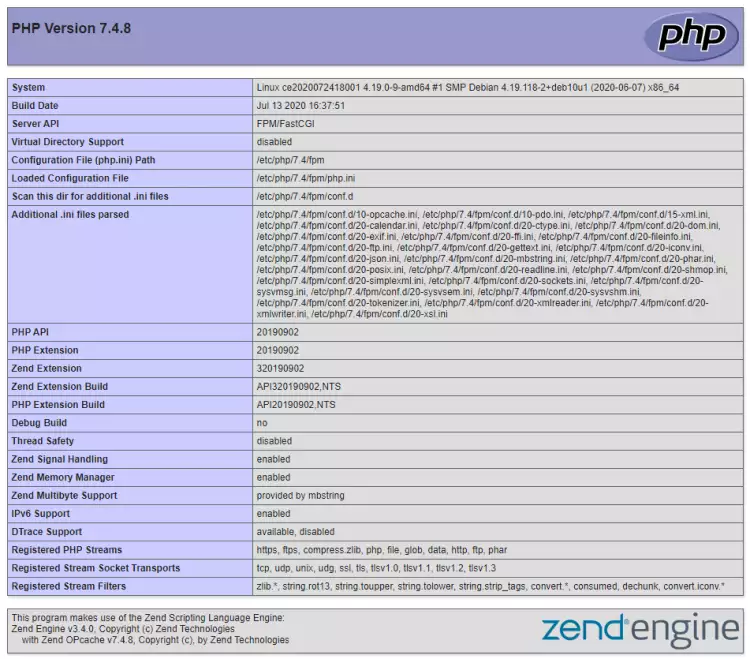
We can verify the correct operation of PHP by creating a small PHP script in /var/www/html, for this we will do the following:
cd /var/www/html
sudo nano info.php
The content of the file should be the following:
<?php

// Displays all information, by default INFO_ALL
phpinfo();

// Displays only module information.
// phpinfo(8) does exactly the same.
phpinfo(INFO_MODULES);

?>
Official file: https://www.php.net/manual/es/function.phpinfo.php
Once the file is saved, we execute it from the browser with the following URL: http://ipdelservidor/info.php
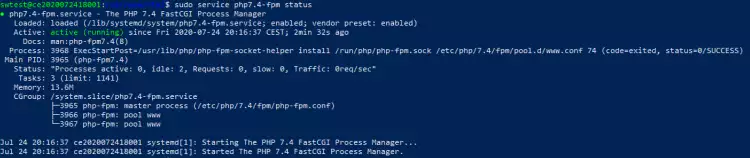
You can also check that it works correctly with the following command:
service php7.4-fpm status
Once PHP 7.4 and its modules are installed, we will proceed to install the MariaDB database as a service (Server) and its PHP module:
sudo apt install mariadb-server php7.4-mysql

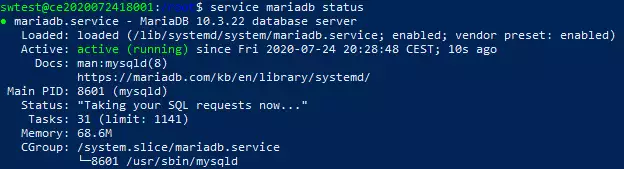
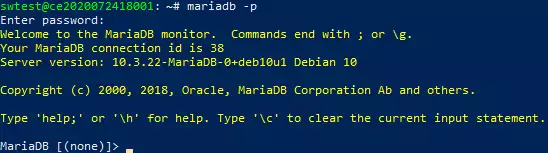
To perform the service check you can do it with the following commands:
service mariadb status
mariadb -p
We will use manuals.sw as an example. To start, let's create the configuration file. To do this, we must first access the path and once you are in the directory, create the configuration file manuals.conf.
cd /etc/apache2/sites-available
sudo nano manuals.conf
In the configuration file, we define the following configuration:
<VirtualHost *:80>
    ServerName manuals.sw
    DocumentRoot "/var/www/manuals/public"
</VirtualHost>
Once the configuration file is created, we activate the site with the following commands:
sudo a2ensite manuals
sudo systemctl reload apache2
Creating VirtualHost configurations on your Apache server does not magically create DNS entries for those hostnames. You must have the DNS names resolve to your IP address or no one else will be able to see your web site.
If your domain in your DNS zone is not pointing to the Cloud, for testing purposes, you can edit the hosts file.
*Remember that this configuration is only available on the computer where the hosts file has been modified, the others are not, unless the . file is configured.
You can follow the following manual to edit the hosts file:
? Modify 'hosts' file on Windows, Mac and Linux
In the hosts file, we will add a line:
IP-del-Cloud manuals.sw
Composer is a package management system for PHP programming, which provides the standard formats needed to manage PHP dependencies and libraries.
To begin, we will install Composer:
sudo php -r "copy('https://getcomposer.org/installer', 'composer-setup.php');"

sudo php -r "if (hash_file('sha384', 'composer-setup.php') === 'e5325b19b381bfd88ce90a5ddb7823406b2a38cff6bb704b0acc289a09c8128d4a8ce2bbafcd1fcbdc38666422fe2806') { echo 'Installer verified'; } else { echo 'Installer corrupt'; unlink('composer-setup.php'); } echo PHP_EOL;"

sudo php composer-setup.php

sudo php -r "unlink('composer-setup.php');"

sudo mv composer.phar /usr/bin/composer
 **More information can be found at the Composer official website.
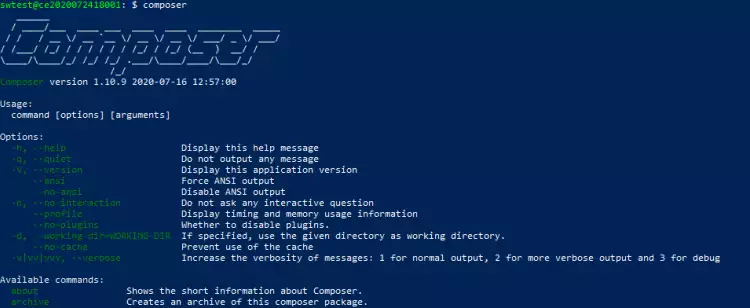
To verify the correct functioning of Composer, we will execute the following command:
composer
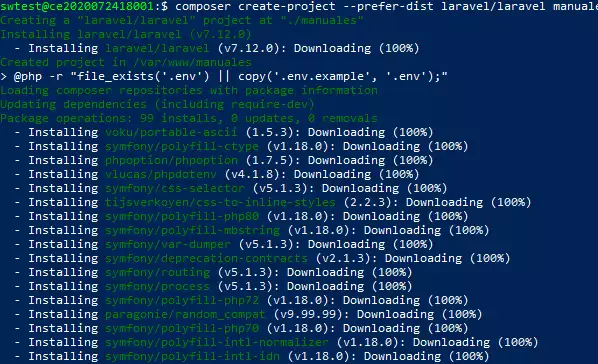
Once the requirements to run Laravel are installed, we proceed to deploy the Framework. To do this, we execute the following commands:
First, we access the following directory:
cd /var/www
Once inside, we execute the deployment using Composer. With Composer you can deploy different Frameworks that you can find in the official website, in the "Browse Packages" section. We are going to use the laravel/laravel package and we are going to define it with the name manuals. When executing the command, it will download different dependencies and will create the manuals folder in the current directory (in our case /var/www), where we will find the whole project.
composer create-project --prefer-dist laravel/laravel manuals
Once the project has been created, we will enter the manual folder and then grant the necessary permissions for its execution:
cd manuals
sudo chown www-data:www-data storage/ -R
sudo chown www-data:www-data bootstrap/cache/ -R

For more information about laravel installation, you can consult the Laravel official website
You can continue configuring Laravel parameters: database connection, cache, sessions, etc.