Instalar WordPress en uno de nuestros clouds usando VestaCP es rápido y sencillo. Siguiendo este manual paso a paso, tendrás tu sitio WordPress listo en pocos minutos.
Requisitos previos:
Abre tu navegador web preferido.
Ingresa la dirección IP de tu cloud seguida del puerto 8083 en la barra de direcciones.
Ejemplo: https://TU_IP_DEL_CLOUD:8083/
Nota: La IP de tu cloud se envió a tu correo electrónico al contratar el servicio.
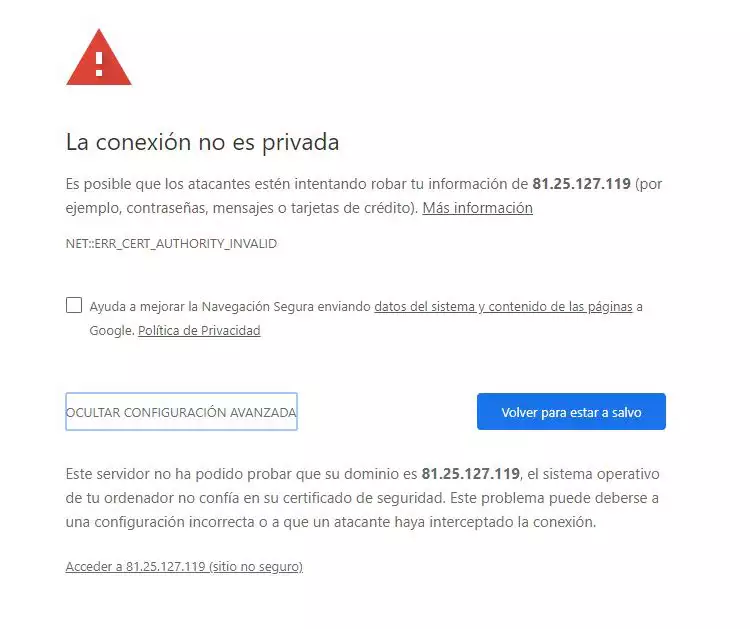
Si usas Google Chrome, es posible que aparezca una advertencia de sitio no seguro. Para continuar:
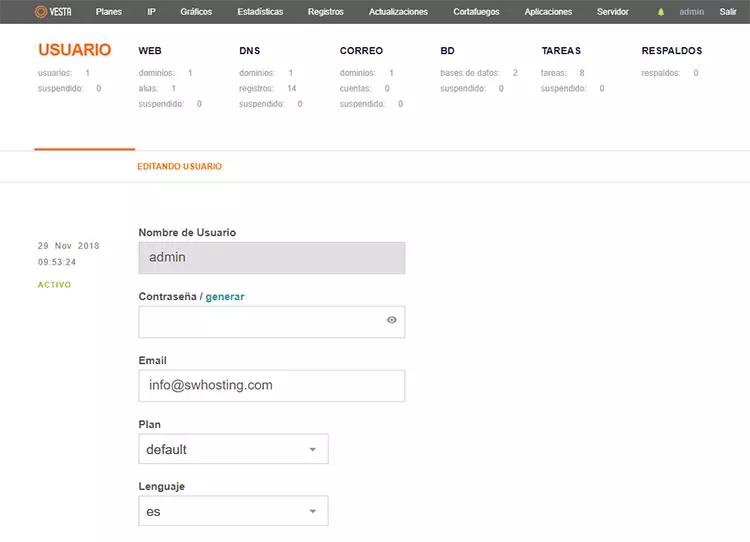
Una vez dentro de VestaCP, es recomendable actualizar la información del usuario Admin:
Esto asegura que las notificaciones importantes lleguen a tu correo y que la interfaz esté en el idioma que prefieras.
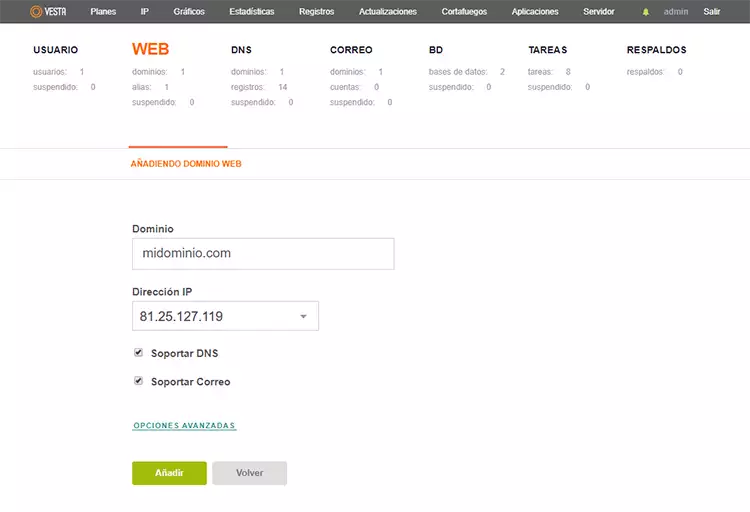
Para asociar tu dominio al cloud en VestaCP:
Asegúrate de que tu dominio ya esté registrado y apunte correctamente a la IP de tu cloud para evitar problemas durante la instalación de WordPress.
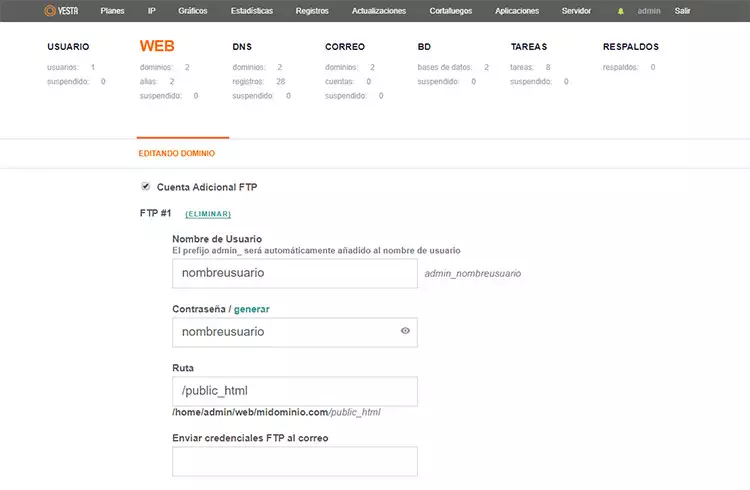
Para subir archivos de WordPress necesitarás una cuenta FTP configurada:
Con esta cuenta FTP podrás gestionar los archivos de tu WordPress directamente desde tu ordenador usando cualquier cliente FTP como FileZilla o WinSCP.
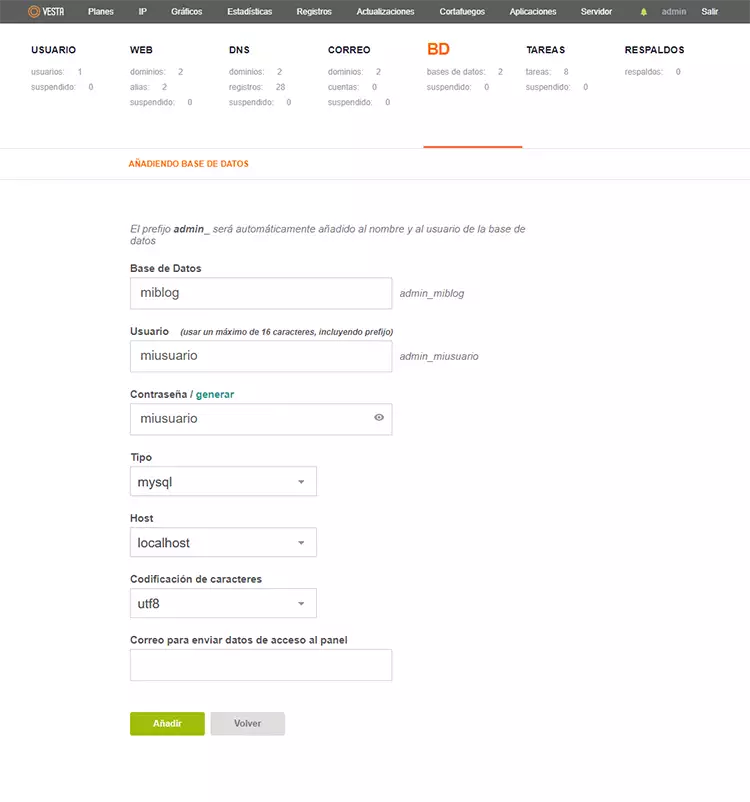
WordPress necesita una base de datos para almacenar toda la información de tu sitio. Para crearla en VestaCP:
Anota el nombre de la base de datos, el usuario y la contraseña, ya que los necesitarás durante la instalación de WordPress.
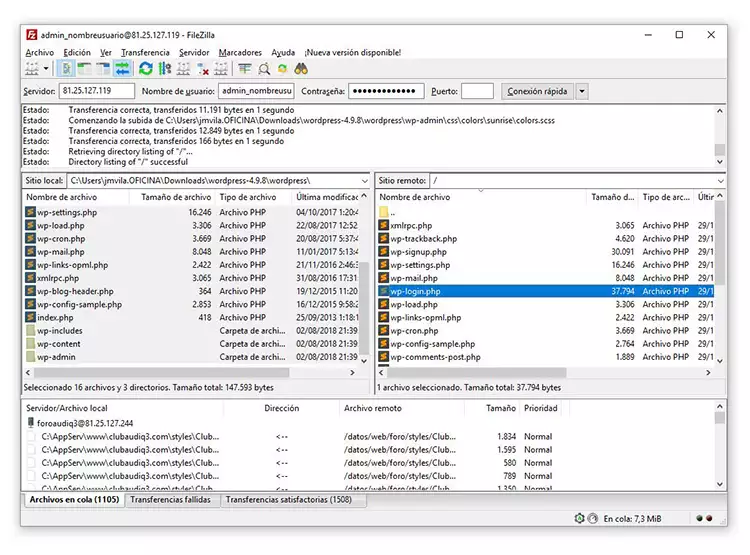
Para instalar WordPress, primero debemos subir sus archivos al servidor mediante FTP:
TU_IP_DEL_CLOUD)admin_ antes del nombre de usuario, por ejemplo: admin_nombreusuariopublic_html o la carpeta correspondiente).Asegúrate de que todos los archivos se hayan subido correctamente antes de continuar con la instalación.

Antes de instalar WordPress, debemos asegurarnos de que la carpeta del dominio esté lista:
/home/admin/web/TUDOMINIO/public_htmlindex.html que viene por defecto.Esto garantiza que WordPress se cargue correctamente cuando accedas a tu dominio desde el navegador.
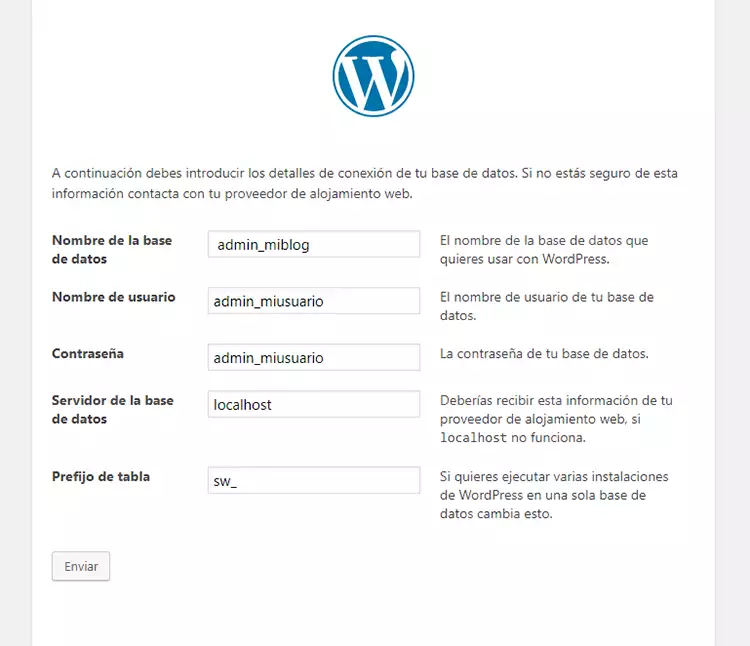
Ahora realizaremos la instalación de WordPress a través del instalador web:
admin_miblogadmin_miusuariolocalhostwp_ por otro prefijo personalizado)Una vez completado este proceso, tu WordPress estará listo para usar y podrás acceder al panel de administración con los datos del usuario administrador.
Una vez completada la instalación, tu WordPress ya estará funcionando. Para ingresar al panel de administración:
http://TUDOMINIO.com/wp-adminDesde aquí podrás gestionar todo tu sitio: contenido, temas, plugins y configuraciones.
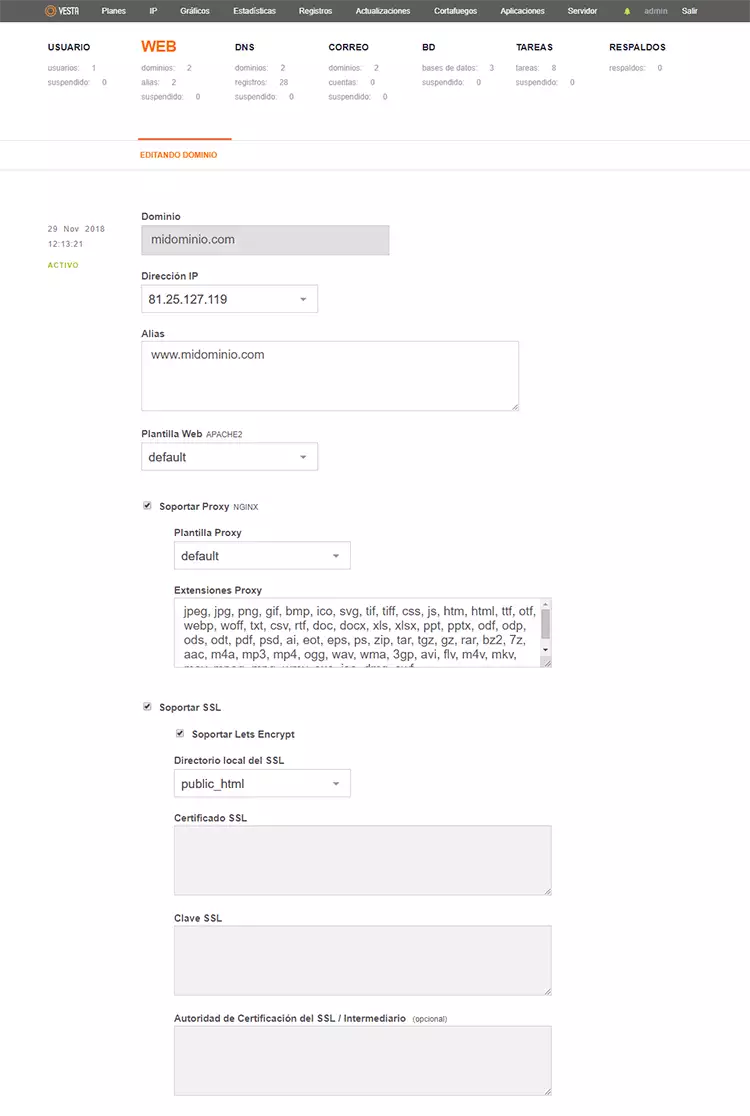
Para asegurar tu sitio con HTTPS mediante Let's Encrypt:
El certificado SSL se activará en aproximadamente 5 minutos. Una vez activo, tu sitio será accesible de forma segura mediante
https://.
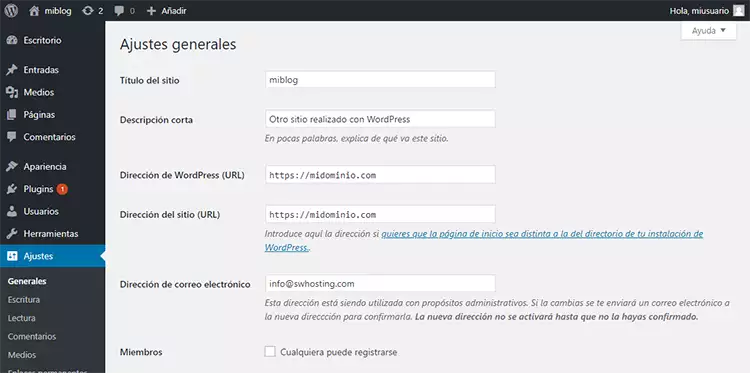
Para completar la activación del SSL y asegurar que todo el sitio use HTTPS:
http:// por https:// en los campos Dirección de WordPress (URL) y Dirección del sitio (URL).Esto garantiza que todas las páginas y recursos de tu sitio se carguen de manera segura mediante HTTPS.
¡Con esto tu WordPress estará instalado en VestaCP con certificado SSL activo y listo para gestionar tu sitio de forma segura!