Aplicable a: Cloud con licencia de uso de SWPanel
Los Clouds con SWPanel permiten configurar servicios de Hosting en minutos, sin necesidad de acceder directamente al servidor ni contar con conocimientos avanzados de informática, gestionándolo todo desde SWPanel.
Un servicio de Hosting Web te permite disponer de un espacio para tu sitio web, gestionar cuentas de correo electrónico, configurar registros DNS y administrar bases de datos de manera sencilla y rápida. A continuación, se detallan los pasos para crear un Hosting Web.
1. Dentro de tu SWPanel, utiliza el buscador para localizar tu Cloud. En este ejemplo, nuestro Cloud se llama manuales, pero el tuyo tendrá un nombre distinto. Una vez localizado, selecciónalo.
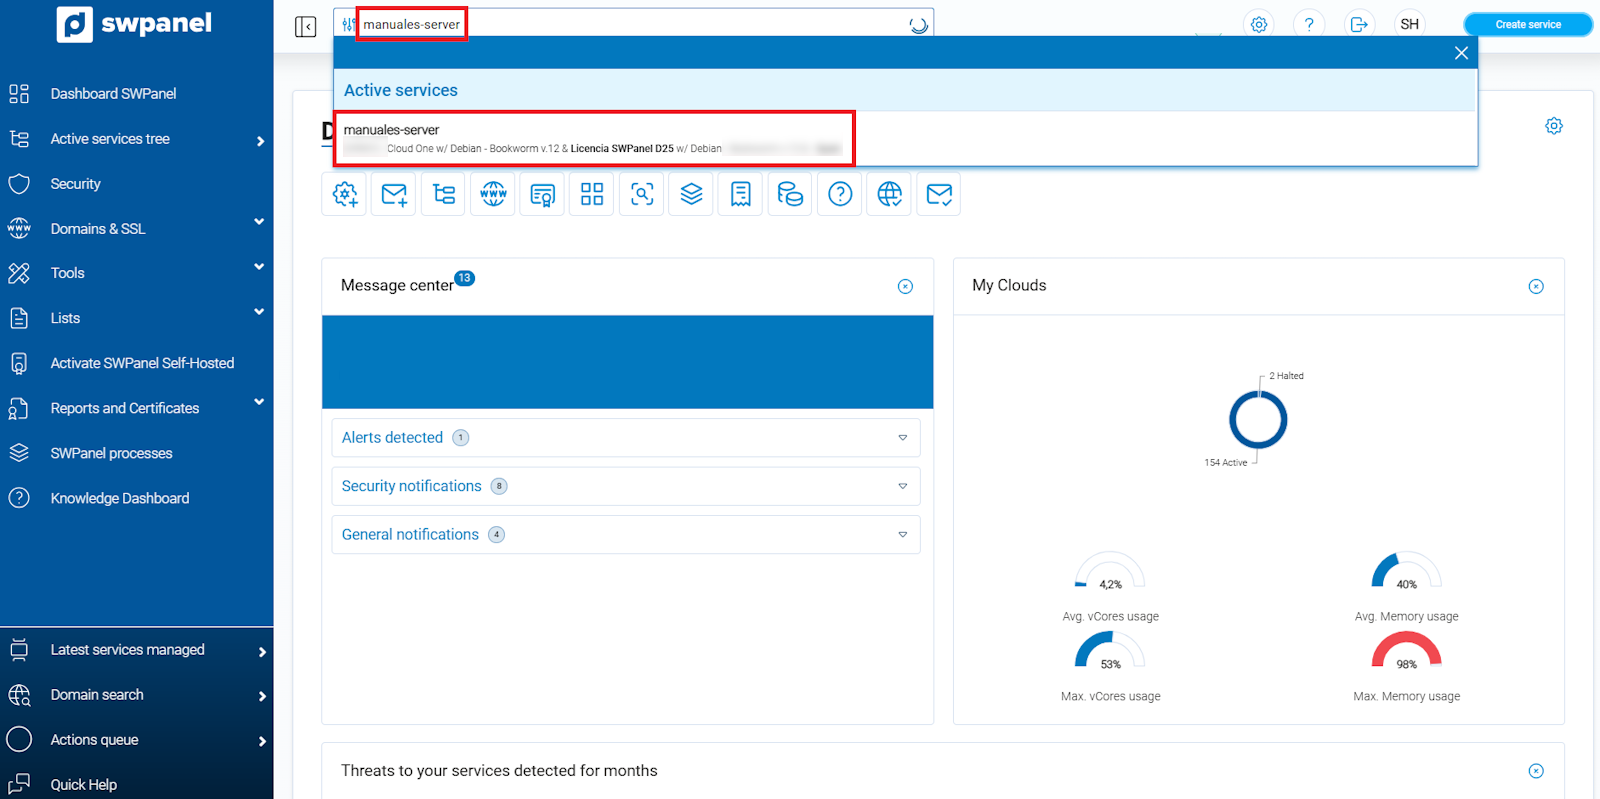
info_capture ℹ️ Nota: La captura es orientativa, tomada sobre la versión 2026.000.0023 con fecha 07/03/2026. Puede diferir de la versión actual de SWPanel.
2. A continuación, localiza el icono que se muestra en la imagen, identificado como Crear un nuevo servicio en este acumulador.
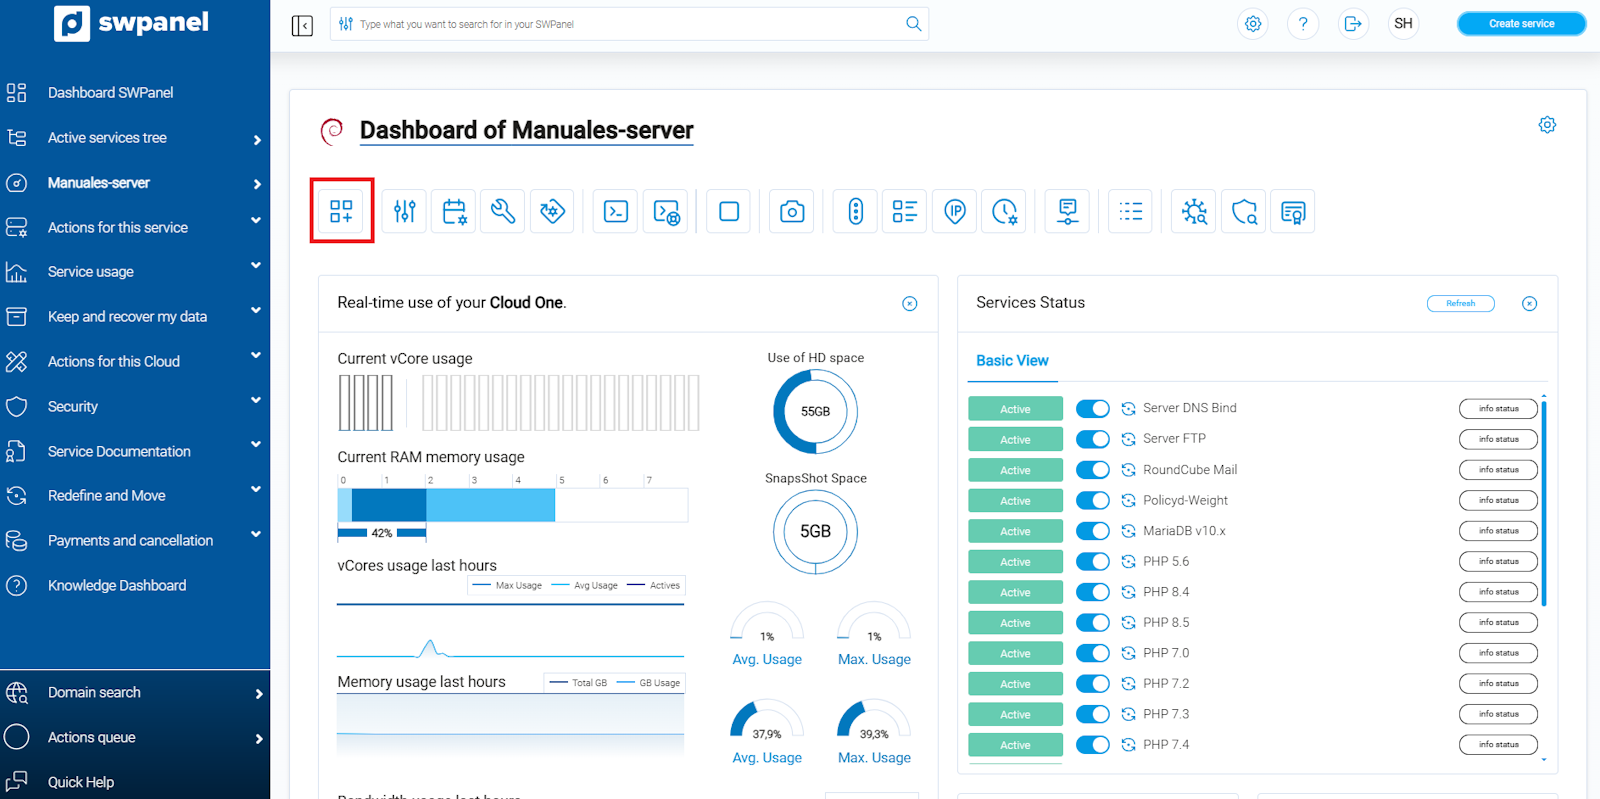
info_capture ℹ️ Nota: La captura es orientativa, tomada sobre la versión 2026.000.0023 con fecha 07/03/2026. Puede diferir de la versión actual de SWPanel.
3. Selección del tipo de servicio a crear: elige Hosting Web.
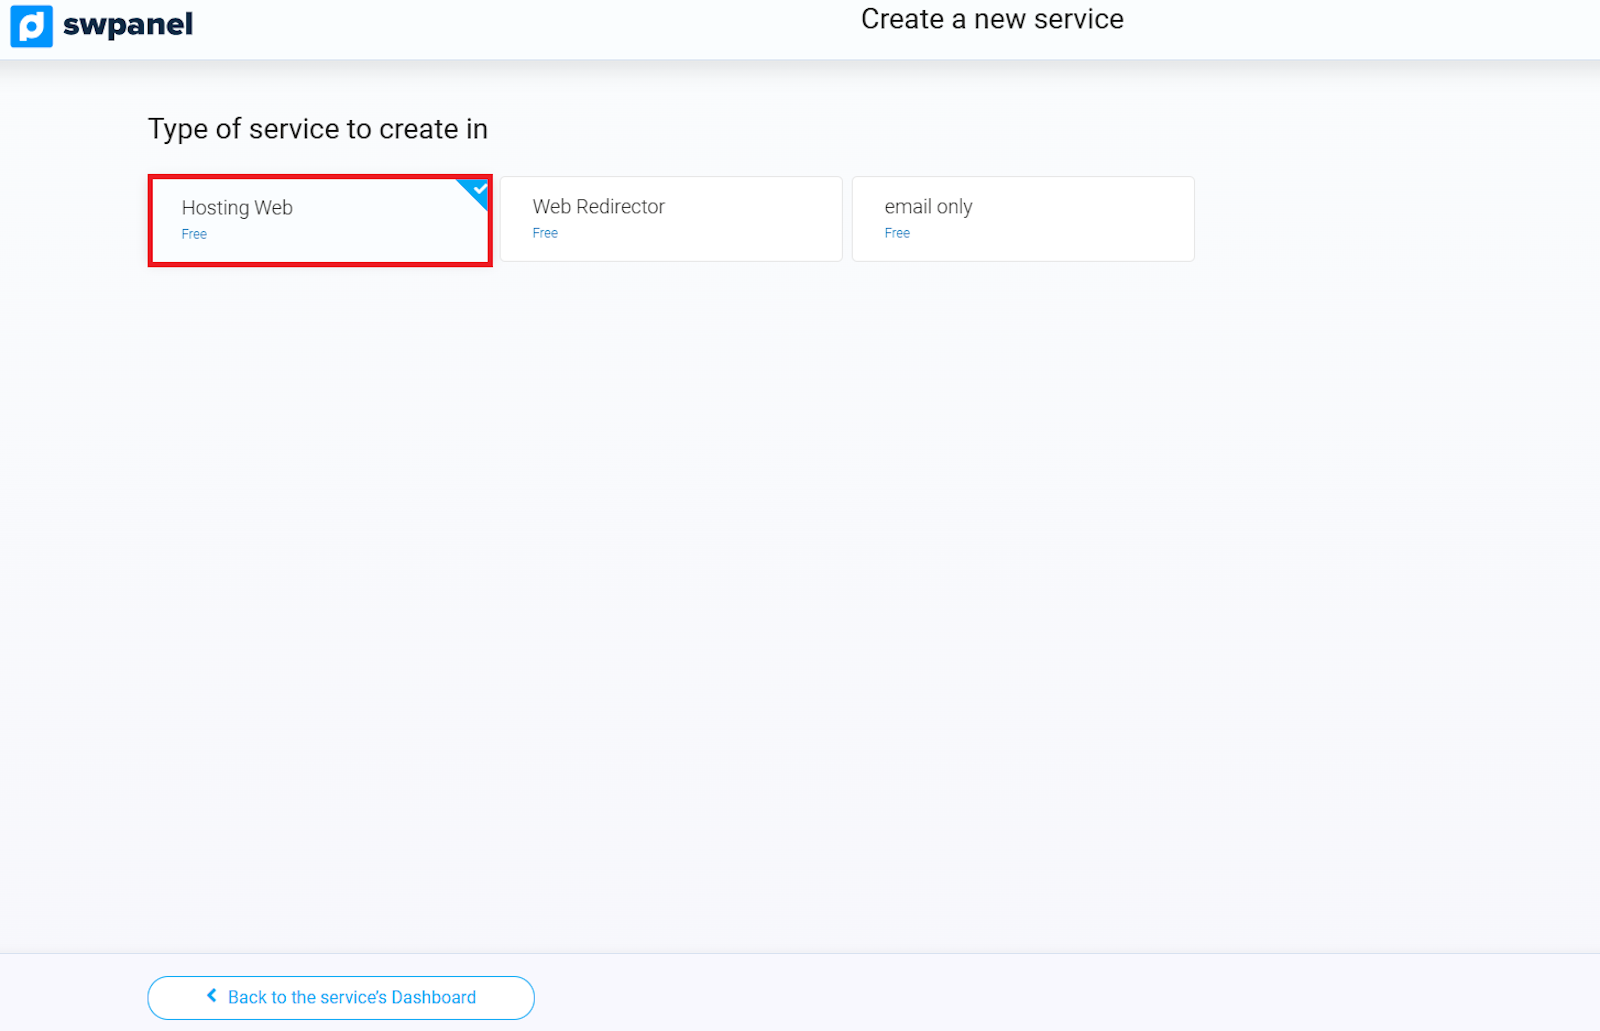
info_capture ℹ️ Nota: La captura es orientativa, tomada sobre la versión 2026.000.0023 con fecha 07/03/2026. Puede diferir de la versión actual de SWPanel.
4. Distribución Multicloud del servicio Hosting Web
También tienes la opción de dejar algún servicio sin asignar desmarcando el checkbox a la derecha. En este caso, el hosting no incluirá el servicio de correo, base de datos o DNS correspondiente.
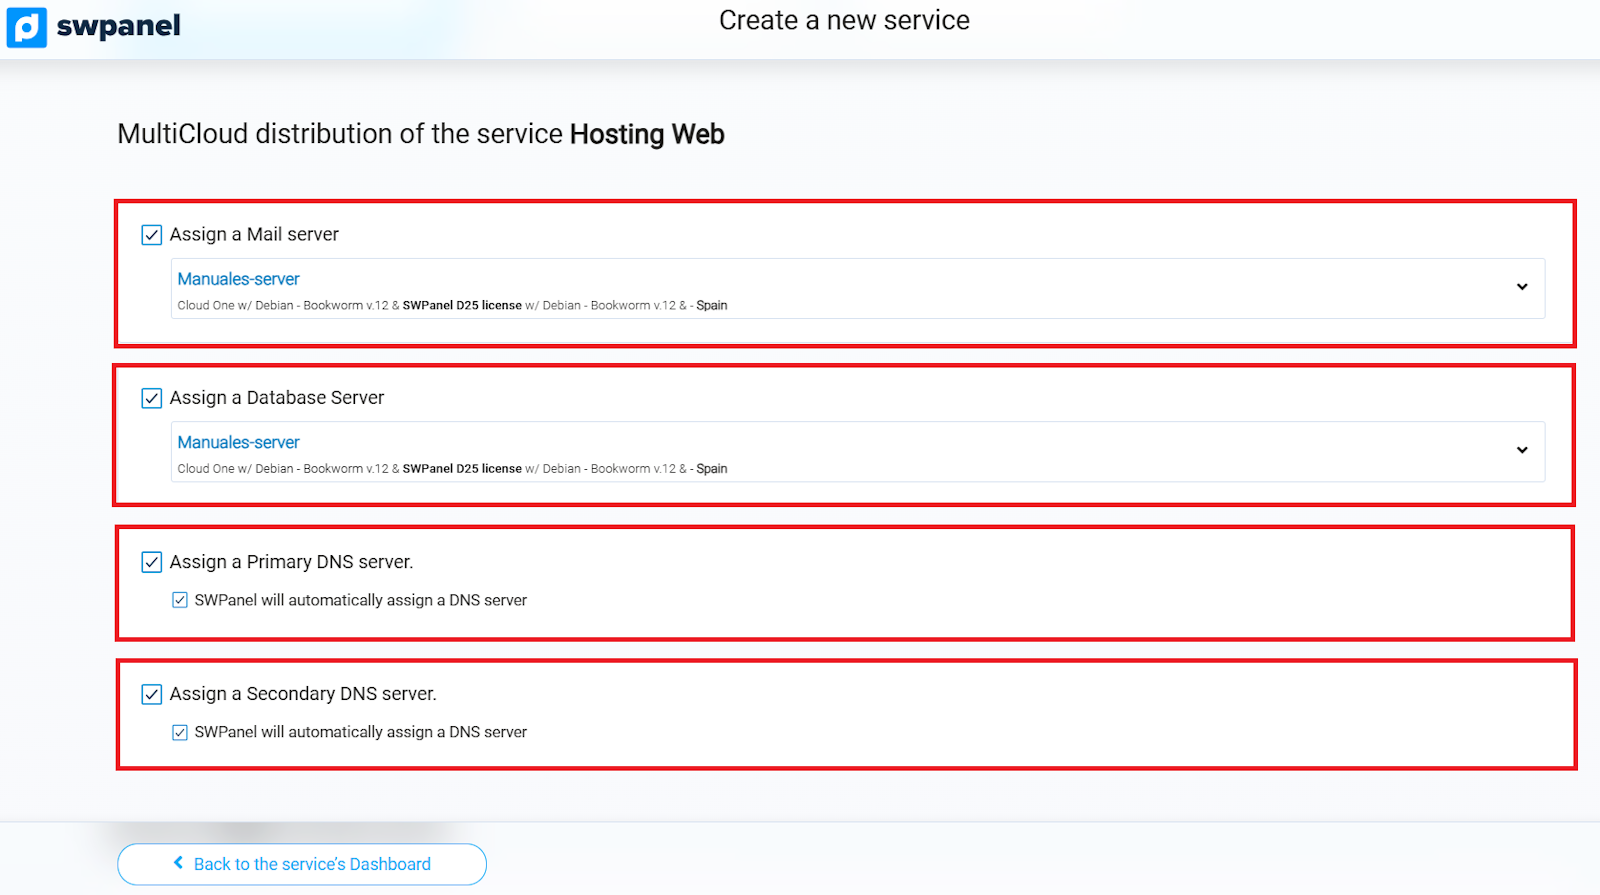
info_capture ℹ️ Nota: La captura es orientativa, tomada sobre la versión 2026.000.0023 con fecha 07/03/2026. Puede diferir de la versión actual de SWPanel.
5. Ingresa el nombre de dominio o subdominio para el Hosting Web. En este ejemplo, utilizaremos manuales.com.
Para más información sobre dominios y su registro, consulta nuestro manual de ? Domains.
Por defecto, se selecciona la opción Crear 1 solo servicio de Hosting. Si lo deseas, también puedes elegir Crear múltiples servicios de Hosting para generar varios servicios de Hosting de forma simultánea.
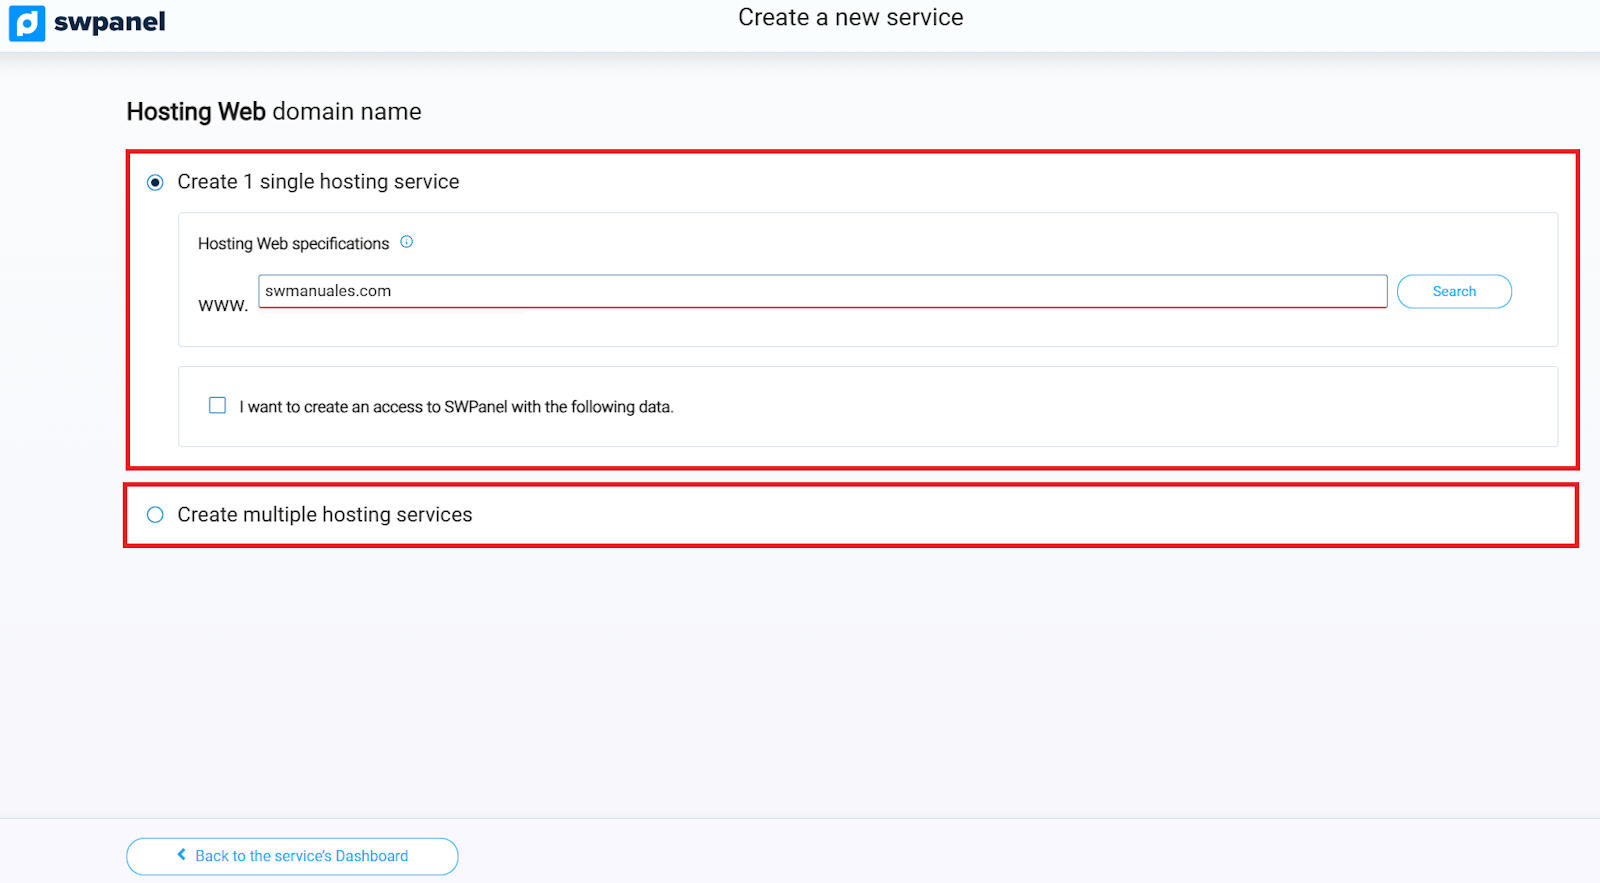
info_capture ℹ️ Nota: La captura es orientativa, tomada sobre la versión 2026.000.0023 con fecha 07/03/2026. Puede diferir de la versión actual de SWPanel.
A continuación, pulsa el botón Verificar. SWPanel comprobará la disponibilidad del dominio y te mostrará las siguientes opciones:
Dependiendo de la opción elegida, se mostrarán diferentes configuraciones. En este ejemplo, crearemos únicamente el servicio de Hosting, sin registrar ni transferir el dominio, tal como se muestra en la captura.
Deseo crear un acceso a SWPanel con los siguientes datos: esta opción permite crear un usuario en SWPanel y asignarle un perfil para que gestione solo el Hosting recién creado.
6. Configuraciones adicionales para optimizar tu tiempo
En esta sección, podrás ajustar el nuevo servicio según tus necesidades. Las opciones disponibles dependerán de las características del Cloud en el que se esté creando el servicio.
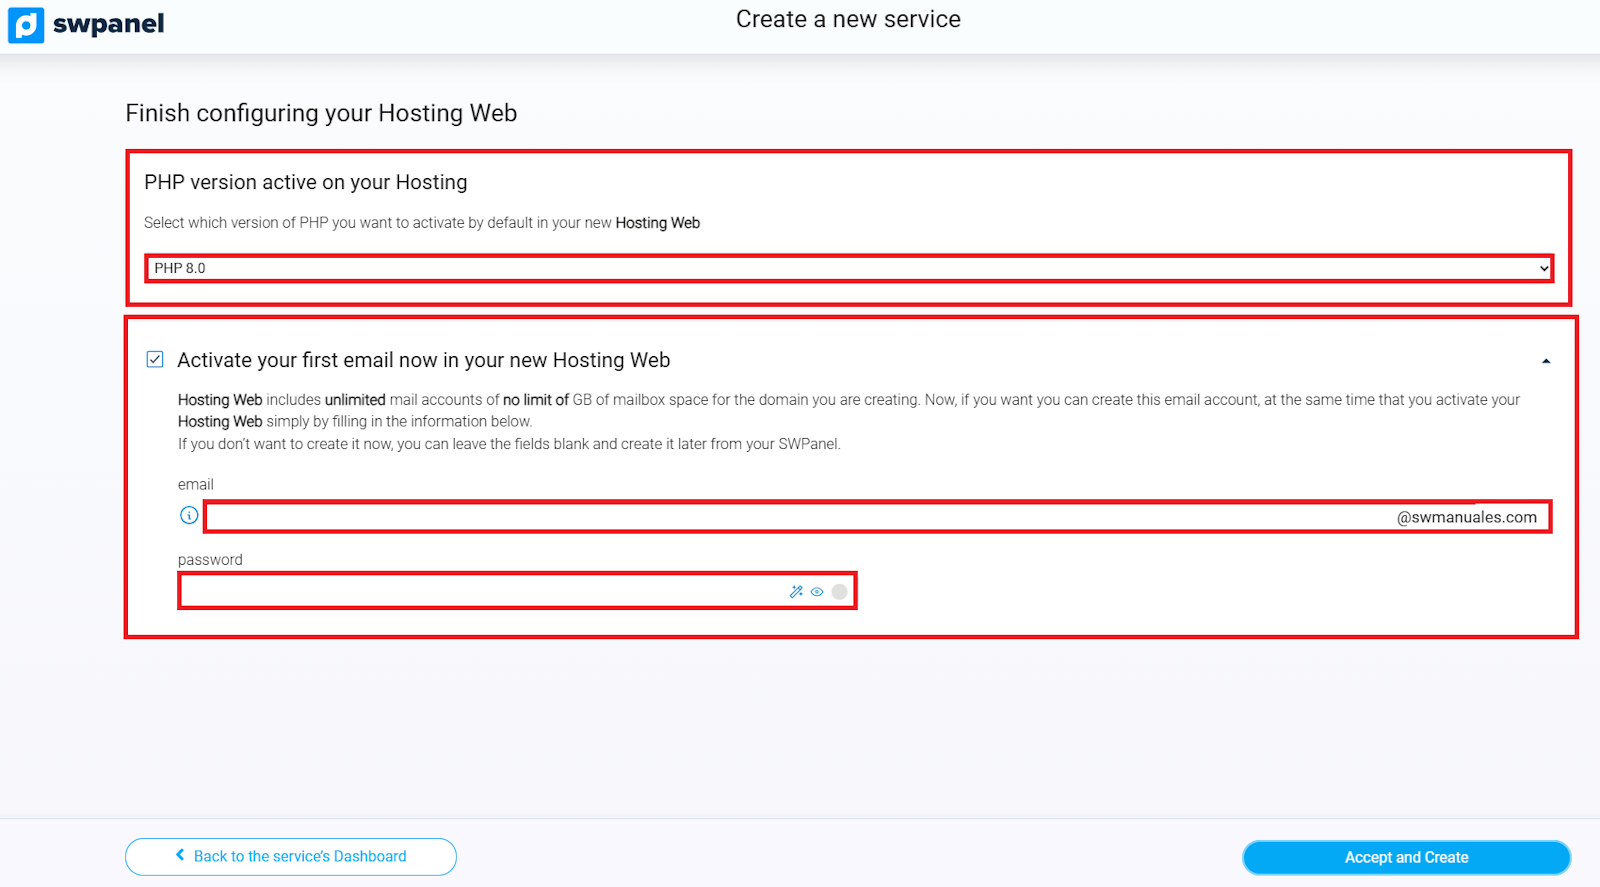
info_capture ℹ️ Nota: La captura es orientativa, tomada sobre la versión 2026.000.0023 con fecha 07/03/2026. Puede diferir de la versión actual de SWPanel.
7. Formalización y aceptación
Finalmente, revisa todos los datos mostrados, incluyendo el coste de la acción (si aplica) y la información del usuario que realiza la solicitud. Cuando todo sea correcto, pulsa Aceptar y crear para completar el proceso.
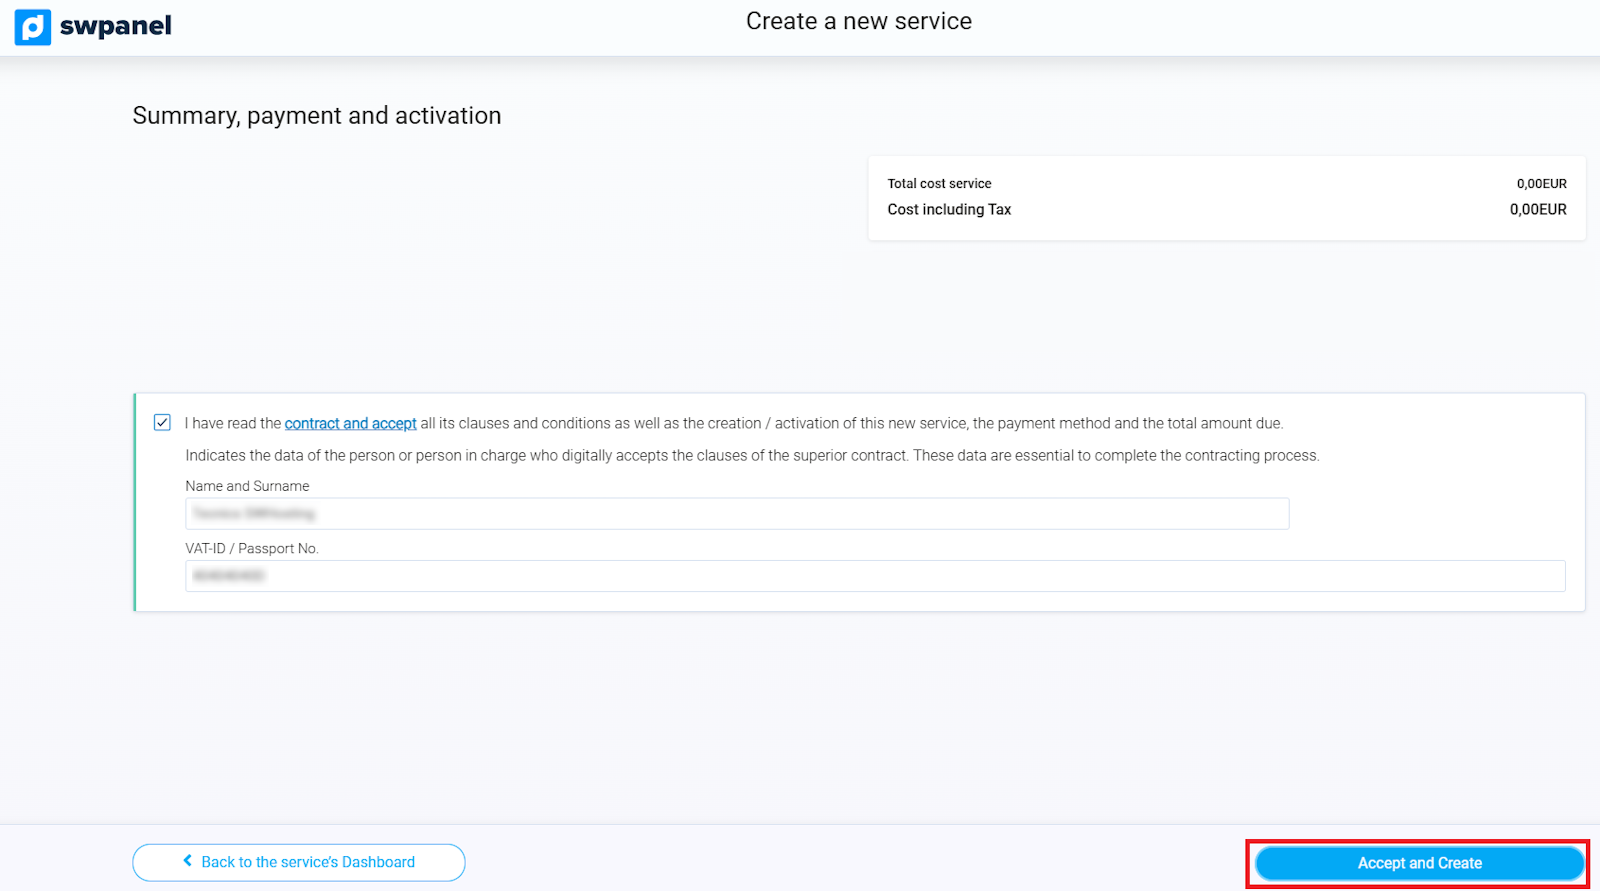
info_capture ℹ️ Nota: La captura es orientativa, tomada sobre la versión 2026.000.0023 con fecha 07/03/2026. Puede diferir de la versión actual de SWPanel.
¡Listo! Tu nuevo servicio se activará y estará operativo en cuestión de segundos.