Once you have activated Smart Hosting + for your website [? How to activate Smart Hosting + for your website] with WordPress you will be able to configure it following these steps:
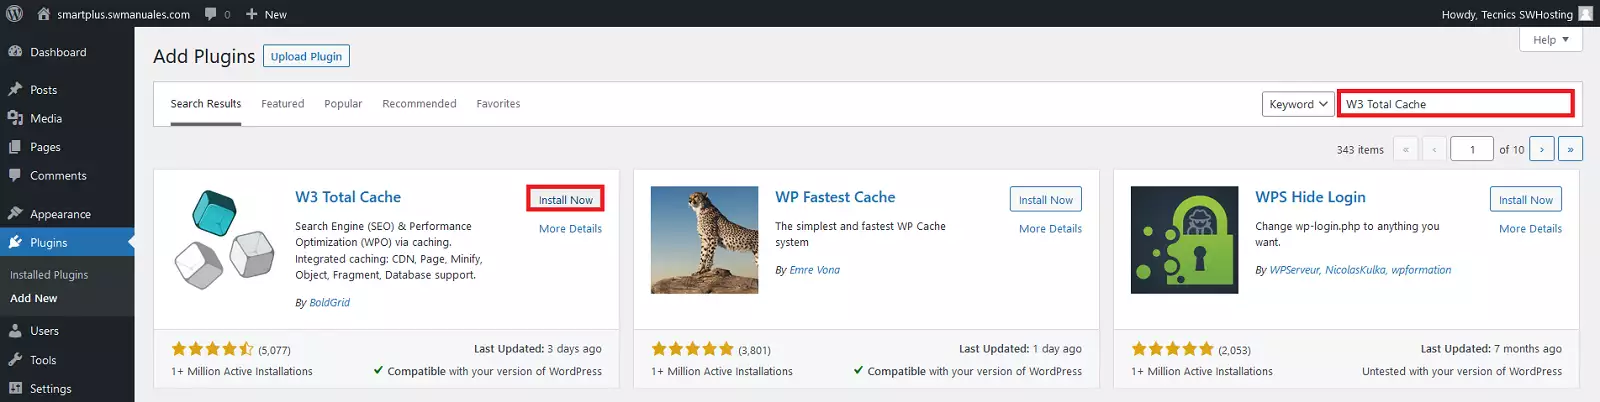
1. Access your WordPress management and install a cache plugin, such as "W3 Total Cache".

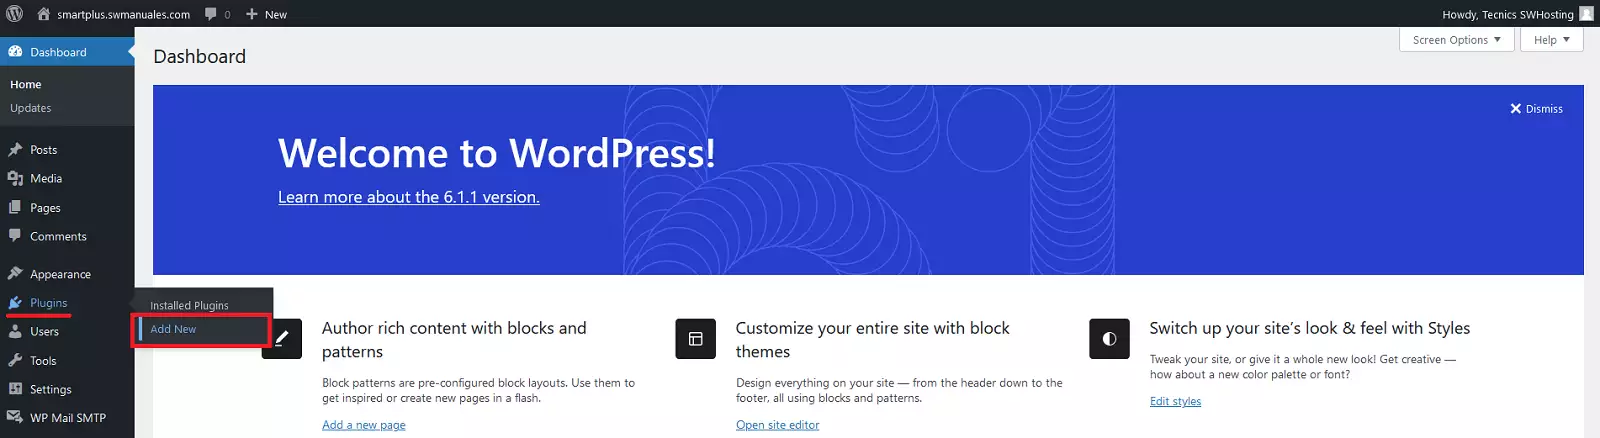

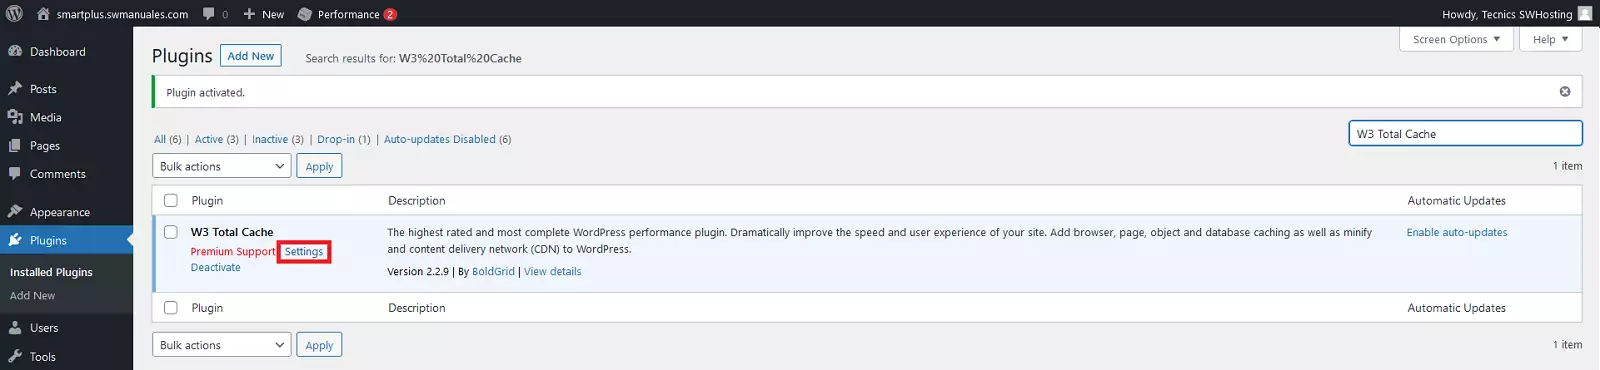
2. Go to the plugins section of your WordPress to configure the "W3 Total cache"
3. In the "General Settings" section, under "Page Cache" check the "Enable" box and in the drop-down to choose the "Page Cache Method" select the "Memcached" option.
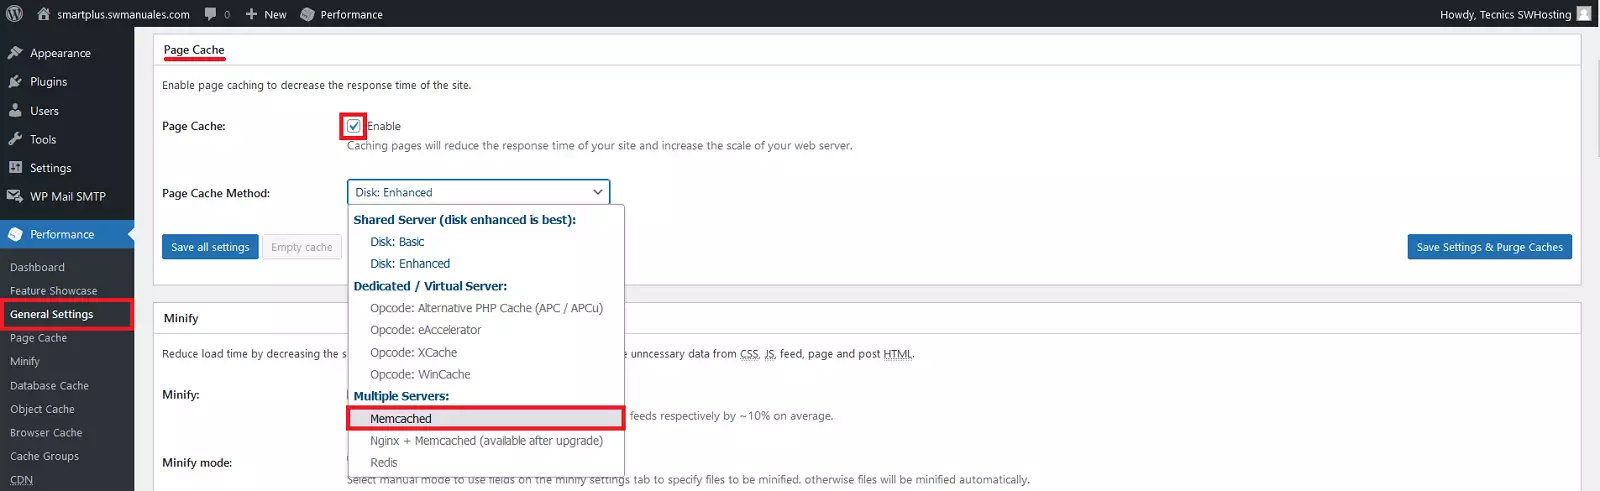
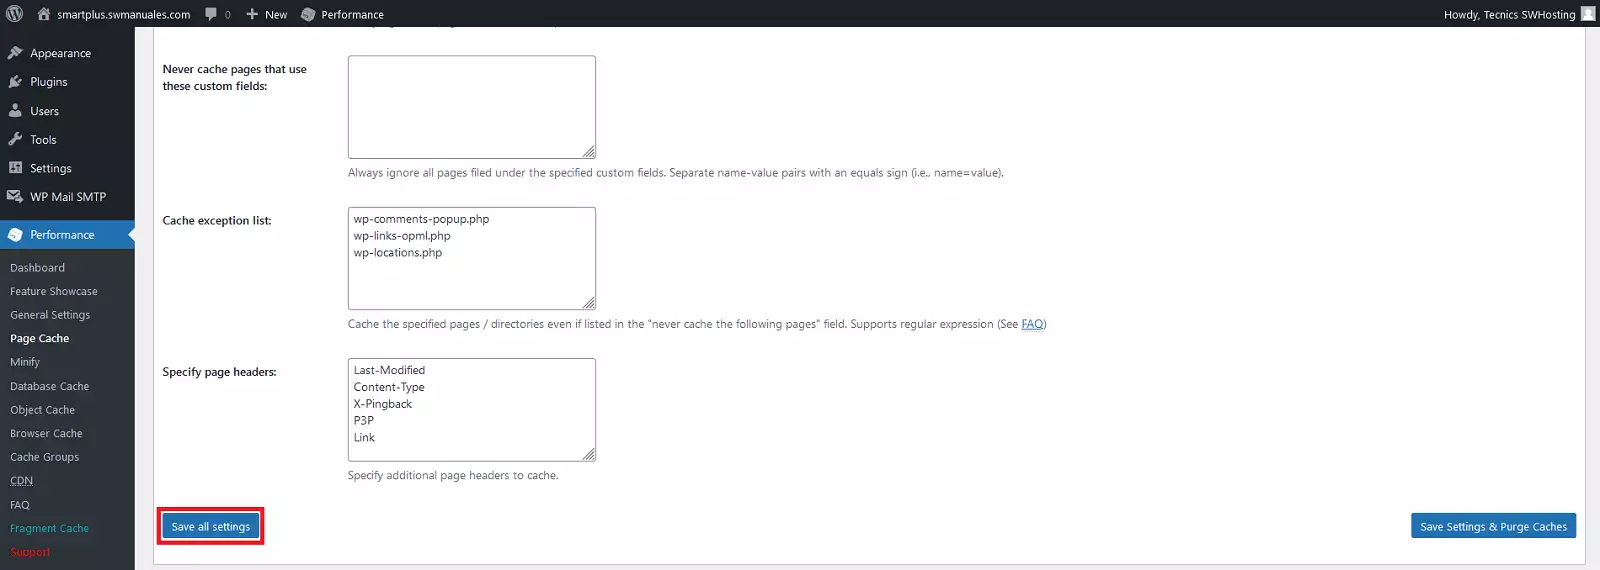
4. Save the settings by pressing the "Save all settings" button

5. In the "General Settings" section, under "Database Cache" check the "Enable" checkbox and in the dropdown to choose the "Database Cache Method" select the "Memcached" option.
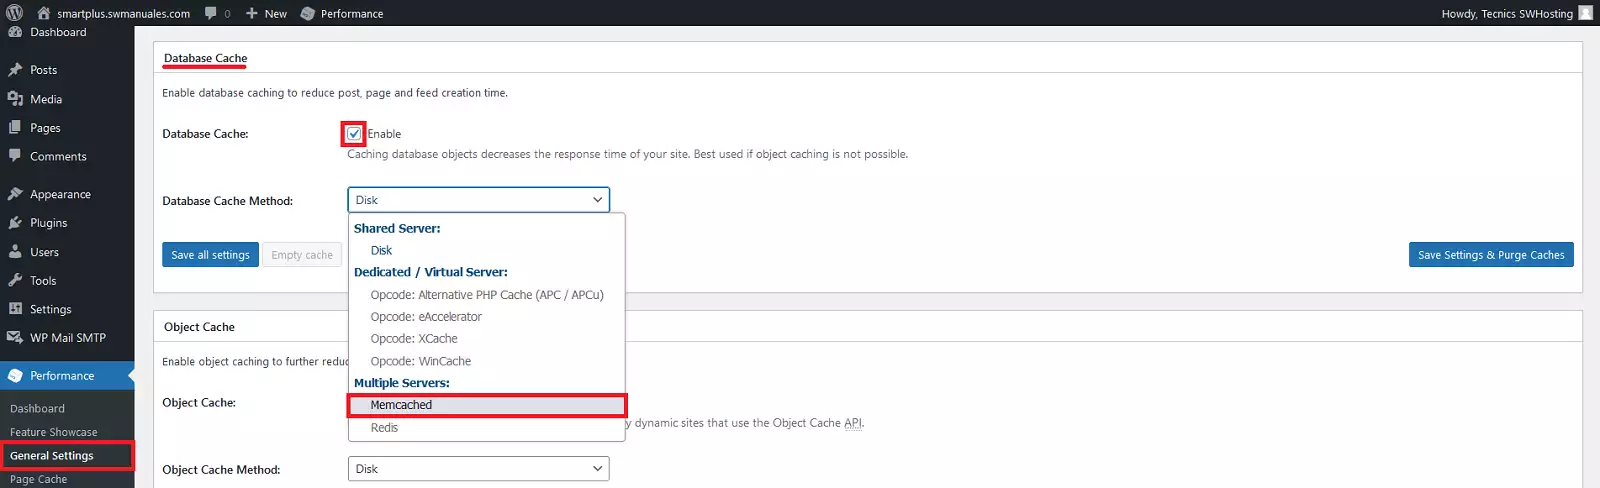
6. Save the settings by pressing the "Save all settings" button.

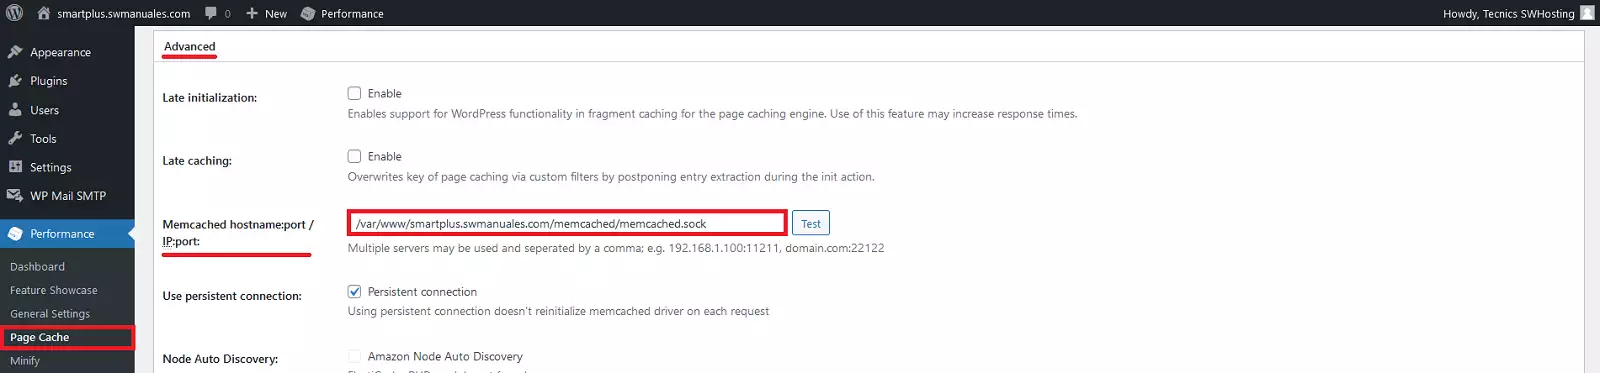
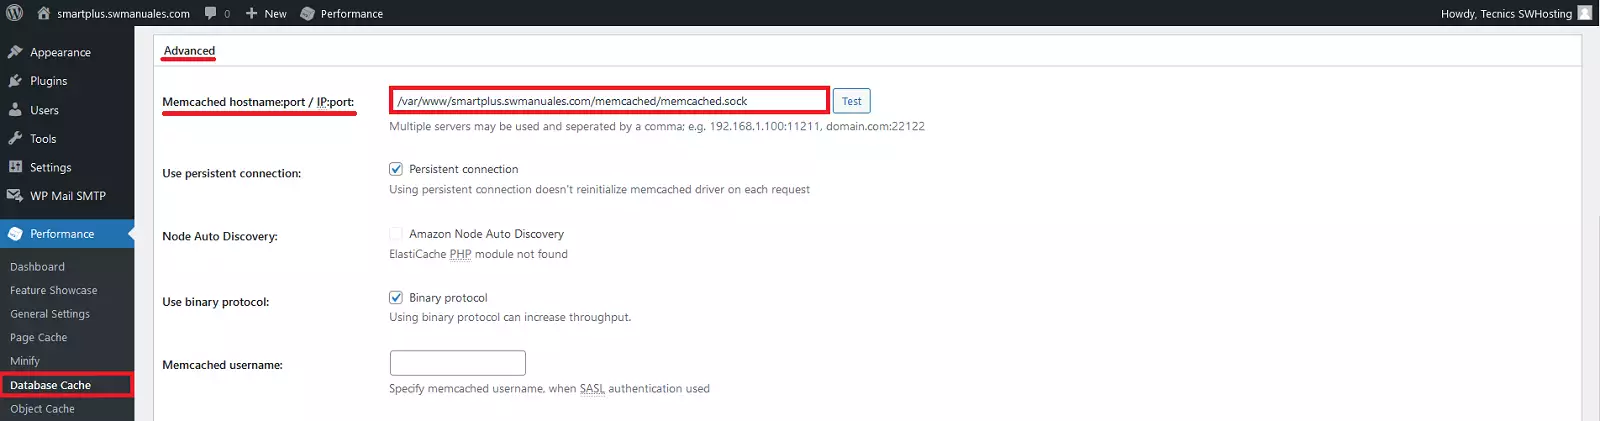
7. In the "Page Cache" section, go to "Advanced" and in the ""Memcached hostname:port / IP:port:"" option enter the following values: /var/www/dominiodetuweb.extension/memcached/memcached.sock
For example; if the domain of your website is "swhosting.com", you should specify the values: /var/www/swhosting.com/memcached/memcached.sock
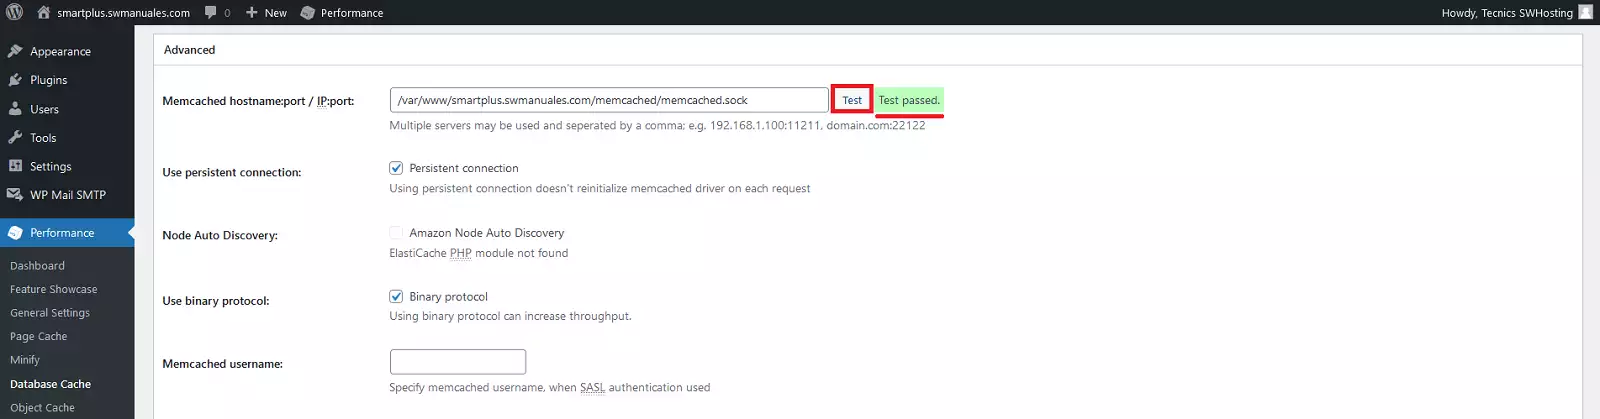
8. Then click on the "Analyze" button to check the correct configuration and the message "Test passed" will appear.
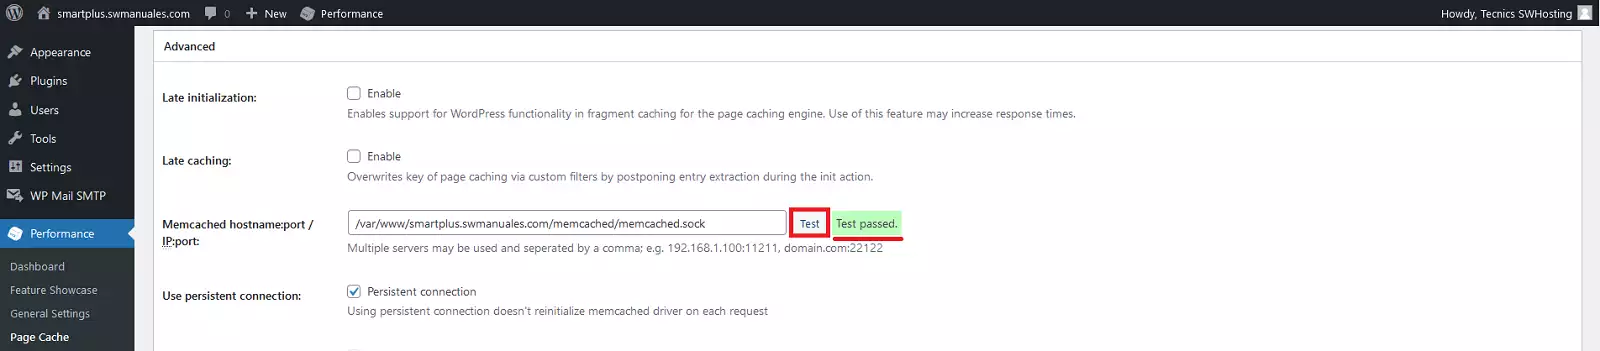
9. Save the settings by pressing the "Save all settings" button.
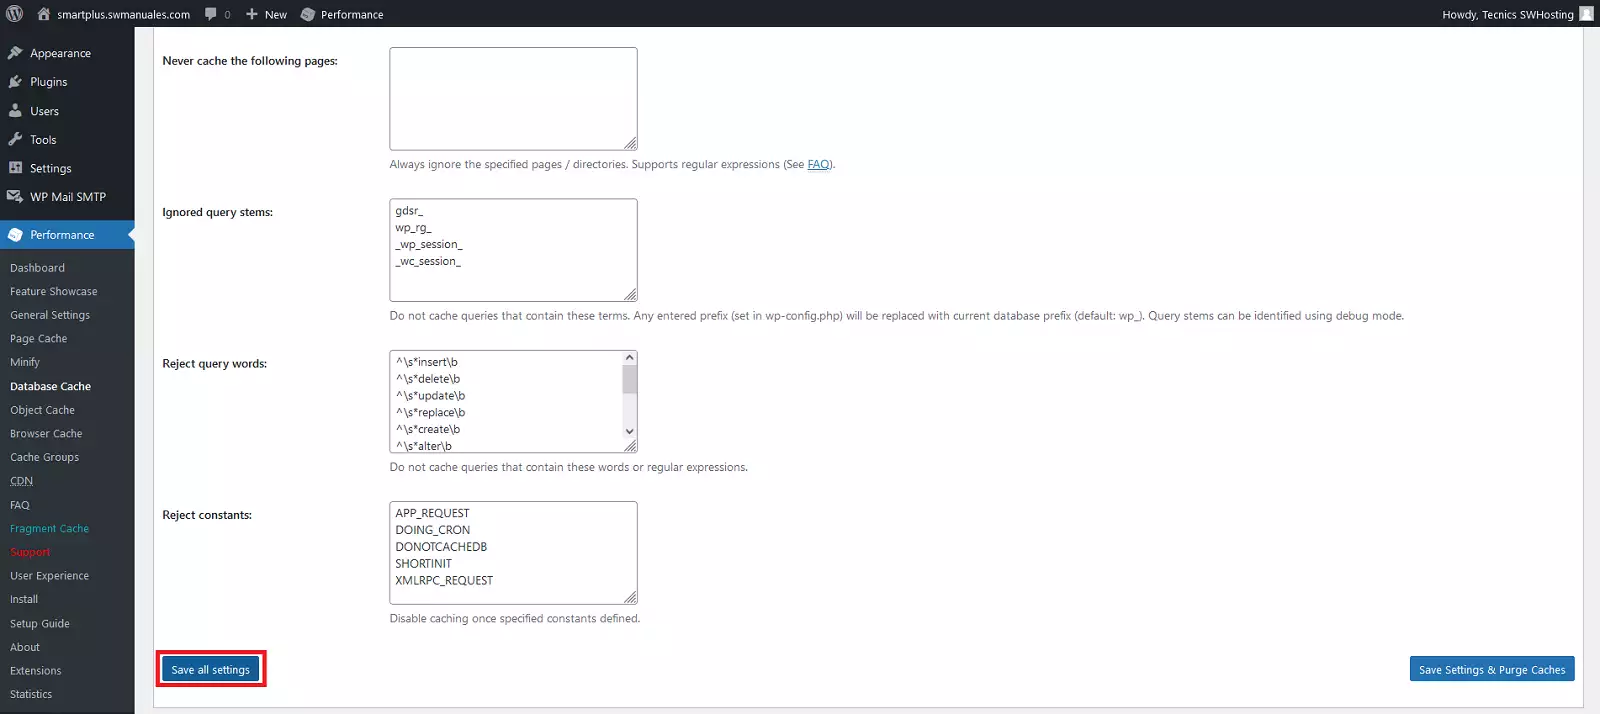
10. In the "Database Cache" section, go to "Advanced" and in the ""Memcached hostname:port / IP:port:"" option enter the following values: /var/www/dominiodetuweb.extension/memcached/memcached.sock
For example; if the domain of your website is "swhosting.com", you should specify the values: /var/www/swhosting.com/memcached.sock
11. Then click on the "Analyze" button to check the correct configuration and the message "Test passed" will appear.
12. Save the settings by pressing the "Save all settings" button.