En algunos servidores, la función de PHP mail() no está disponible. Cada vez es más habitual que se desactive como medida de seguridad, con el objetivo de evitar problemas como spam, mail spoofing o el uso del servidor como relé de correo no autorizado.
En caso de que una web alojada sea comprometida por un usuario malintencionado, la desactivación de esta función ayuda a reducir riesgos relacionados con el envío masivo de correos no deseados.
Si necesitas alojar tu web junto con el servicio de correo de tu dominio, SWHosting ofrece servidores gestionados mediante SWPanel que incluyen estas funcionalidades.
La librería PHPMailer permite enviar correos electrónicos mediante conexión SMTP, en lugar de utilizar la función mail() de PHP.
Esto significa que el envío de correos se realiza a través de un servidor SMTP externo o propio, lo que mejora la seguridad, trazabilidad y entregabilidad de los mensajes.
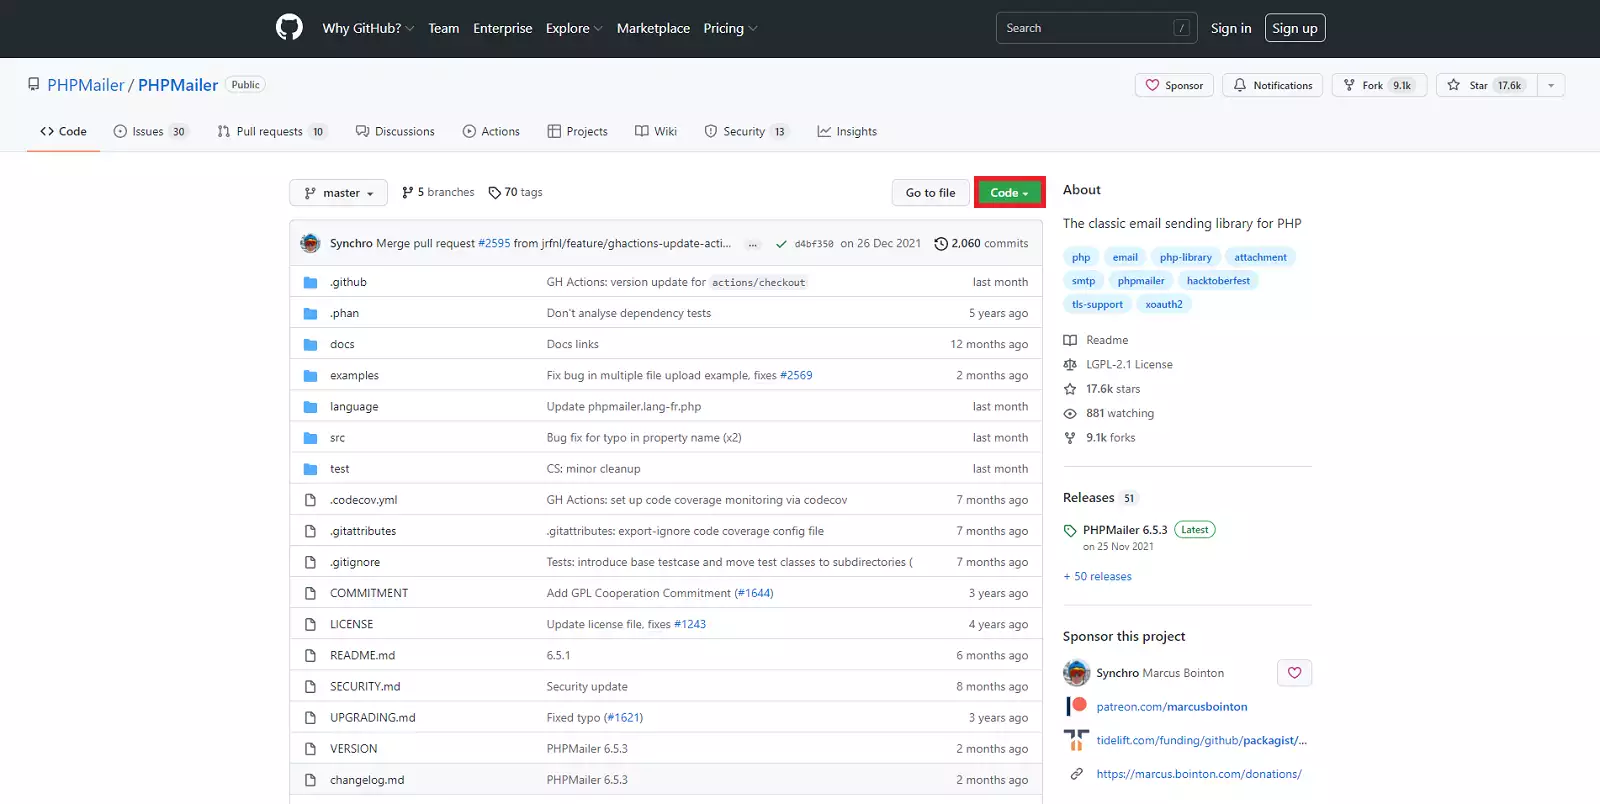
La documentación oficial del proyecto está disponible en GitHub:
Repositorio PHPMailer
Para poder enviar correos mediante SMTP, es necesario disponer de una cuenta de correo creada previamente y conocer sus datos de conexión:
? Configuration of email accounts
Si tu proyecto ya utiliza Composer, esta es la forma más sencilla de instalarlo.
Añade la dependencia en composer.json:
phpmailer/phpmailer": "~6.1
O ejecuta directamente:
composer require phpmailer/phpmailer
En la documentación oficial de GitHub encontrarás ejemplos adicionales de configuración.
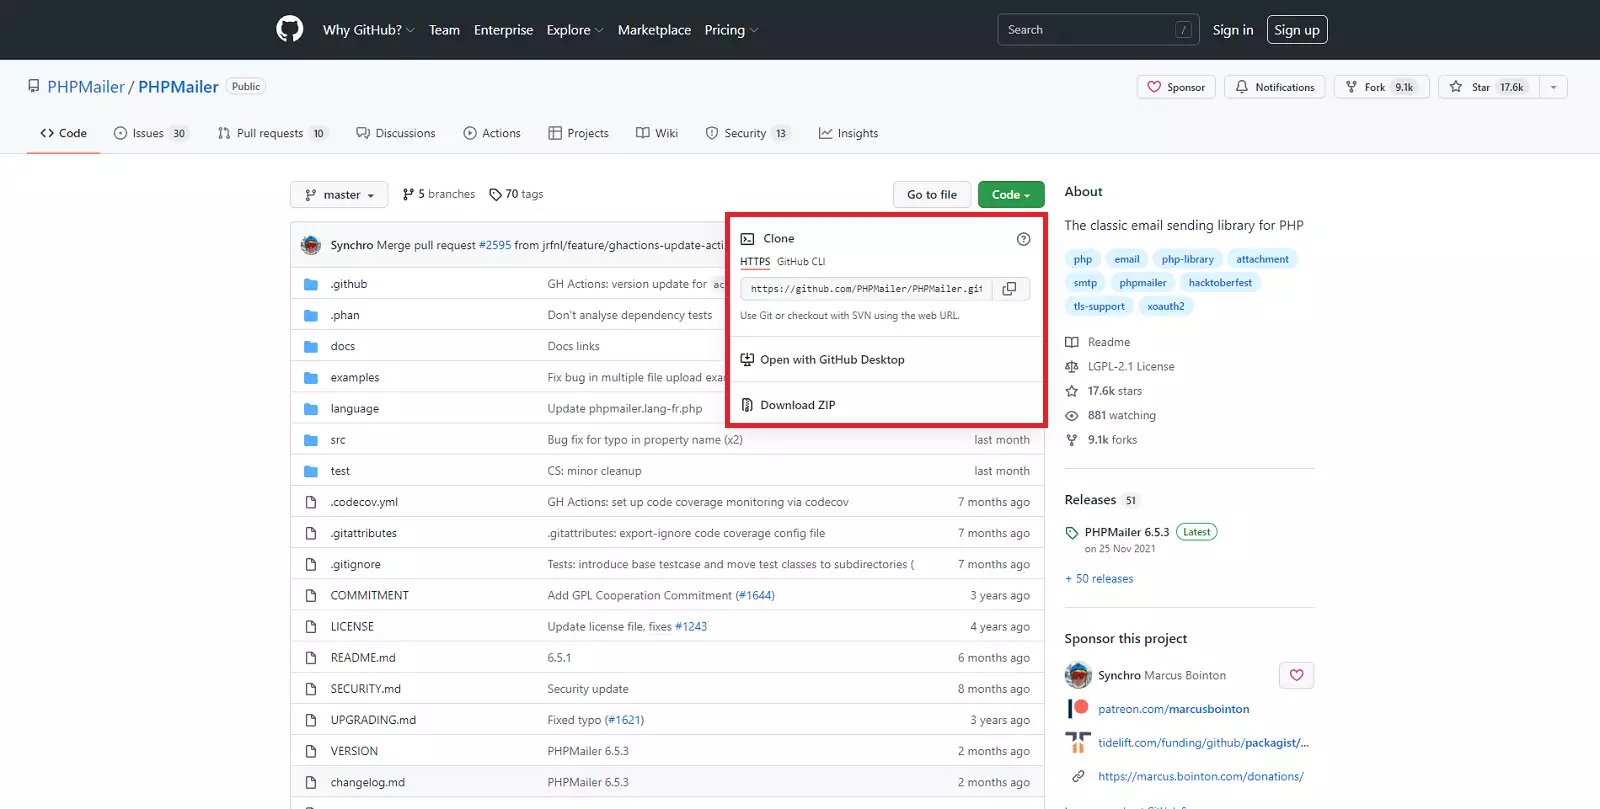
Si no utilizas Composer, puedes instalar la librería manualmente:
PHPMailer-master.zip.PHPMailer-master a PHPMailer.La estructura debe quedar así:
/PHPMailer/src/PHPMailer.php
Guarda el siguiente código como ejemplo.php:
<?php
ini_set('display_errors', 1);
ini_set('display_startup_errors', 1);
error_reporting(E_ALL);

use PHPMailer\PHPMailer\PHPMailer;
use PHPMailer\PHPMailer\Exception;
use PHPMailer\PHPMailer\SMTP;

require 'PHPMailer/src/Exception.php';
require 'PHPMailer/src/PHPMailer.php';
require 'PHPMailer/src/SMTP.php';

$mail = new PHPMailer(true);

try {
    $mail->SMTPDebug = SMTP::DEBUG_SERVER;
    $mail->isSMTP();

    $mail->Host = 'CONFIGURAR_SERVIDOR_SMTP';
    $mail->SMTPAuth = true;
    $mail->Username = 'CONFIGURAR_USUARIO_SMTP';
    $mail->Password = 'CONFIGURAR_CONTRASEÑA_SMTP';

    $mail->SMTPSecure = PHPMailer::ENCRYPTION_STARTTLS;
    $mail->Port = 587;

    $mail->setFrom('[email protected]', 'Tu nombre');
    $mail->addAddress('[email protected]', 'Destinatario');

    $mail->isHTML(true);
    $mail->Subject = 'Asunto del correo';
    $mail->Body = 'Contenido del correo <b>en HTML</b>';
    $mail->AltBody = 'Contenido en texto plano';

    $mail->send();
    echo 'El mensaje se ha enviado';
} catch (Exception $e) {
    echo "Error: {$mail->ErrorInfo}";
}
PHPMailer y el archivo ejemplo.php a la raíz del sitio (por ejemplo /datos/web).http://tudominio.com/ejemplo.phpSi todo está correcto, se mostrará el proceso de depuración y recibirás el correo de prueba.
En producción, recuerda desactivar el modo debug de PHP y SMTP.
En producción, recordad desactivar el debug de errores PHP y SMTP
En entornos con WordPress, una alternativa más sencilla es utilizar el plugin: WP Mail SMTP plugin
? Configure plugin for sending mail (WP Mail SMTP) in WordPress
Y recuerda que, si necesitas hospedar la web y el correo de tu dominio, SWHosting puede ayudarte con sus servidores gestionados con SWPanel.